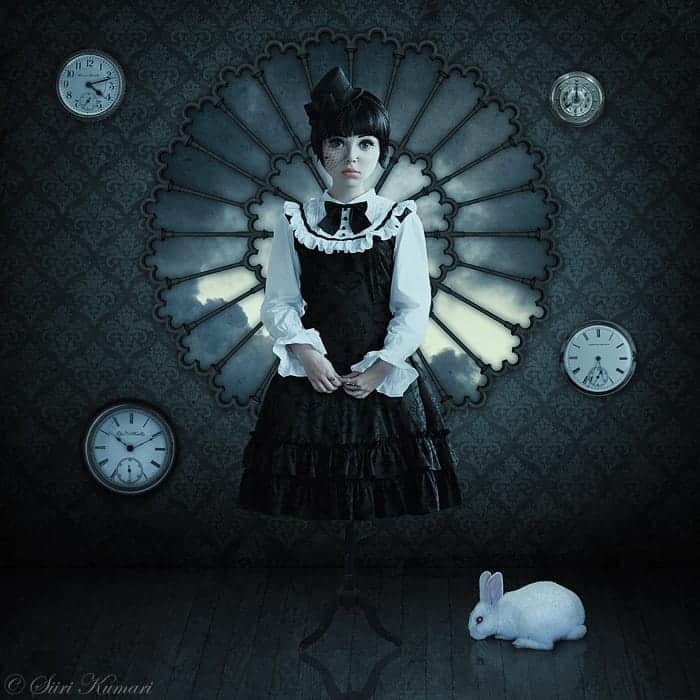
Today's tutorial we will present how to create a creepy Gothic artwork in Photoshop. We use to make this tutorial symmetrical background, add reflections, and warp a face. So let's see......
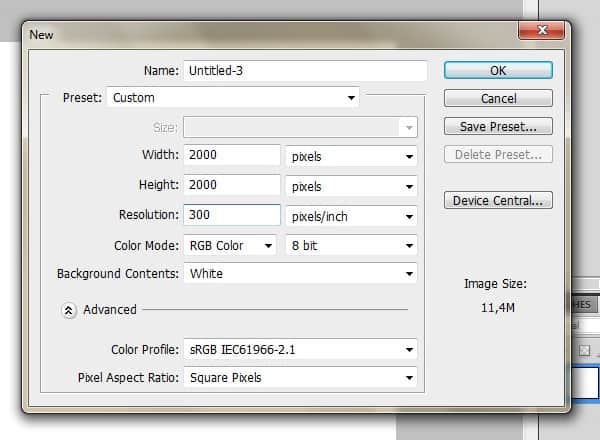
Step 1Create a new file, 2000x2000px 300dpi.
Step 2
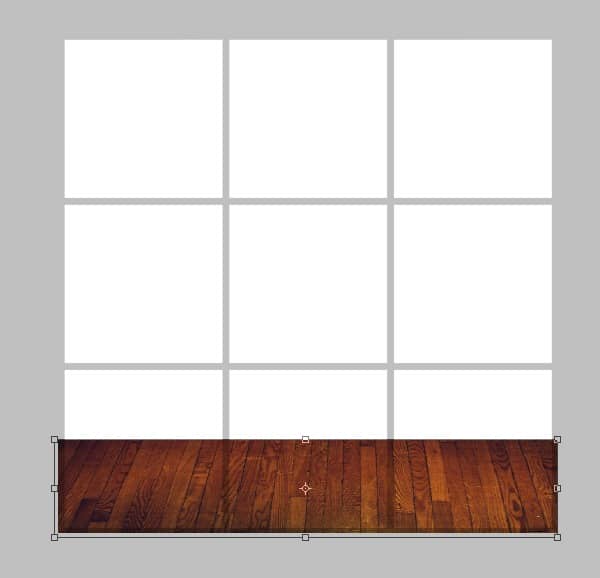
Now take the floor stock and paste it on the canvas.
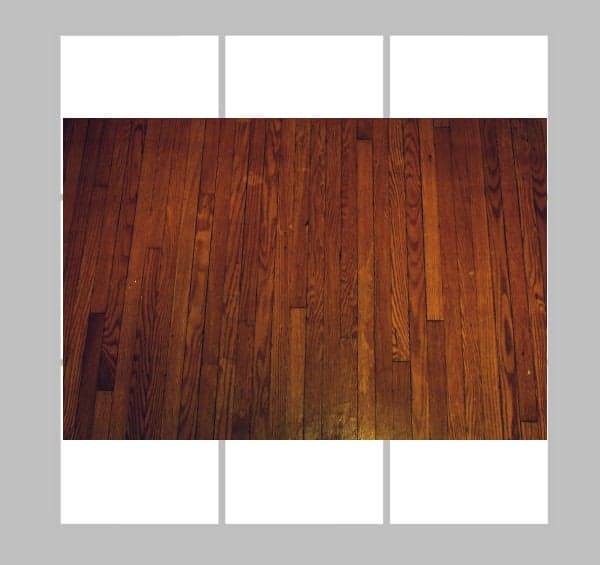
Hit Ctrl + T and stretch it from the corners so that it’s large enough to cover it.
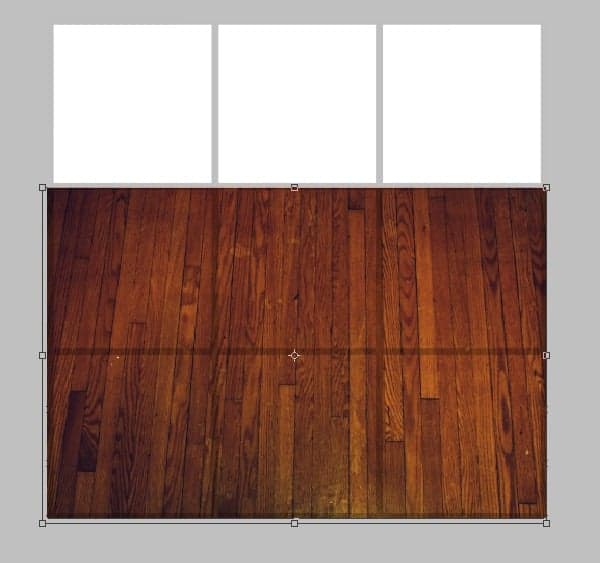
Then pull it down from the upper border to get a realistic-looking floor. Hit Enter to exit the Transform.
Step 3
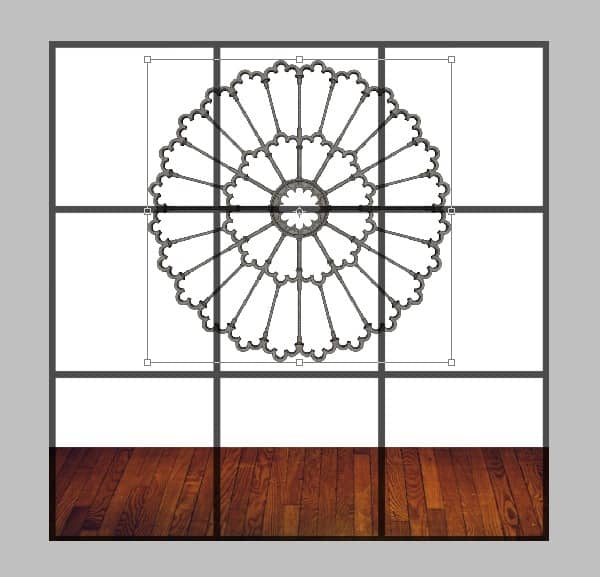
Now take the wall crest and place it in the middle. Resize if needed. Be sure to keep it on a separate layer.
Step 4
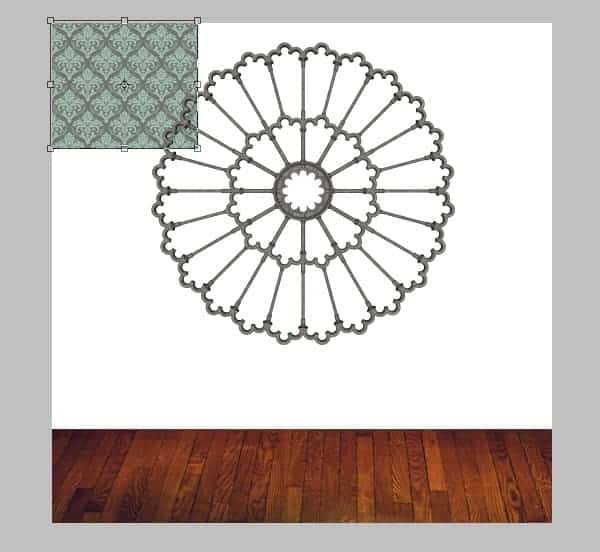
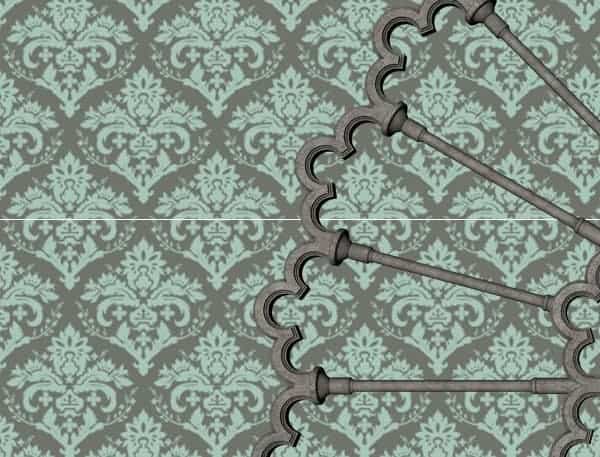
Take the wallpaper tile and enlarge it so that you can see the pattern better. The wallpaper layer should be under the wall crest layer.
Duplicate the tile (Layer > Duplicate Layer) and move it beside the first one – make sure there are no gaps between tiles!
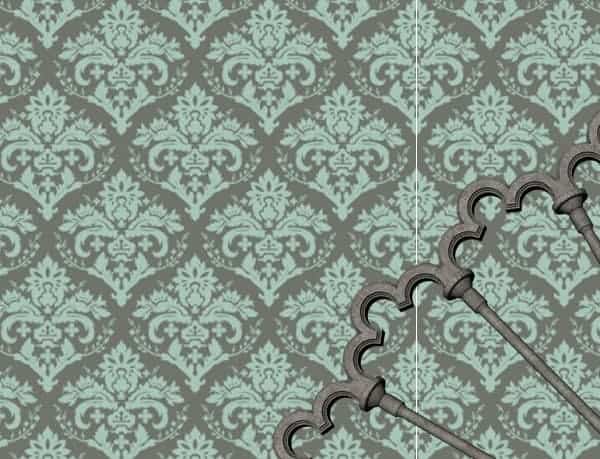
Merge the tiles together. (Select both layers on the layer palette and press Ctrl + E)
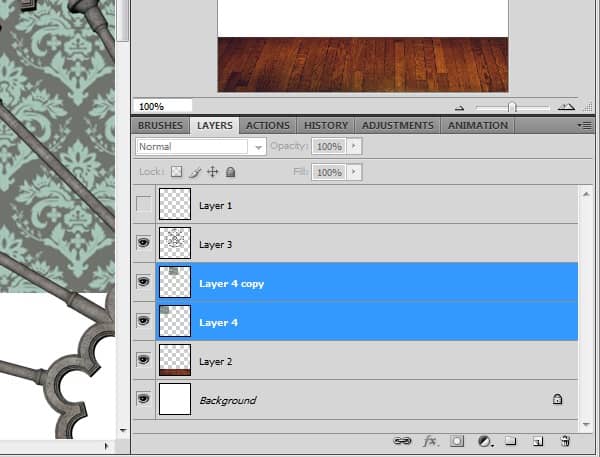
Step 5
Duplicate the layer with two tiles and place the duplicate under them. Again, look out for gaps where the background is showing.
Step 6
Keep working on the pattern by duplicating and merging them the tiles together. You can also make it a bit larger. (Ctrl + T and then stretch from the corners)
Step 7
Now the whole wall is done – but just to be sure, zoom in to 100% to make sure there are no spaces. All tiles must be merged together on one layer.
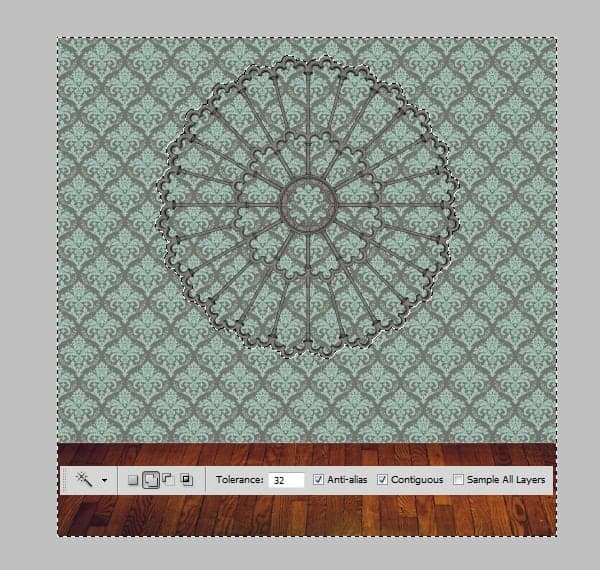
Step 8
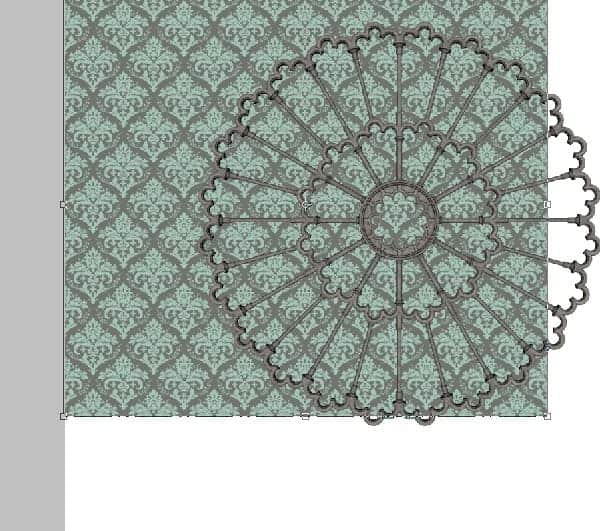
Go back to the wall crest layer and click on the area around the crest with the Magic Wand Tool (W). You should have a similar selection. Make sure the contiguous box is checked when you select.
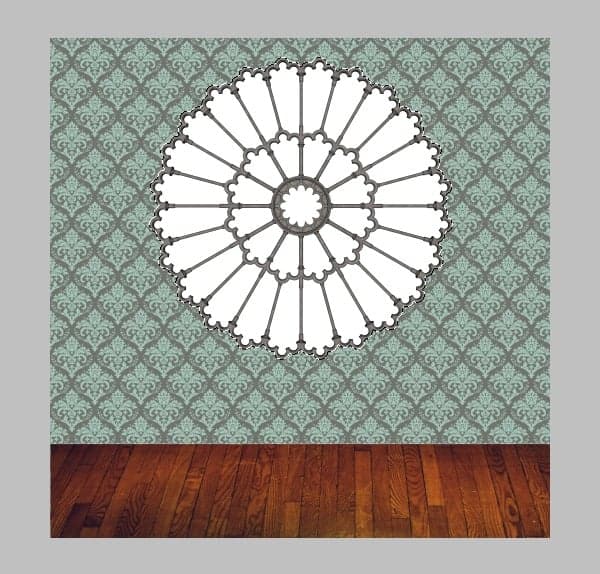
Step 9
Now go to the wallpaper layer and hit Ctrl + Shift + I and your selection will invert. Hit Delete to clear the area inside the wall. Finally, press Ctrl + D to release the selection.
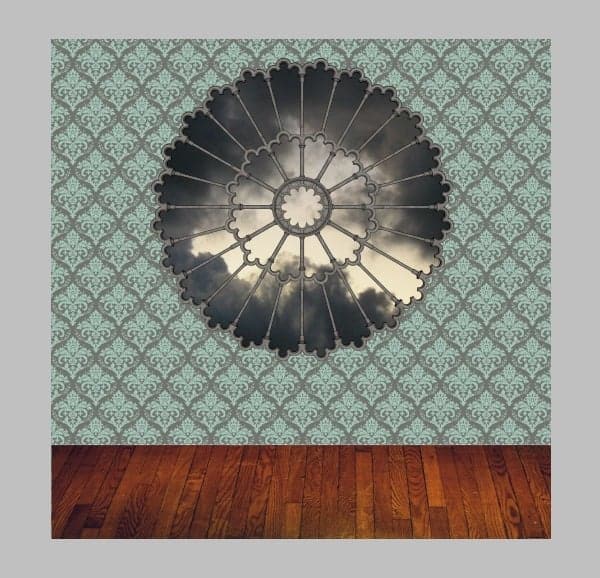
Step 10
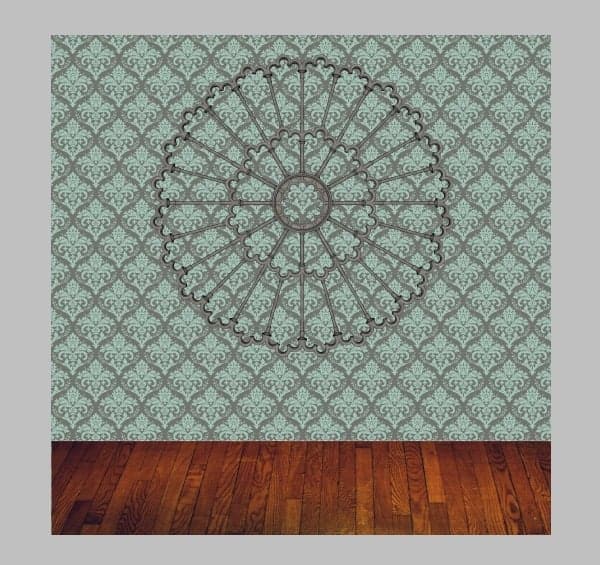
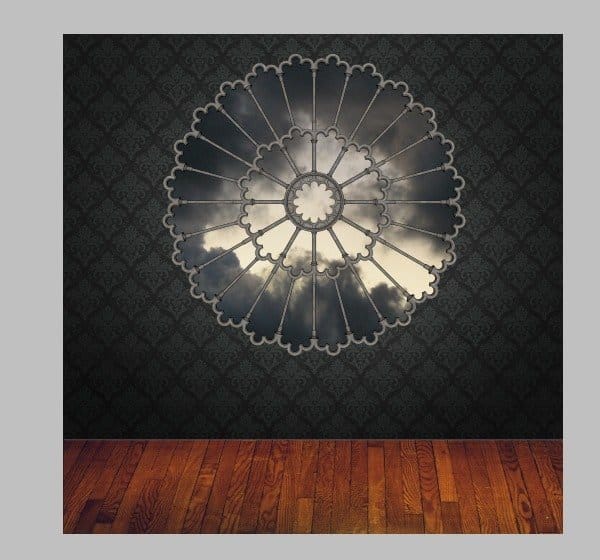
Place stormy sky on a new layer under the crest. Resize it a little until the clouds look pretty.

This is the result you should be seeing.
Step 11
For color correcting, go to Image > Adjustments > Brightness/Contrast and move the sliders to settings shown (-150 and -35). Also move the Vibrance slider to -60.

Step 12
Now take the Burn Tool with settings provided and burn the areas marked with red.
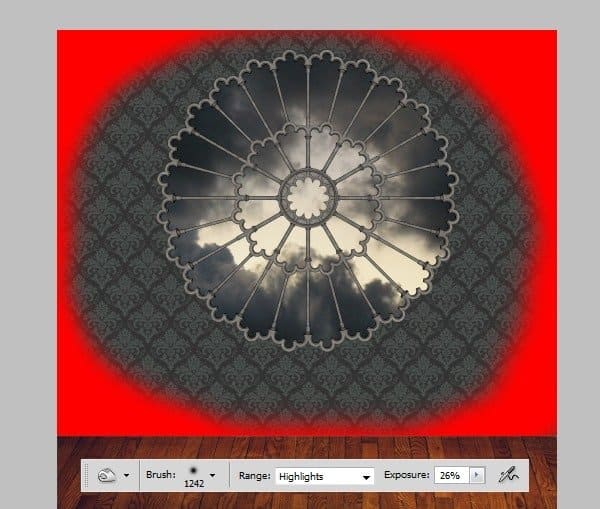
Your wall should look like this now.
Step 13
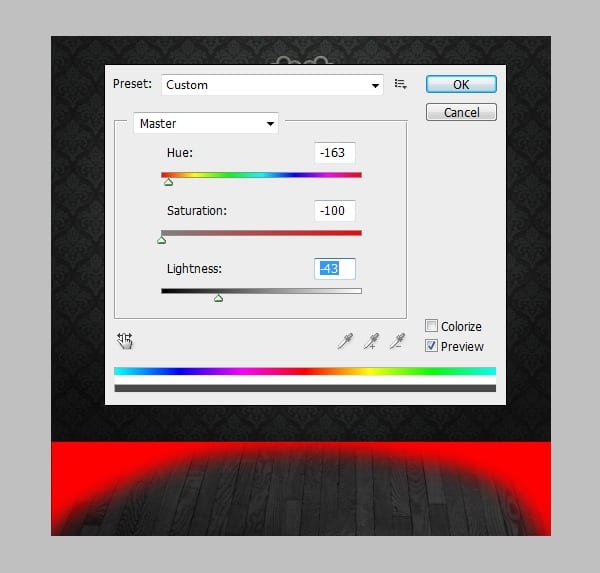
Now to the floor layer. To get the colours match, go to Image > Adjustments > Hue/Saturation and take Hue to -163, Saturation to -100 and Lightness to -43. Burn the red areas with previous Burn Tool settings.
Hope you can learn something new from this tutorial.
I feel really glad if you give me feedback through comment below. Soon i am going to show more interesting & innovative tutorials so please keep visit our blog. That’s for now.
Have fun!
Feel free to contact with Clipping Design for clipping path service, image editing service, image masking service or any kind of design support.
Thank you…
Credit: photoshoptutorials
No comments:
Post a Comment