Step 1
First of all, create a white document (Ctrl+Shift+N) of 1400 pxl wide and 1626 pxl high.
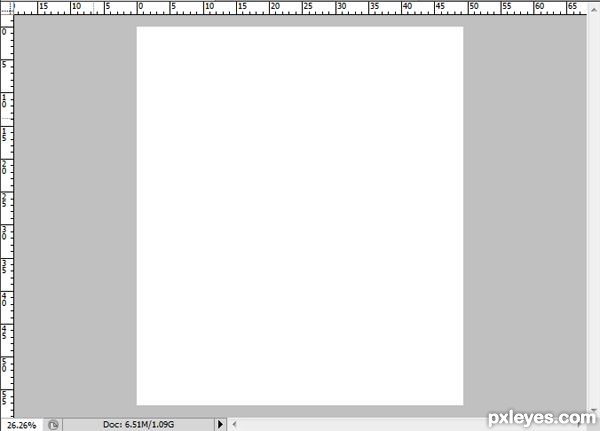
Step 2
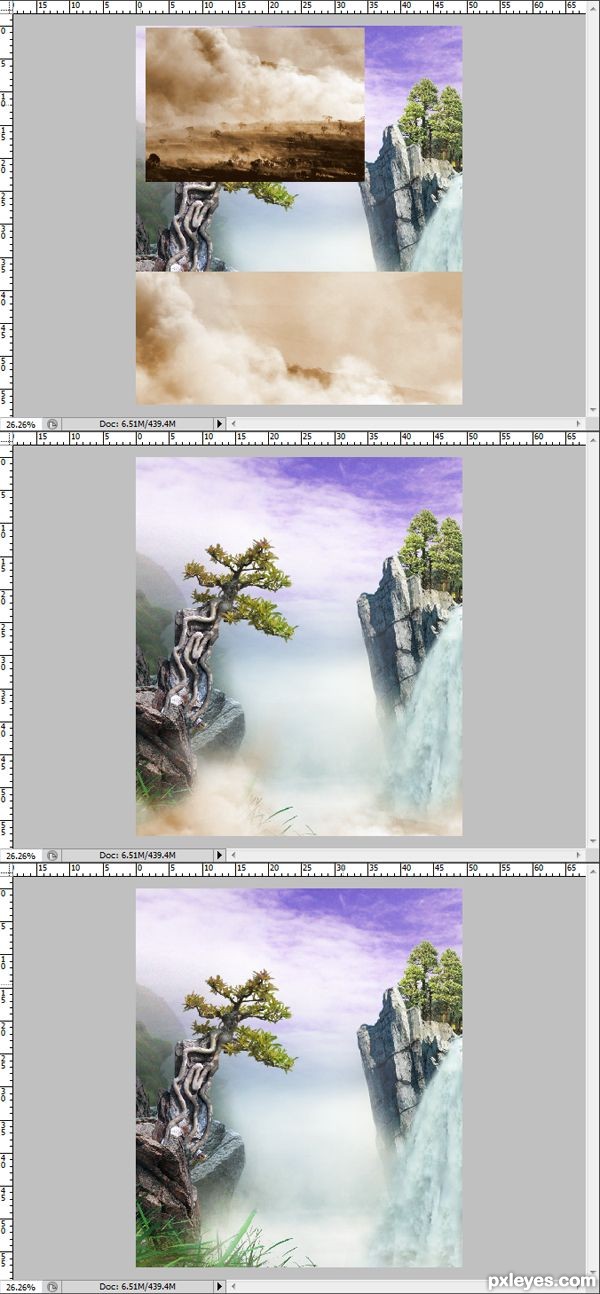
In this step we will create the background for the image. Open this picture. Hit Ctrl+T to activate free transform tool. When the free transform tool activated, the picture selected will be surrounded by thin line with some small squares as transform controls. There will also be an option bar for the transform tool above the document. Now start to transform the picture. First click the chain icon in the option bar. I need to do this to maintain the pixel rasio of the picture. Next put the cursor of the mouse near the chain icon and make sure a pointing hand icon shows up, click and drag to the right. We will see the picture getting bigger.
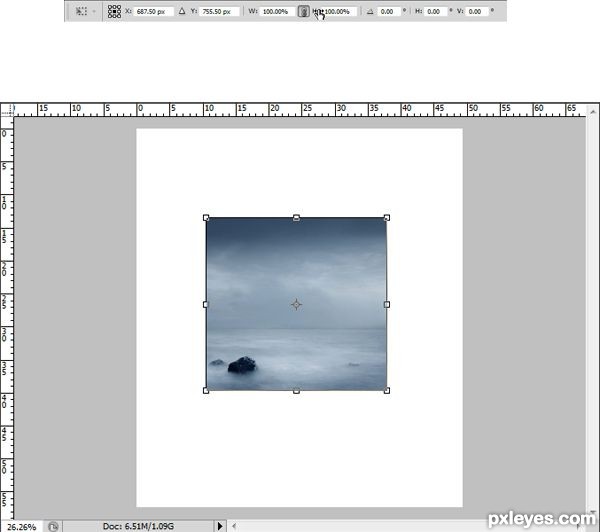
Step 3
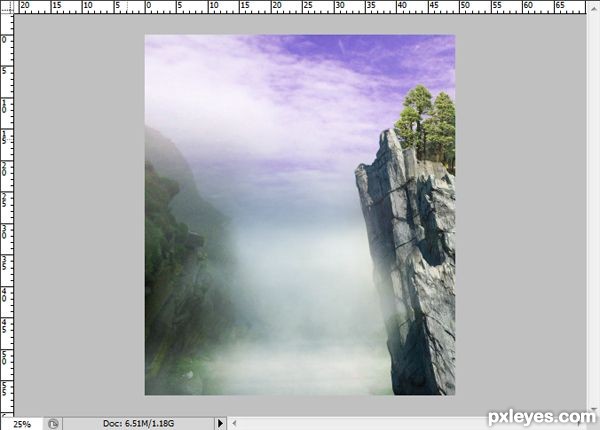
This is the result I create. It is just ok if you don’t get the result precisely like the one I created. But make sure that you get the upper part of the picture consisting of the cloud area.
Step 4
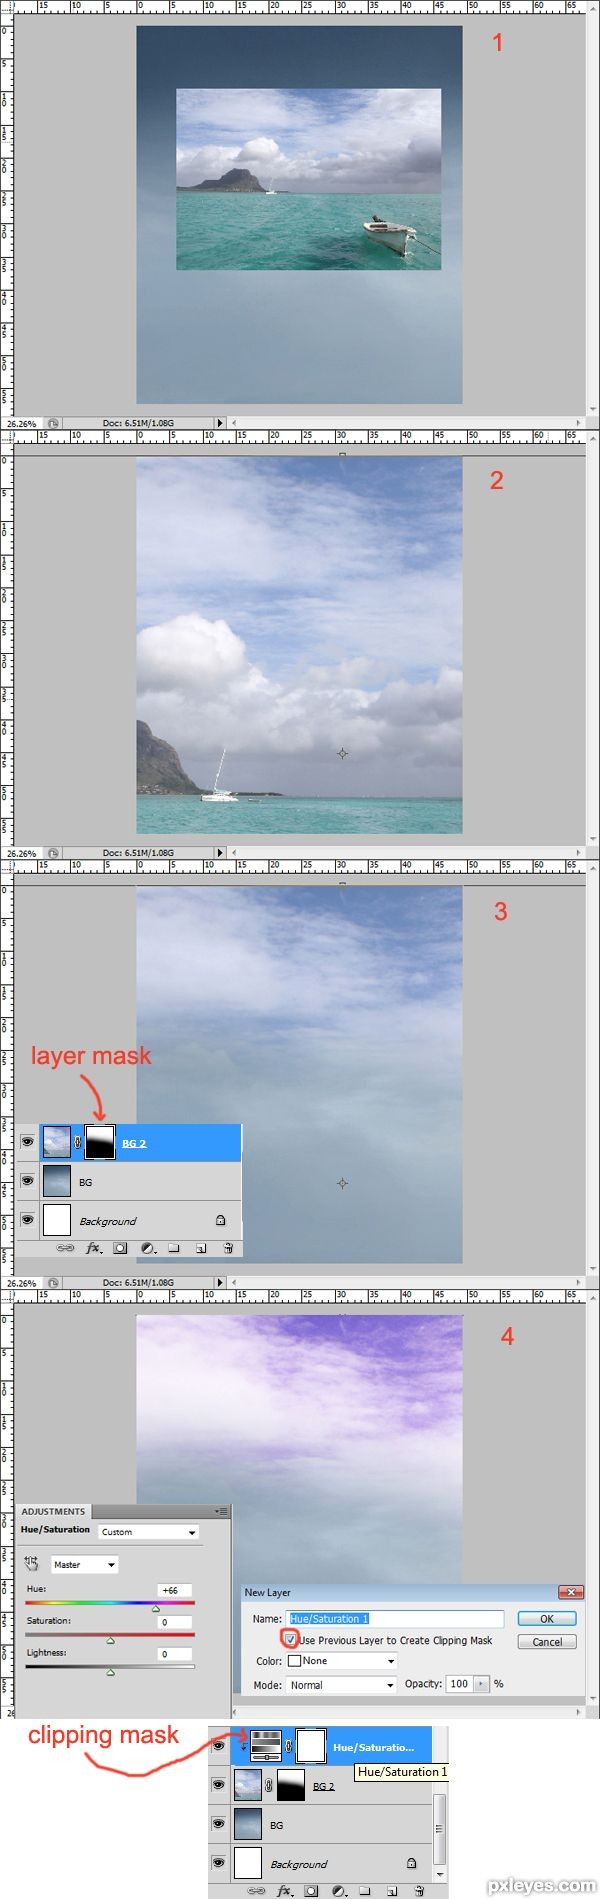
Next is to add more cloud to the background.
Open the picture (1).
Activate free transform tool again (Ctrl+T), do the same way as explained in step 2 to scale the picture up (2).
We have to hide the lower part of the image. To do this, give this layer a layer mask first by go to Layer > Layer Mask > Reveal All. This means we give it a layer mask indicated by a white thumb next to the layer in the layer panel. Make sure to set the foreground color to black and the background white. With very soft round brush, stroke the lower part of the picture to hide it. After stroking, we will see that some areas of the thumbnail is covered with black meaning that it was masked . The most important thing about layer mask is when we stroke with black colored brush on any layer masked picture, we will hide the stroked area ( not delete or erase as the way eraser tool do) and we can reveal the area by stroking it white colored brush . It is better than using eraser tool because we can work safely (3).
Finally, I decided to set the mood of the background with warm color. We will make little bit color adjustment to this layer by go to Layer > New Adjustment Layer > Hue/ Saturation. Make sure to check Use Previous Layer to Create Clipping Mask on optional command box. Click ok and set the setting of the Hue/ Saturation (4).
Please see the illustration picture.
Step 5
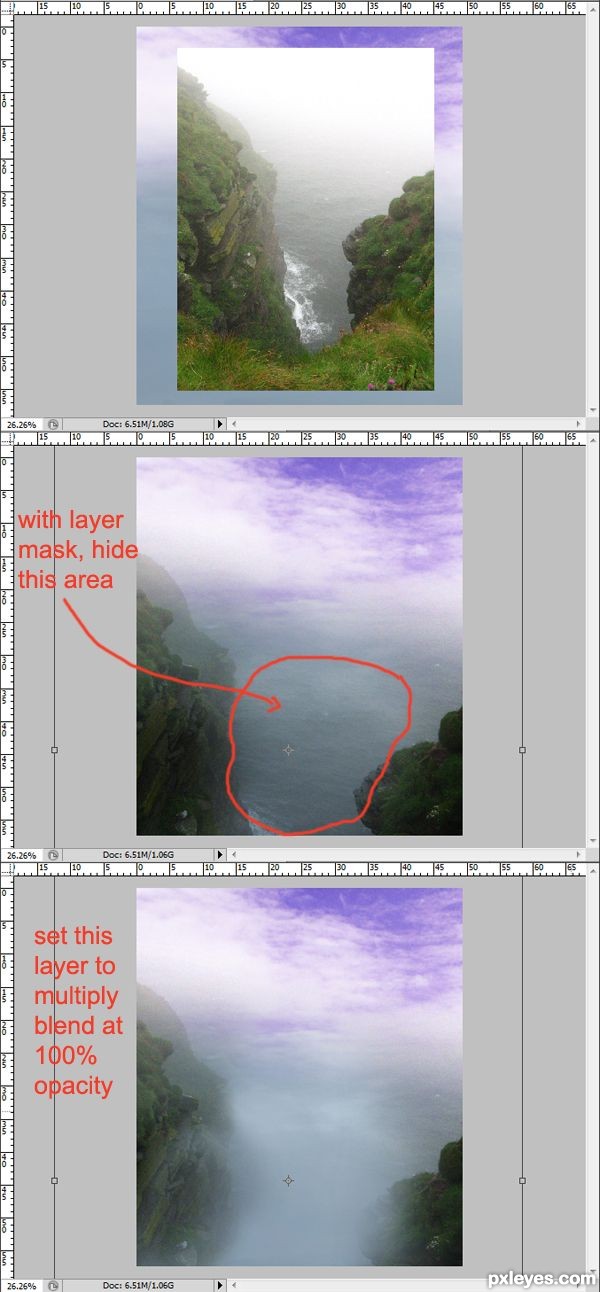
Open the other source picture on the document. Please refer back to step 2-4 on what and how to do. But for this layer, make sure to set it to multiply at 100% opacity.
Step 6
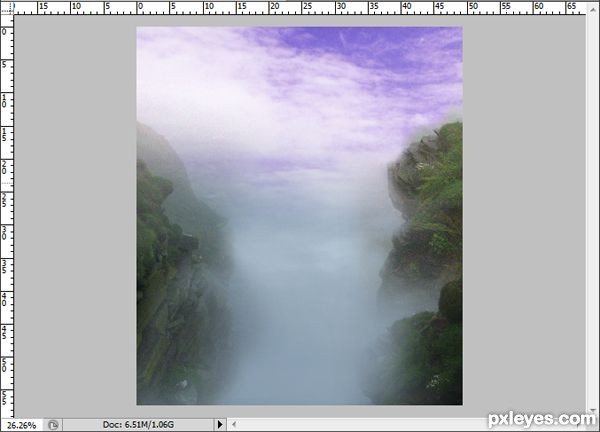
I decided to add more rock on the scene. Do this by duplicating the previous the same layer.
Step 7
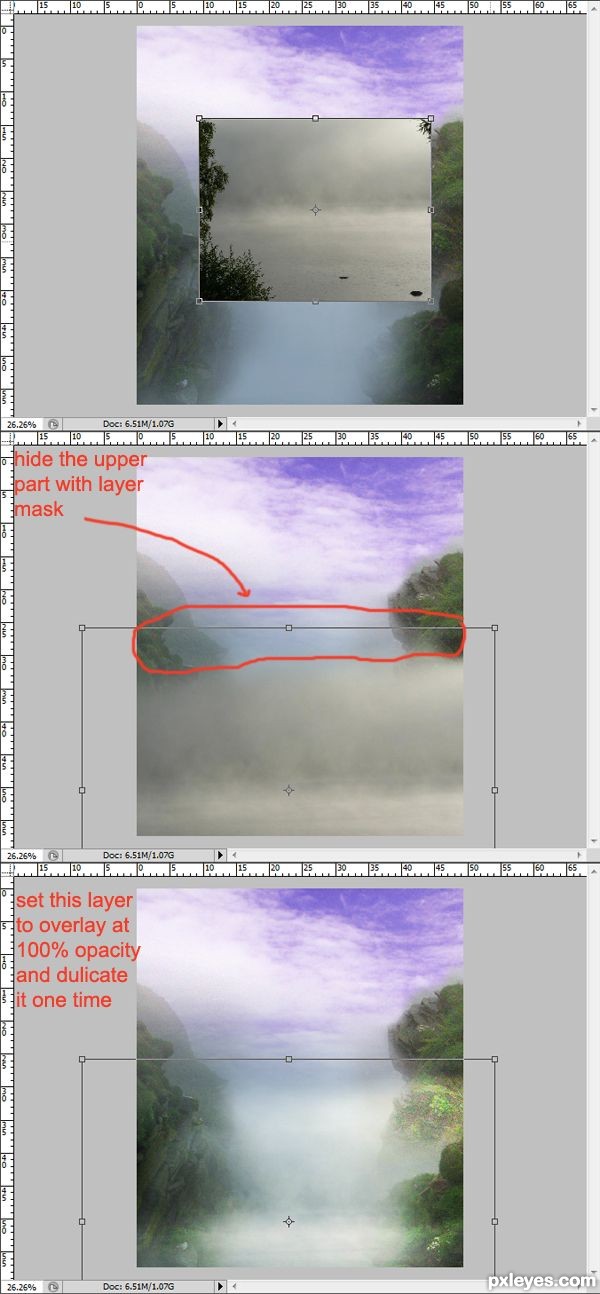
In this step we will add some gentle mist on the scene. To achieve this, first open the source image. The main actions in this step is still the same as the ones in previous steps. Please see step 2-4 again for the detail. The only different thing is to set this layer’s blending to overlay at 100% opacity and then duplicate (Ctrl+J) it one time.
Step 8
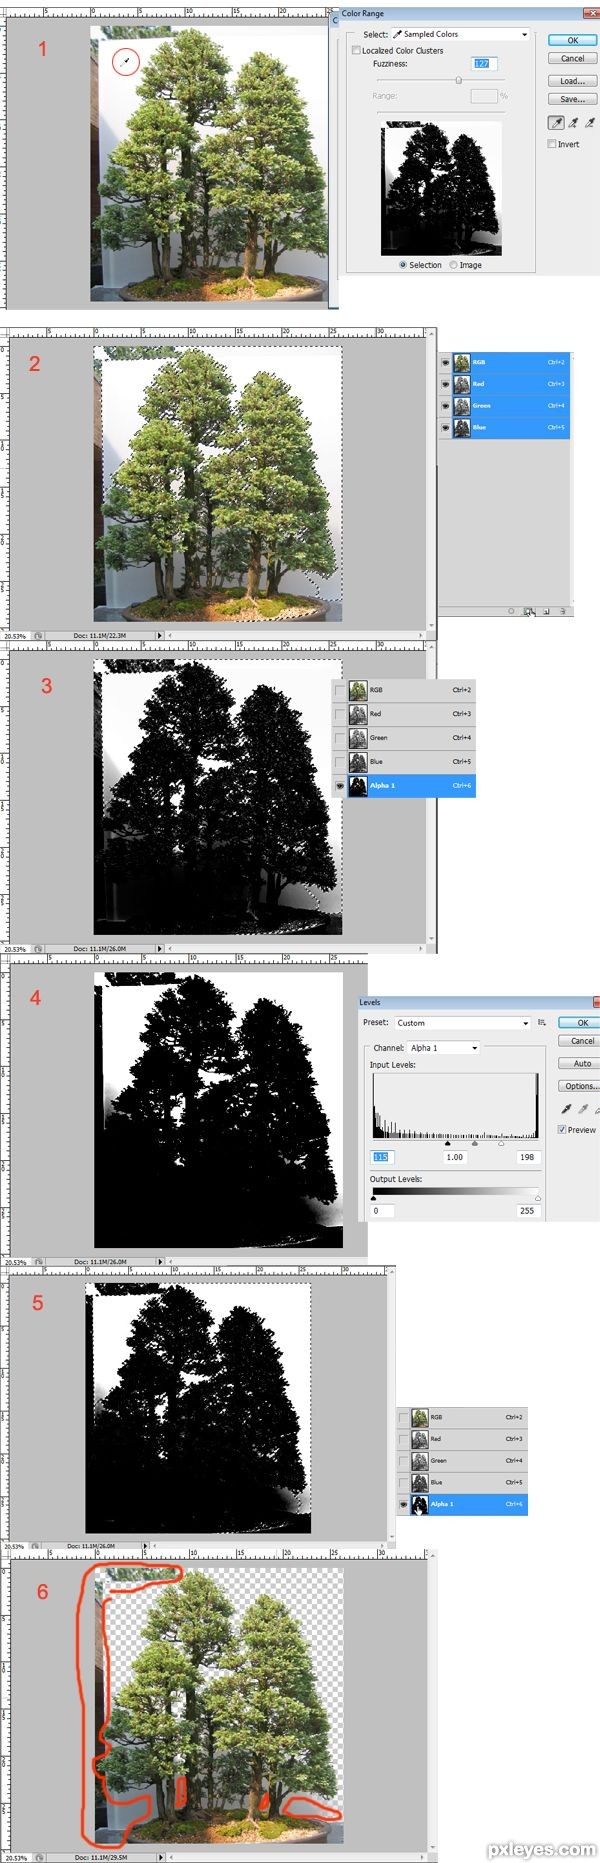
In this step we will extract the first tree for the scene.
Firstly, open the tree picture in photoshop. We will extract the tree from the background. Duplicate (Ctrl+J) the tree layer and then hide the original tree layer by click the eye icon in the layer panel. With the duplication layer selected, go to select > color range, there will be color range’s command option box. Now put the cursor on the tree document and the cursor will change into eyedropper tool. Click on the background. It means that we take sample of the background color we are going to select. As we can see, the selected background change to white while the tree is black. Give try thefuzziness slider to the right or left to give it more contrast. Click ok (1).
In the layer panel we will see the background is selected. Now go to Channels. In the channel panel, click Save Selection As Channel icon (2).
By clicking the icon, we will create a new channel called Alpha1, select the Alpha1 channel and then hit Ctrl+D to deselect (3).
Now the picture is covered only with black and white. Give it more contrast by go to Image >adjustment > Levels (4).
Next is put the cursor on the alpha1 channel thumb, while hitting the Ctrl click the thumb. This will load the selection (5).
Finally select the RGB channel and then go to Layers. Hit Del. Now we have most part of the background cleaned out from the tree. With eraser tool, clean out the unnecessary part ( marked in red ) left of the background (6).
Step 9
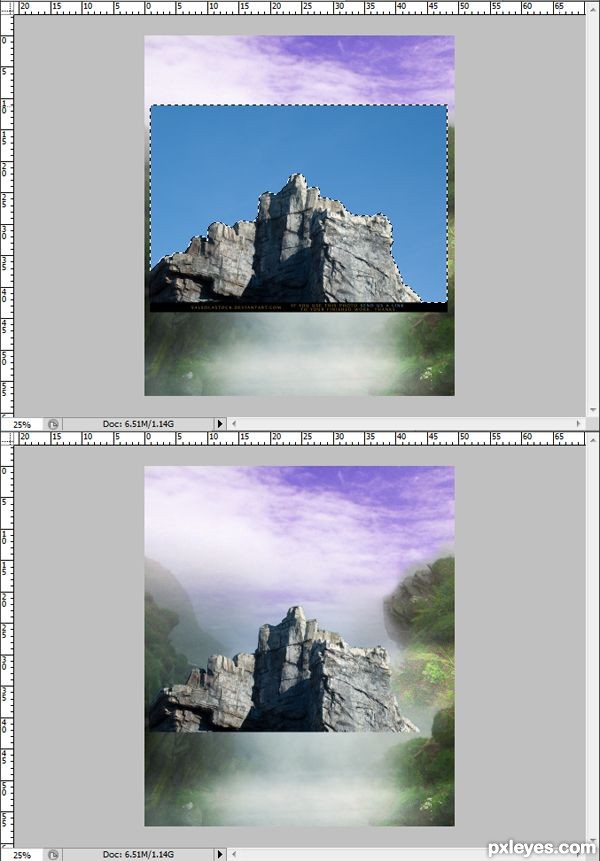
After extracting the tree, go back to the document. We will manipulating a rocky cliff on which the tree is growing.Open the rock picture on the document. Extract the background. Use magic wand tool to achieve this. Click the tool on the background and then hit Del to clean out.
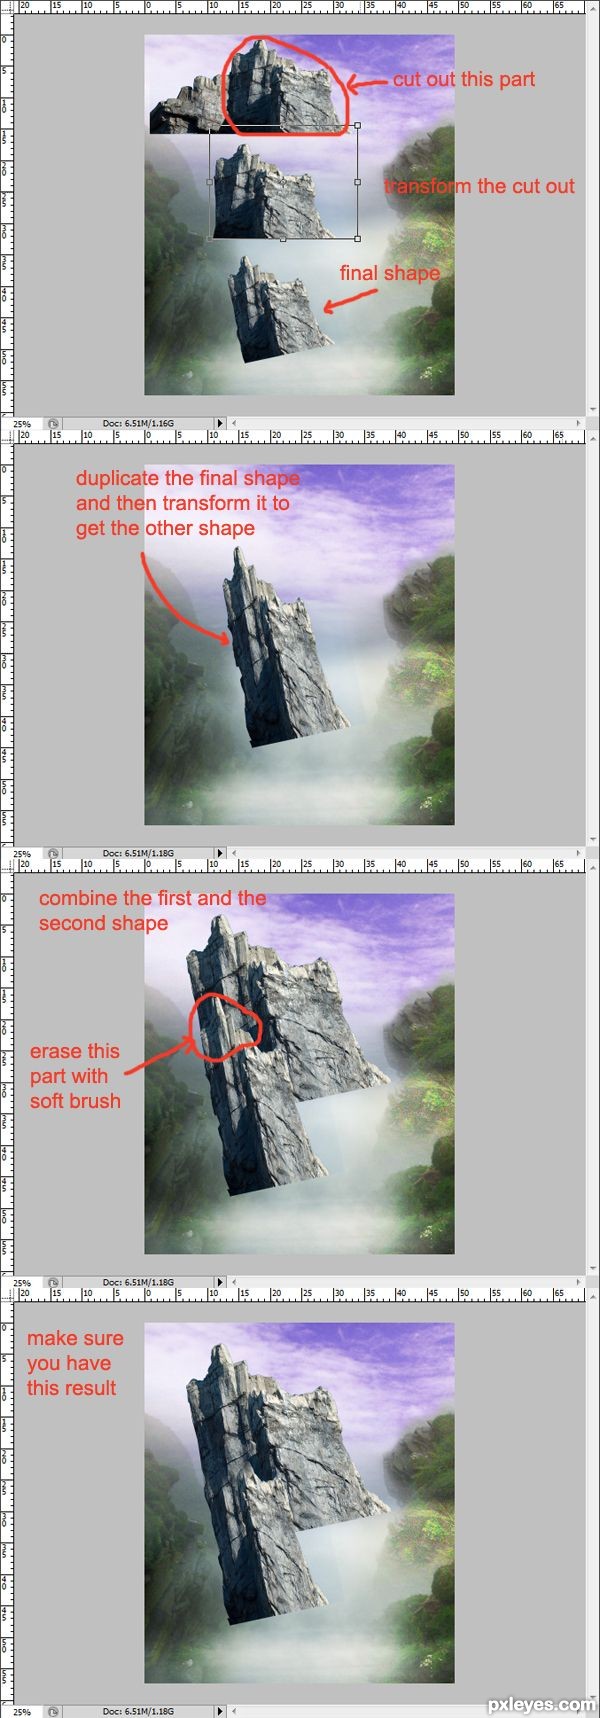
Step 10
After extracting the rock, we start manipulating a rocky cliff for the scene. See the illustration picture to do this.
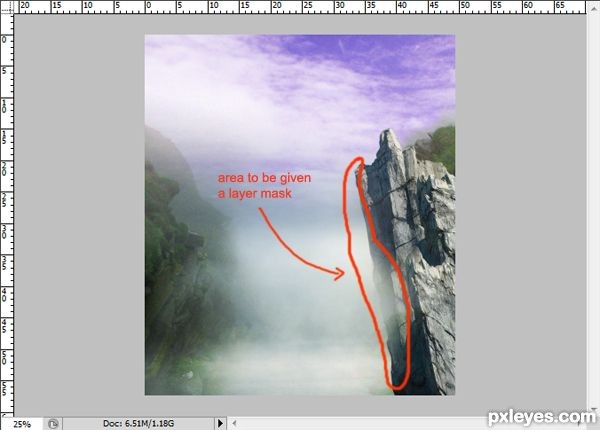
Step 11
Place the rocky cliff on the scene. Set the blending of this layer to normal at 80% opacity. Finally, give it a layer mask and then with soft round brush at 50 % opacity stroke the edge of the cliff to blend it well to the background.
Step 12
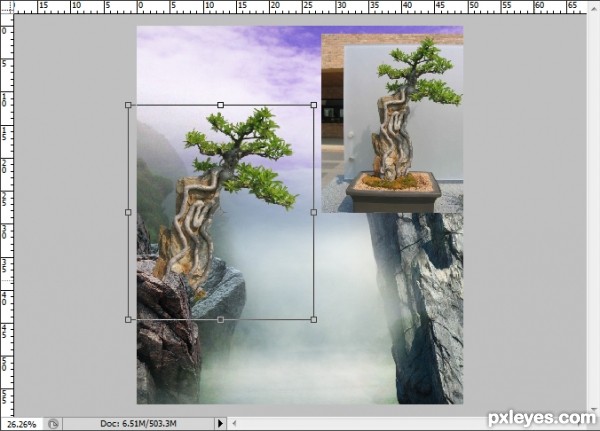
Now copy-paste the extracted tree on the document. Place the tree layer under the rocky cliff layer.
Step 13
In this step, we will add another cliff on the scene.
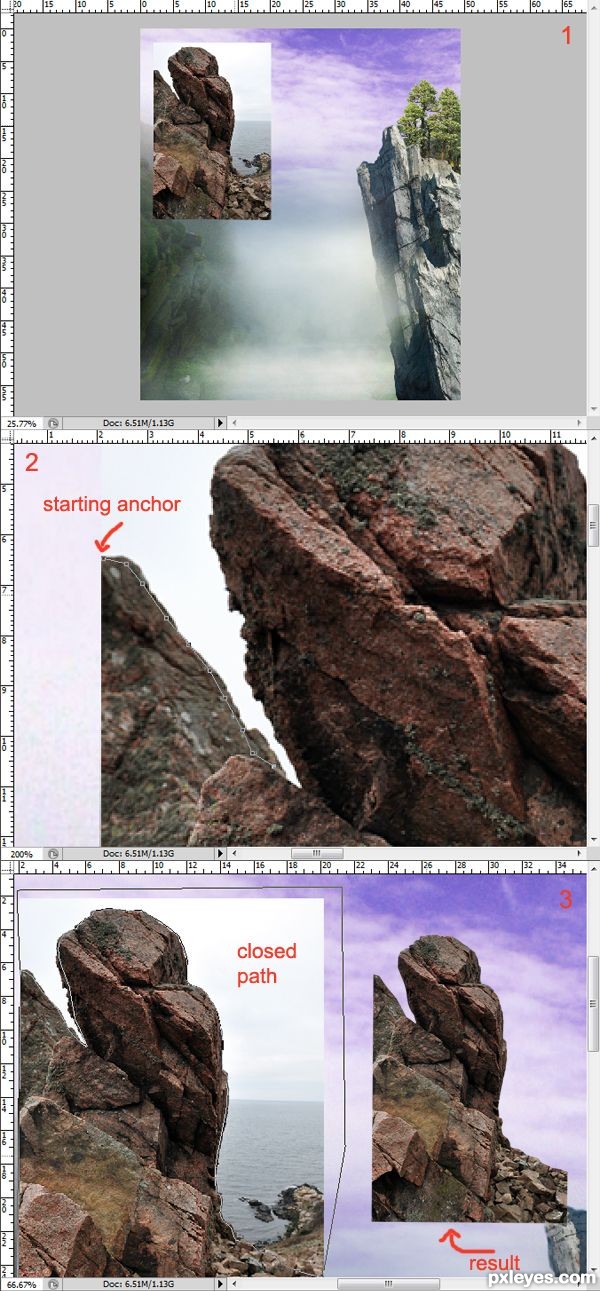
Open the other rock picture (1).
We need to crop the rock from the background. To do this, we will used pen tool (P). select the pen tool on the tool panel, zoom it in ( Ctrl + +) and start clicking the first anchor as the starting anchor point (2).
Continue clicking to make the other anchors by tracing the the rock and the background area until the path is closed that is indicated by thin line around the area traced. Right click on the path and when the command box comes up, choose make path selection. Finally, press Del to delete the selected area (3).
Step 14
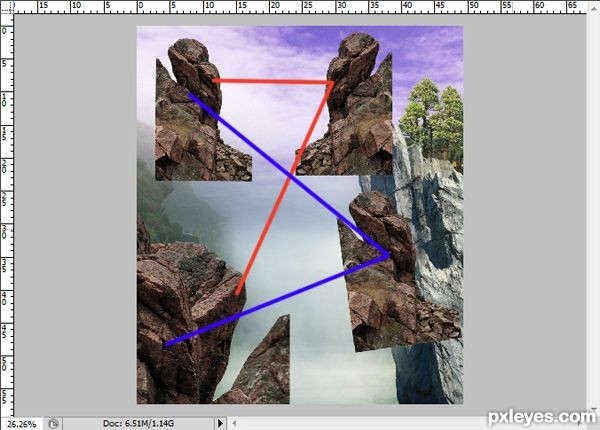
Start to create another cliff for the scene. Place the cropped rock at the lower left corner. Remember to scale it to fit the composition. Then, duplicate the rock layer one time, flip the duplication layer horizontally and place it under the original layer in the layer panel
Step 15
Now we have the other cliff. There is unneeded part of the cliff to be clean out. We still need to give the two cliff layers layer masks, and then with very soft brush, stroke the unneeded part. Also stroke the edge of the cliff the same way as we do for the previous cliff in step11. See the illustration picture for the result.

Step 16
I decided to change the color of the two cliffs created in step 14-15 to match with the color of the other rock created in step 10-11.
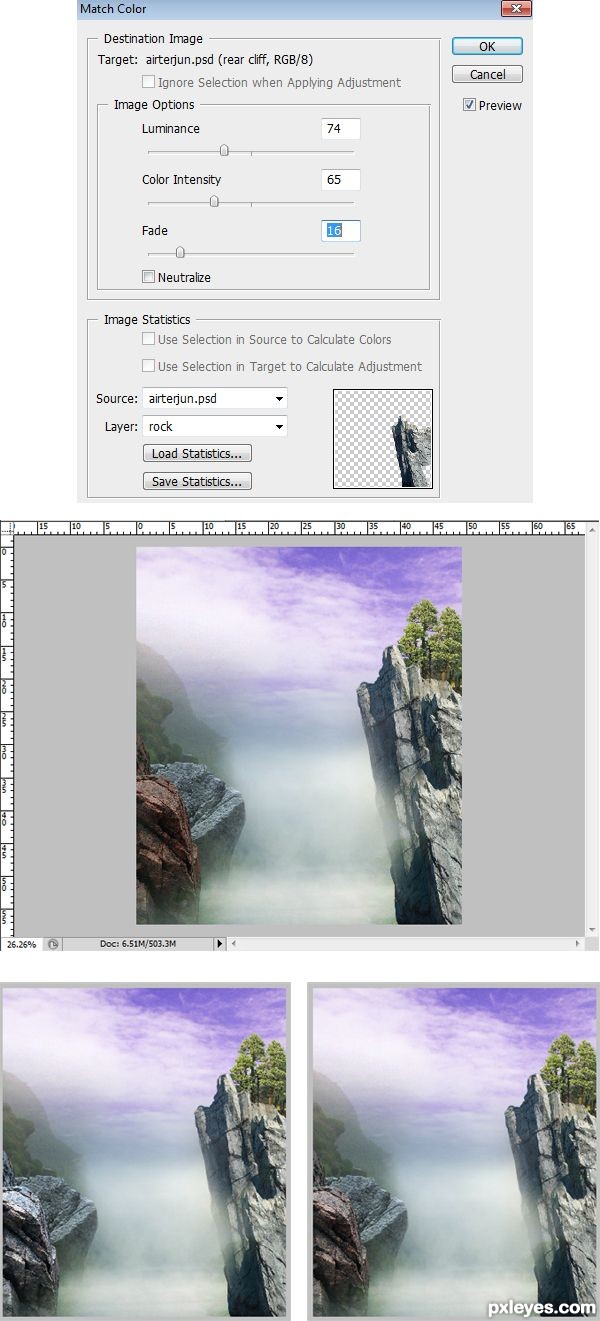
First, we will do this to the rear cliff. With the rear cliff selected, go to image > adjustment > match color. There will be an option command box coming up and do this setting :
Target : airterjun.psd (rear cliff, RGB/8). This means that the target of the image we are going to match is in the psd formatted document called airterjun ( I named the document airterjun which is Indonesian words for waterfall ), and the layer’s name of the targeted image is rear cliff.
Source : airterjun.psd. This means that the source image to which the targeted image is going to match with is in the psd formatted document called airterjun.
Layer : rock. This indicates the layer’s name of the source image to which the targeted image is going to match with.
After matching the color for the rear cliff, proceed with the front cliff. First duplicate the front cliff layer (Ctrl+J), with the duplication layer selected, go again to image > adjustment > color match. Do the same setting for the target image ( front image copy ) as the ones for the rear cliff. The source image is rock. Finally, set the blending of this layer to normal at 43% opacity. See the illustration image for the result.
Step 17
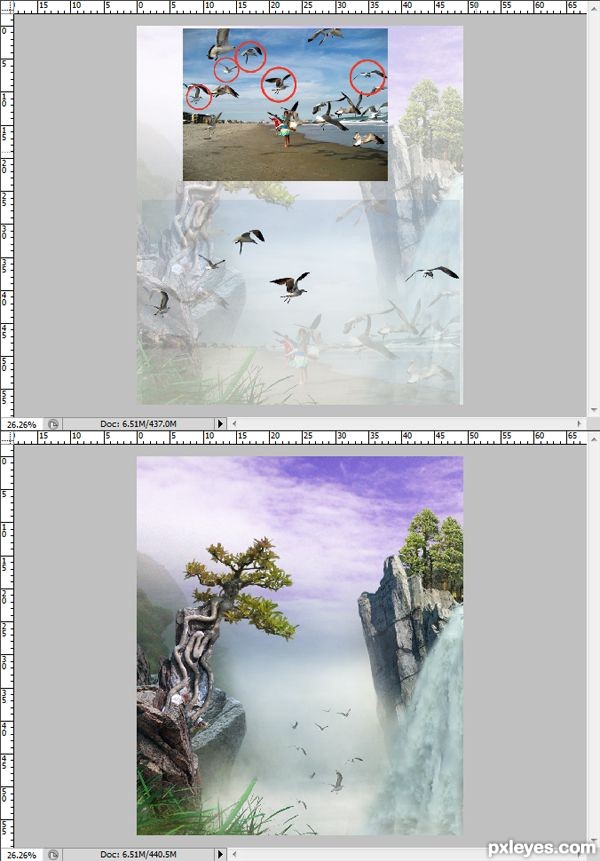
Now add the other tree on the document. Please refer back to step 8 on how to extract the tree from the background. After extracting, copy-paste the tree to the document.
Step 18
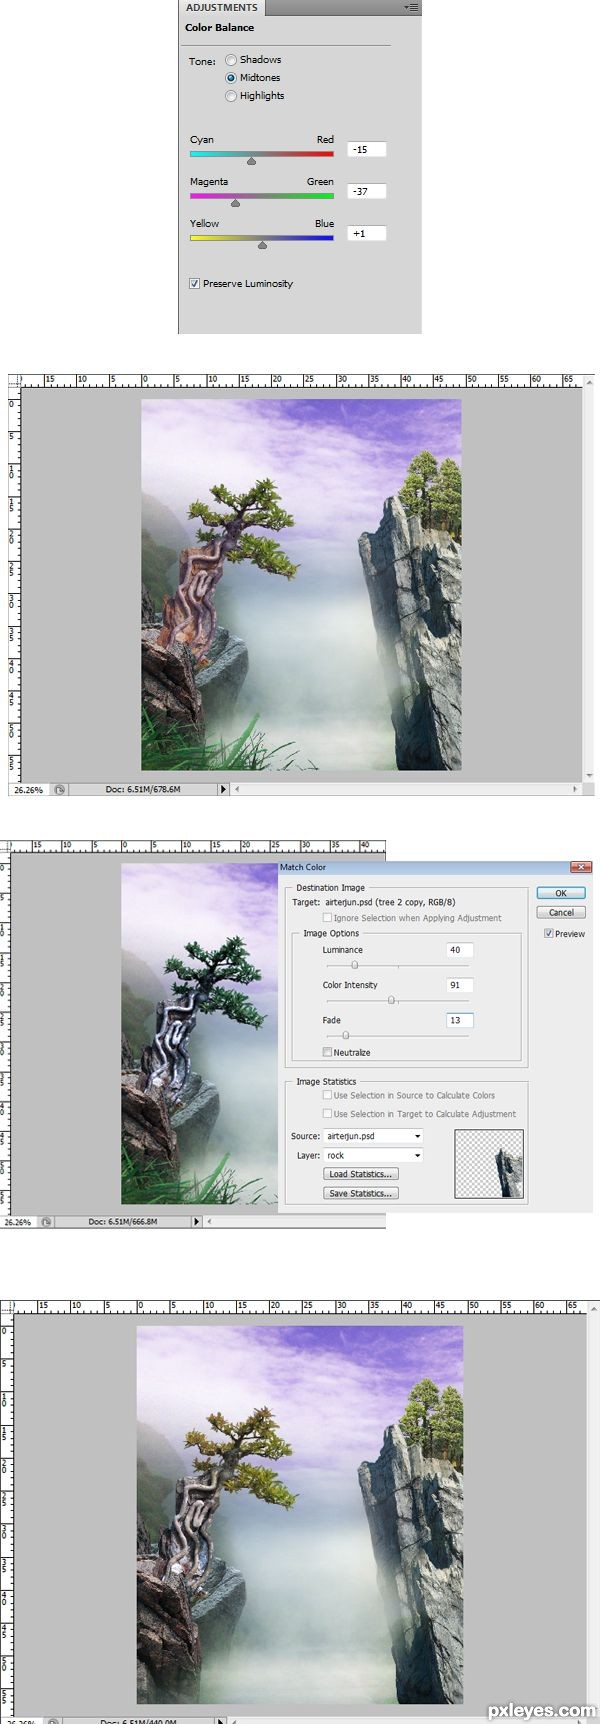
To blend the tree well with its surrounding, we will do color adjustment to this image. First duplicate (Ctrk+J) the tree2 layer ( I named this layer tree 2 in the layer panel ). There will be a new layer called tree 2 copy. Select the original tree layer and then give it a new adjustment layer : color balance. Make sure to give this new adjustment layer clipping mask. Then, select the duplication layer (tree 2 copy layer). Go to Image > adjustment > color match. See the illustration picture for the setting. Click ok. With the tree 2 copy layer still selected, go to layer > layer mask > reveal all to give it a layer mask. With soft round brush at 24% opacity, stroke the leaves of the tree, the roots and some area on the rock on which the tree is planted. Please see the illustration for the final result I created.
Step 19
Now we will add grasses for the foreground. Open the source picture on the document. Cut out some grass area on the picture. Extract the grass. Please refer back to previous steps on how to extract using color range.
Step 20
Next is creating the waterfall. Open the source picture. Crop the waterfall, and then cut out the water. Duplicate the cut out water 3 time. Next, arrange the duplication in such ways. After finding the desired shape, with soft brush at 40 – 70 opacity erase some lines formed from combining the tree layers. The most important thing is try to make the edge of the waterfall look very soft.

Step 21
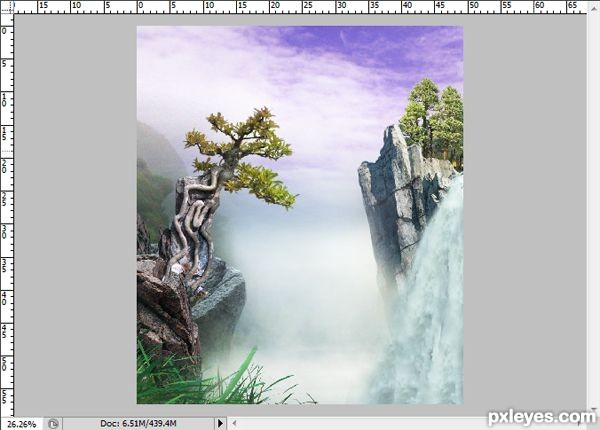
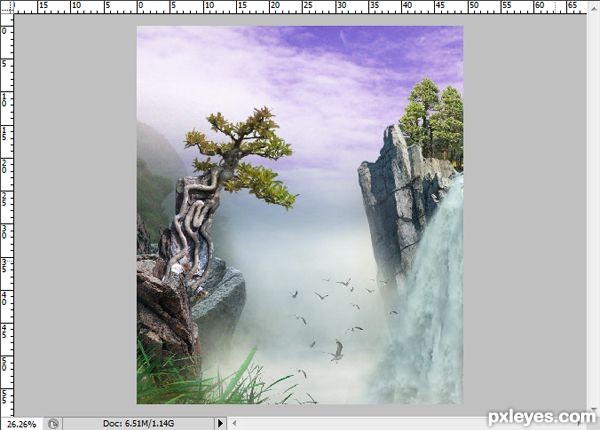
This is the result I created so far…..
Step 22
I decided to give the scene more gentle mist. We can do this by manipulating this source picture. Open it on the document. Scale it up. And then place it on the lower part of the document. Hide the upper part of the image. Finally set the blending of this image to soft light at 100 % opacity.
Step 23
Next is to add some birds on the scene. Open the source image. Crop some birds on the image. I used pen tool to do this. Please see step 13 for the pen tool usage.
Step 24
After cropping the birds, duplicate, scale the sizes and place them in the positions like I did. Set the blending of the each bird layer to normal but try to vary their opacity between 40-70 depending on the distance of the birds. The farer the lower the opacity is.
Step 25
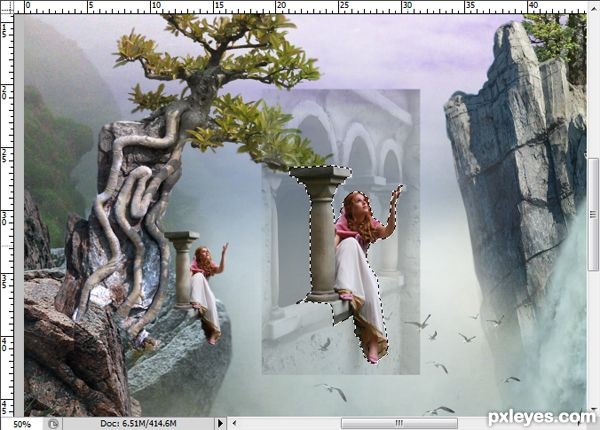
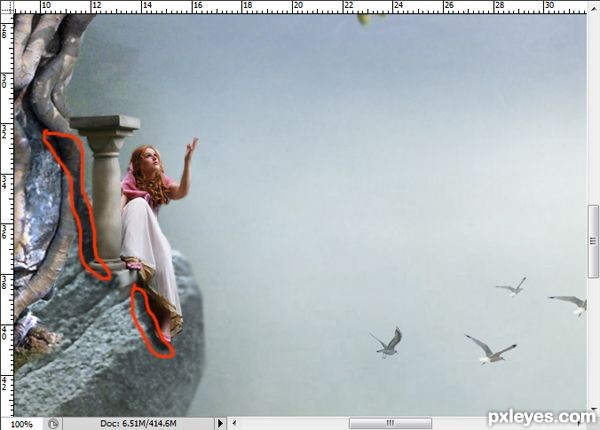
Now add the model on the scene. Cut the model. Scale it down to fit with the scene and place under the tree as if the model is sitting on the rock.
Step 26
Paint shadow underneath the feet, the model’s dress and also behind the pole.
Step 27
In this step we will cut out the cross. I used pen tool to achieve this. To enchant the cross, I gave it glowing light that can be achieved by going to layer > layer style. See the illustration picture.
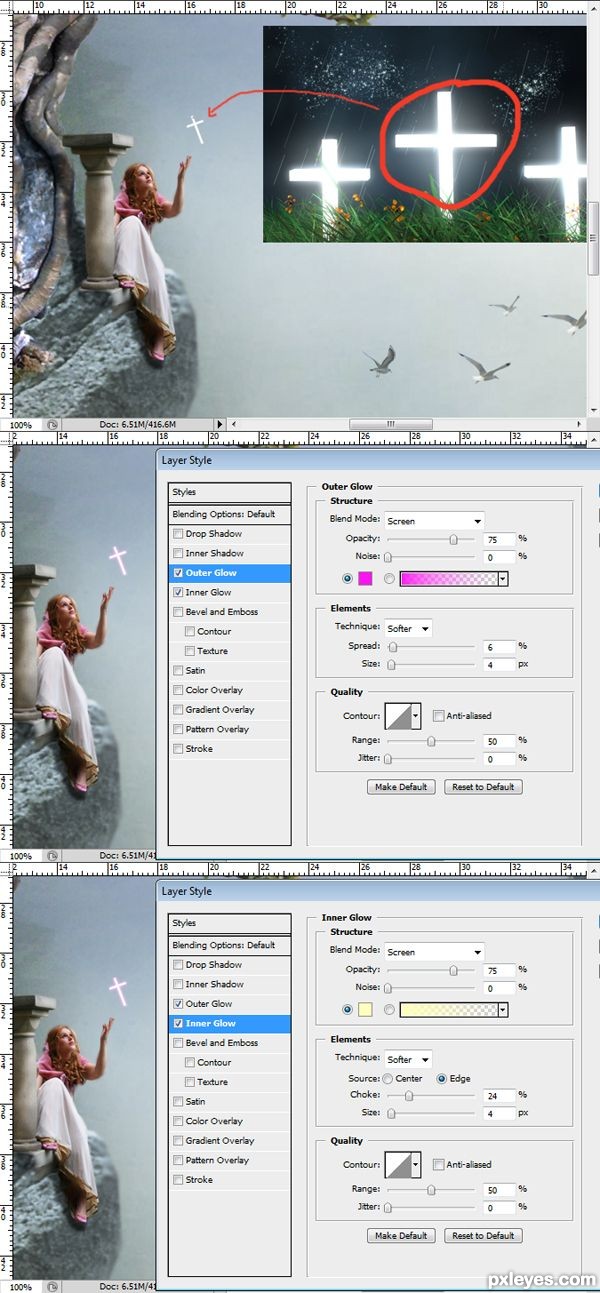
Step 28
Next, duplicate (Ctrl+J) this layer two times. Set the first duplication layer to overlay blending at 100% opacity and the second duplication layer to dissolve blending at 100% opacity.
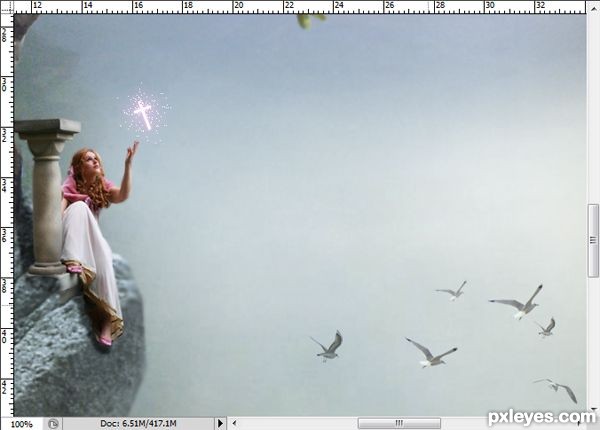
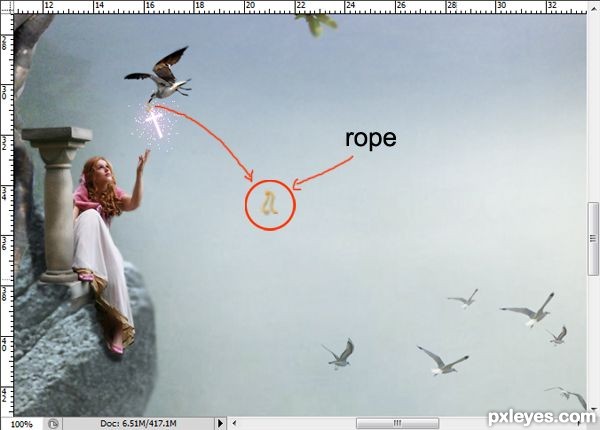
Step 29
Create a new layer (Shift+Ctrl+N). With this new layer selected, paint rope on which the cross will be hung. Finally, add a bird to show that the cross is carried to the girl by the bird.
Step 30
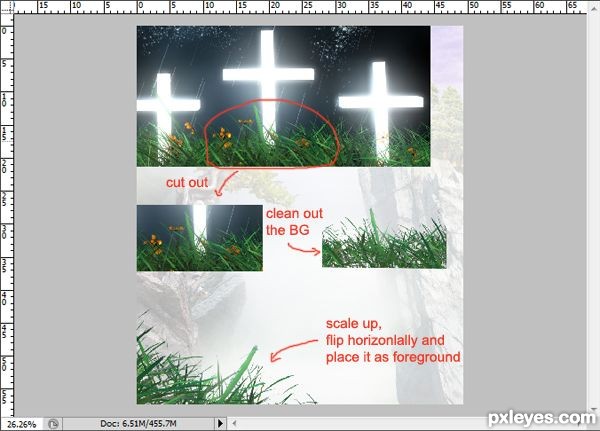
I added more grasses set as the foreground at the left below corner. The grass is the same ones I used in step 19. I just rotated it a bit using free transform tool.
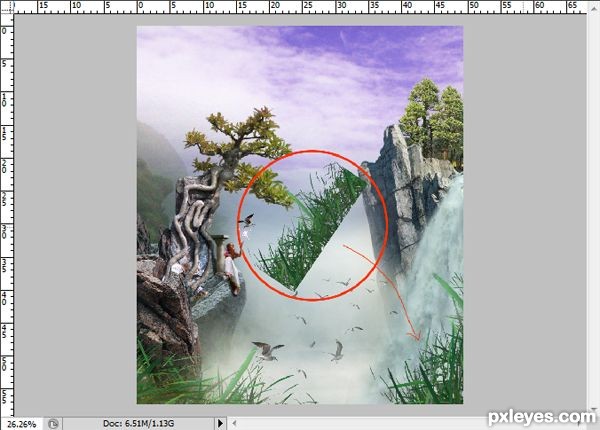
Step 31
Here it is the complete composition of the image.
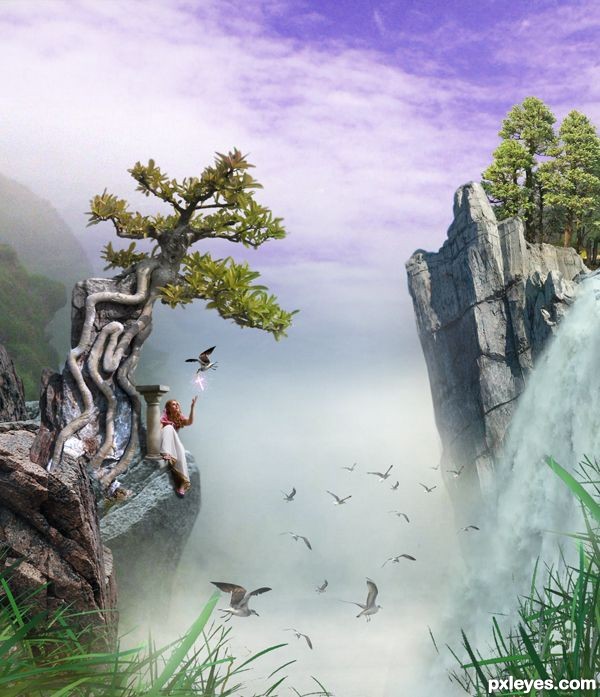
Step 32
This is the final result I created.
Hope you can learn something new from this tutorial.
I feel really glad if you give me feedback through comment below. Soon i am going to show more interesting & innovative tutorials so please keep visit our blog. That’s for now.
Have fun!
Feel free to contact with Clipping Design for clipping path service, image editing service, image masking service or any kind of design support.
Thank you…
Credit: pxleyes.com
No comments:
Post a Comment