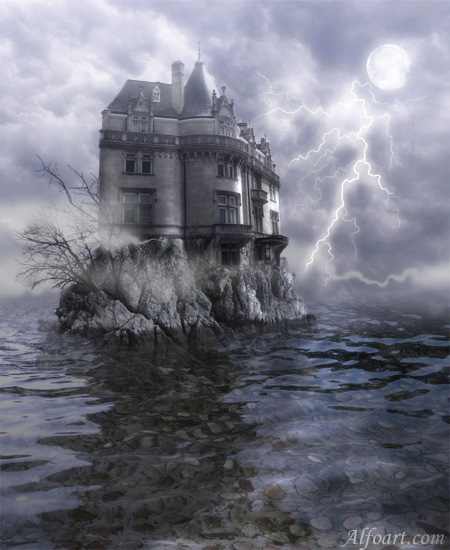
Today's i want to show how to make a amazing lighting effects in Photoshop We use Photoshop technique and lighting effects to make this tutorial. So let's have a try...
- Open up sky image in Photoshop.
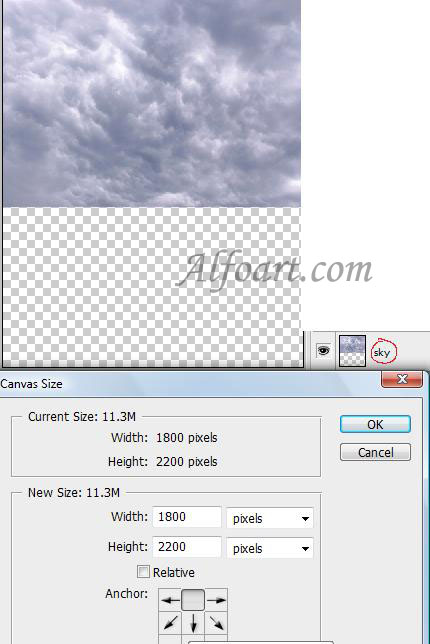
- Right click on Background layer, choose Layer From Background.
- Go to Image > Canvas Size.
- Increasing the canvas size adds space below an existing image.
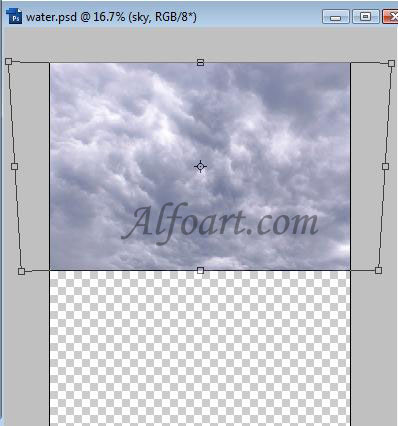
- Transform sky.
- Edit > Transform > Perspective.
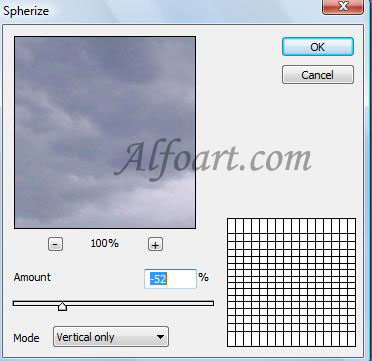
- Choose Filter > Distort > Spherize .
- Select sky layer in the Layers palette.
- Drag the layer or group to the New Layer button
 .
. - Go to Edit > Transform > Flip Vertical.

- Open new document with water image.
- Select > Select all
- Edit > Copy
- Return to Sky. Paste water image into a new layer.
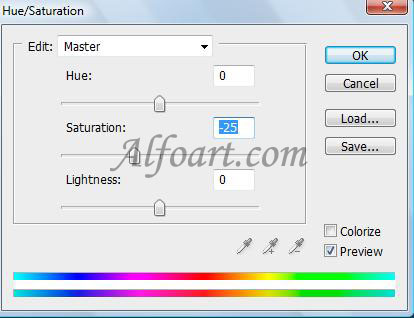
- Adjust colors for water layer. Choose Image > Adjustments > Hue/Saturation
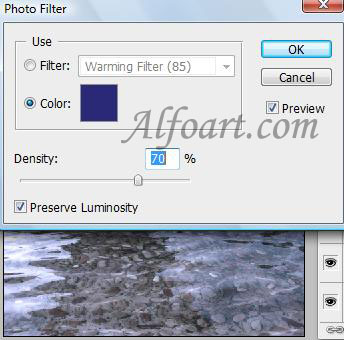
Go to Image > Adjustments > Photo Filter
- Repeat these actions for building and rocks.
- Open originals images, select building or rocks using Quick Mask just like in the example.
- Copy and paste them into new layers. Merge them (right click on layers, choose Merge Layers). Name layer "building".
- Adjust colors for this Layer.
- Do of the following:
- Erase underwater part of rocks using a translucent Eraser Tool.
- Fill a part of a building with rocks texture using Clone Stamp.
- Add Vector mask. To create a mask that reveals the entire layer, click the New Layer Mask
 button in the Layers palette, or choose Layer > Layer Mask > Reveal All. Fill the top part of Mask with linear gradient (black/transparent).

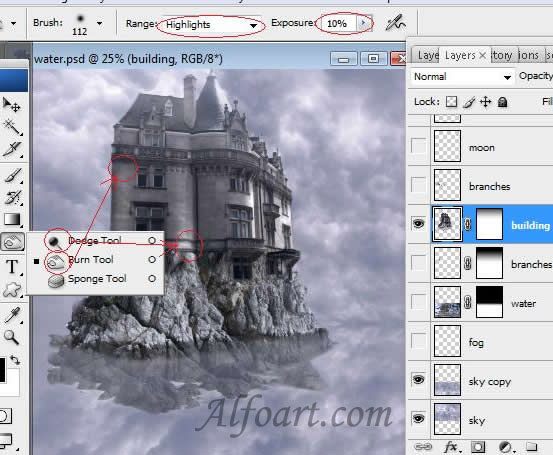
- Brighten some areas of the building and darken other, using Dodge Tool and Burn Tool.
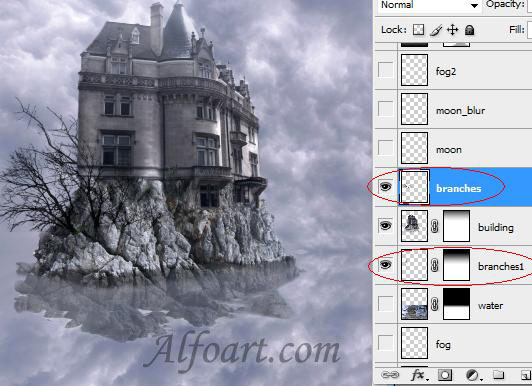
- Create new layers below and under building layer.
- Draw branches.
- Create a new layer.
- Paste image of moon. Choose Overlay Blending Mode for this layer.
- Duplicate this layer.
- Choose Screen Blending Mode for this layer.
- Go to Filter > Blur > Gaussian Blur (12-15).
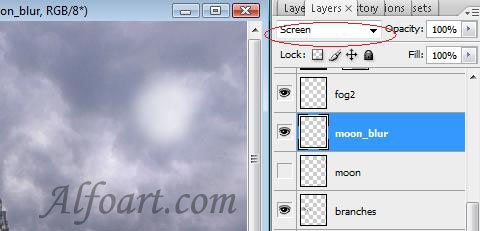
- Draw a fog using soft translucent brush.
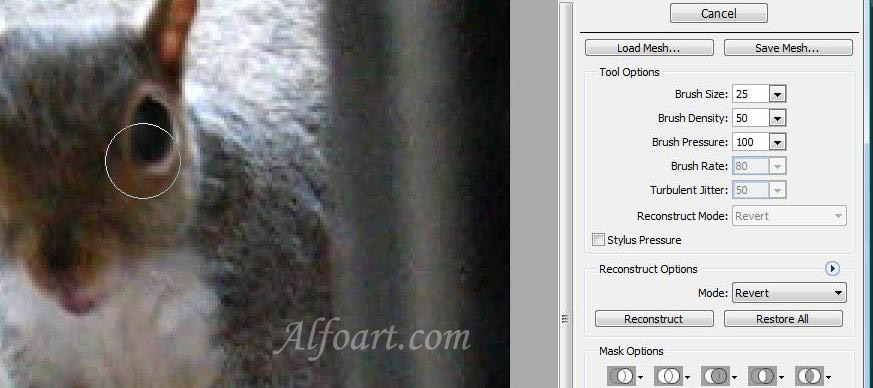
- Correct the form of foggy clouds using Liquify Filter.
- Add new layer. Choose Multiply Blending Mode for this layer.
- Fill it with Linear Gradient (black/transparent), Opacity 67%.
- Add Vector Mask.
- Erase some parts in Mask using translucent brush.
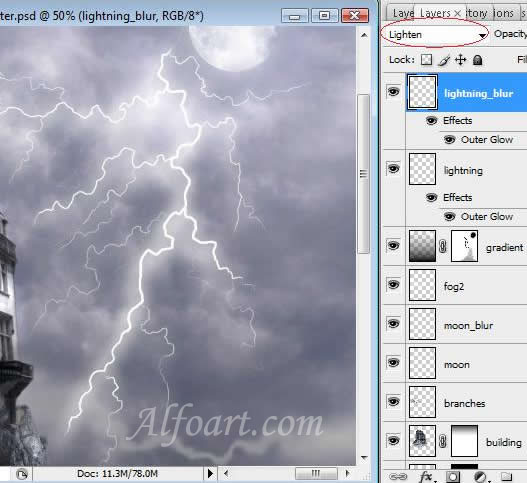
- Draw lightning, using white brush (6px, 4px and 2px).
- Right click on layer, choose Blending Options.
- Adjust Outer Glow.
- Duplicate layer.
- Blanding mode Lightning
- G to Filter > Blur > Gaussian Blur (15-20).
Hope you can learn something new from this tutorial.
I feel really glad if you give me feedback through comment below. Soon i am going to show more interesting & innovative tutorials so please keep visit our blog. That’s for now.
Have fun!
Feel free to contact with Clipping Design for clipping path service, image editing service, image masking service or any kind of design support.
Thank you… 
Credit:antsmagazine.com
No comments:
Post a Comment