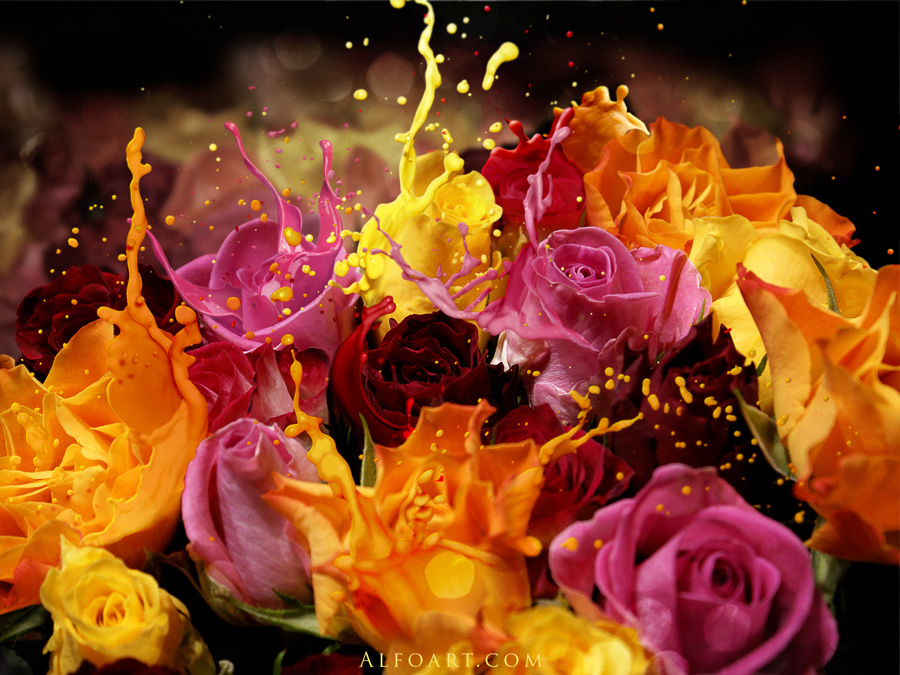
Today’s I will show how to create Liquefied Effect to colorful Flowers in Photoshop. This tutorial we use very easy method and beautiful
splash effect for Roses bouquet, layer style. So let’s
have a look…
- Create a new Photoshop document little bit higher than original roses picture.
- Fill the first layer with black color.
- Insert roses photo into the second layer. File > Place.
.jpg)
- Duplicate "roses" layer and apply Gaussian blur filter(around 30%) for the bottom layer.
- Duplicate the blurred layer and merge both of blurred layers. Move created layer a little above.
.jpg)
- Make active original roses layer.
- Add Layer Mask to the original layer and process top edge of the layer with soft black brush in the Layer Mask.
.jpg)
- In order to separate background and foreground,Load selection for background flowers with Magnetic Lasso
 Tool.
Tool.
.jpg)
- Apply Gaussian Blur filter to selected area - 5%.
.jpg)
.jpg)
Hope you can learn something new from this tutorial.
I feel really glad if you give me feedback through comment below. Soon i am going to show more interesting & innovative tutorials so please keep visit our blog. That’s for now.
Have fun!
Feel free to contact with Clipping Design for clipping path service, image editing service, image masking service or any kind of design support.
Thank you… 
Credit. http://alfoart.com
No comments:
Post a Comment