
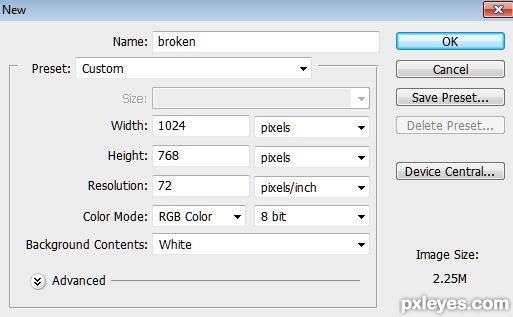
Step 1
Start by creating a new document (Ctrl+N) of 1024 pixels wide and 768 pixels high. I gave this document's name: broken
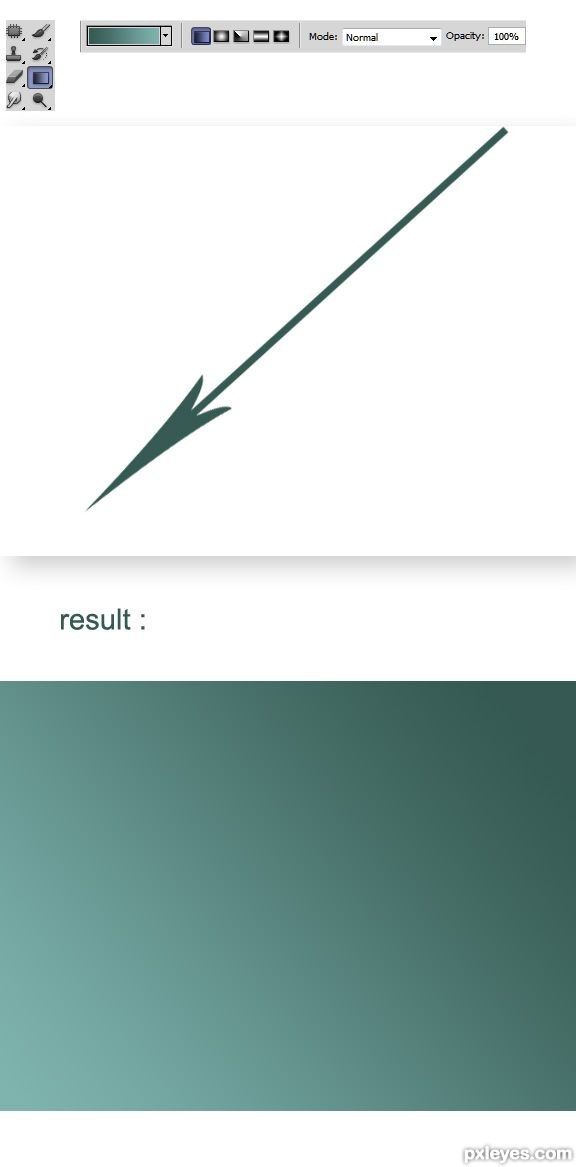
Step 2
Set the color of the foreground to #365a53 and the background to #7fb4af. Now activate theGradient Tool on the tool panel. Choose linier gradient at 100% opacity with normal mode. Start creating gradient on the white background document by clicking on the upper right corner of it and drag to the lower left corner. Please take a look at the screenshot given for the result I created.
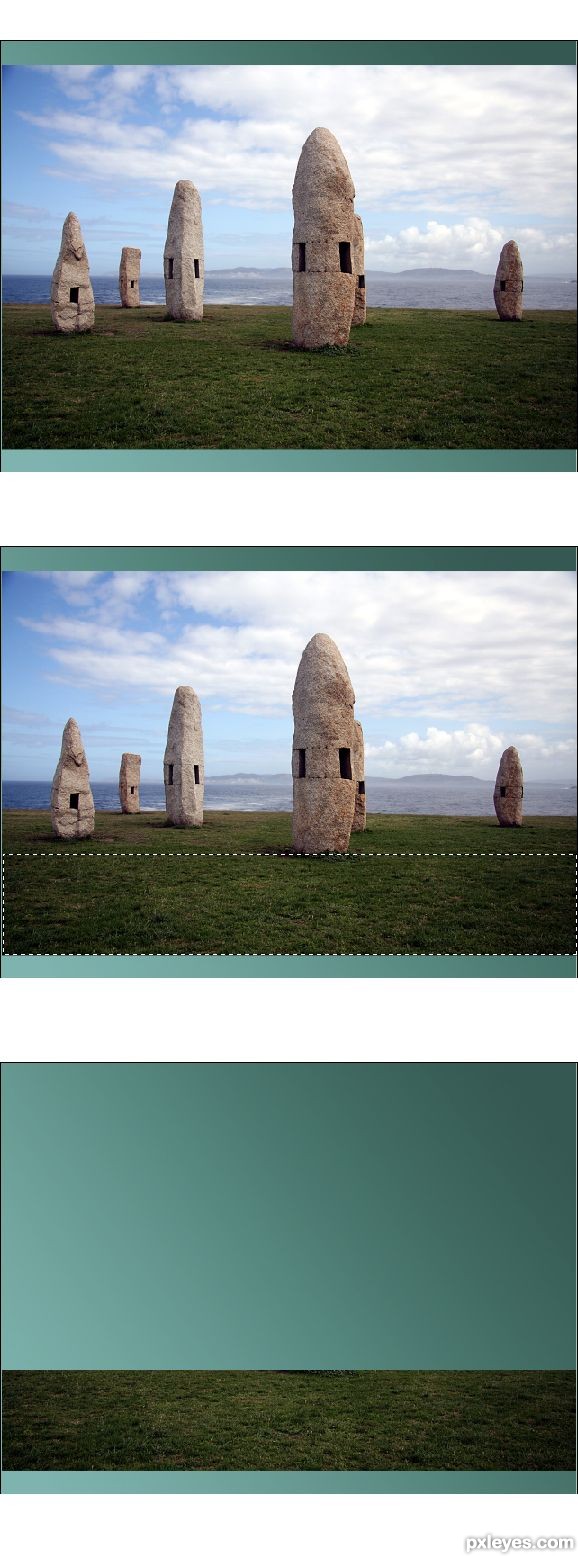
Step 3
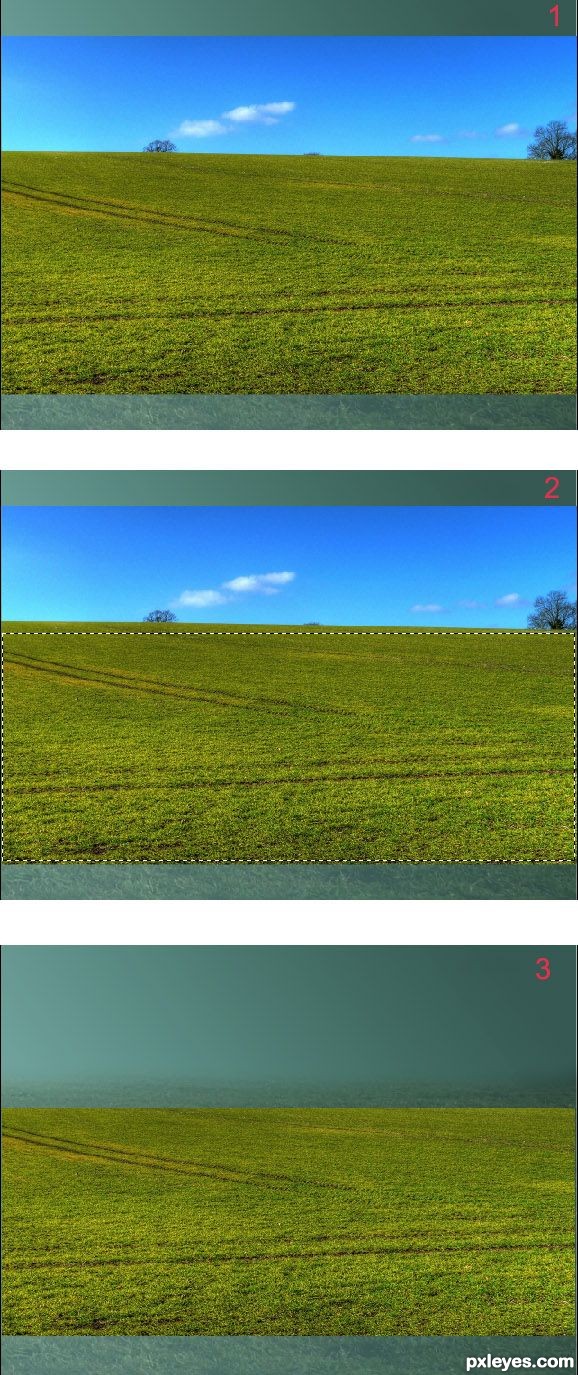
Now open the stock picture on the document from which we are going to get the grass texture used to create the field for the image. To achieve this, firstly take the Rectangular Marquee Tool on the tool panel and make selection on the part of the grass needed. Once the selection has been made, hit Ctrl+J to duplicate it into a new single layer on the layer panel. I name this layer grass 1.
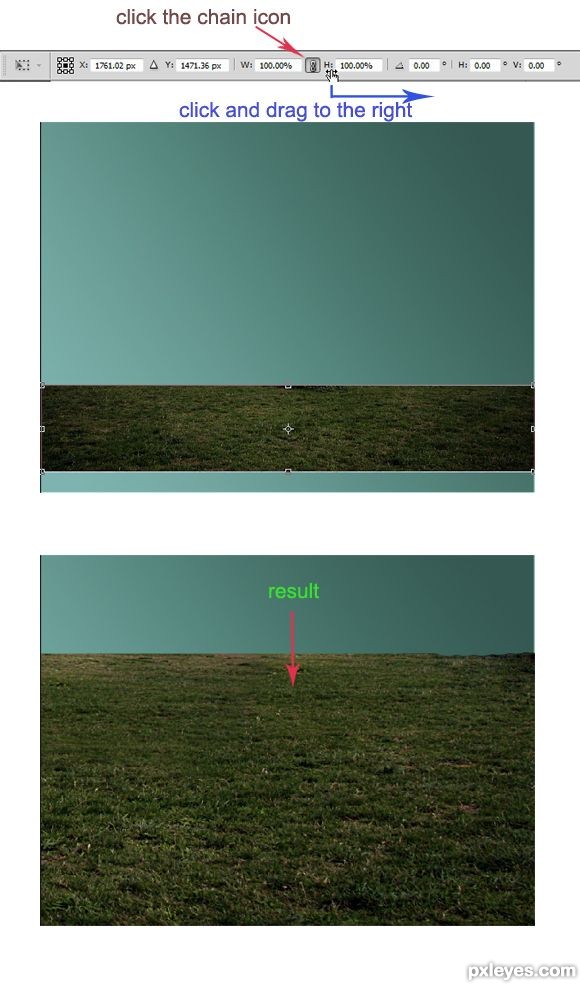
Step 4
We will scale and place the size of the grass to fit the one as needed. Now take Free Transform Tool (Ctrl+T). Go to the Free Transform Tool option bar to click the chain icon meaning that we keep the aspect rasio of the image’s height and width. Put the cursor near the chain icon. When the pointing icon shows up, click and drag to the right meaning that we scale the image up and vise versa. Please see the one I create for this step illustrated on the screenshot.
Step 5
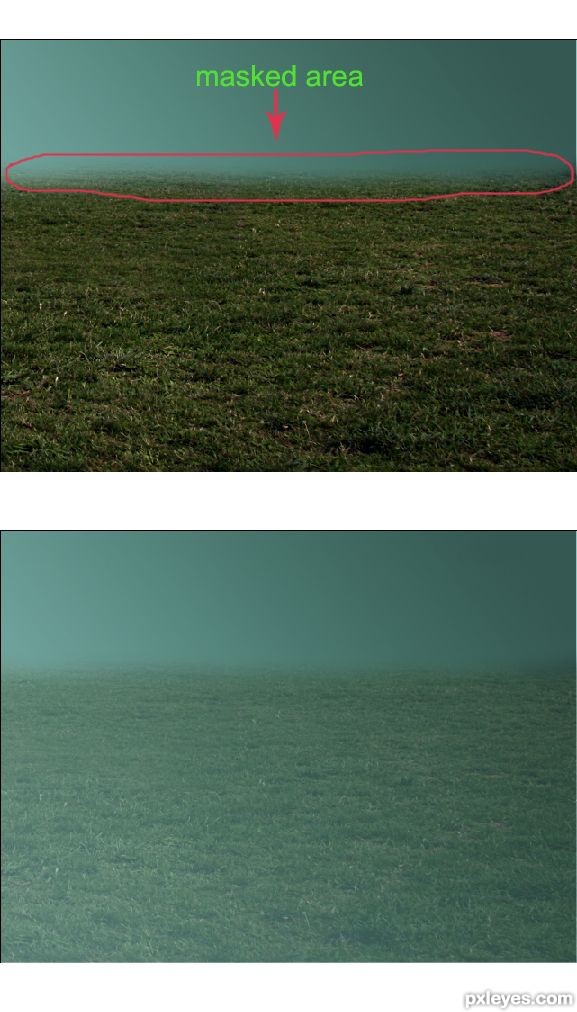
Now mask the top part of the grass and then set it to normal blending at 36% opacity
Step 6
I decided to add more grass texture to the image. To apply this, open the other stock picture. Please refer back to similar step 3 for what to do in this step.
Step 7
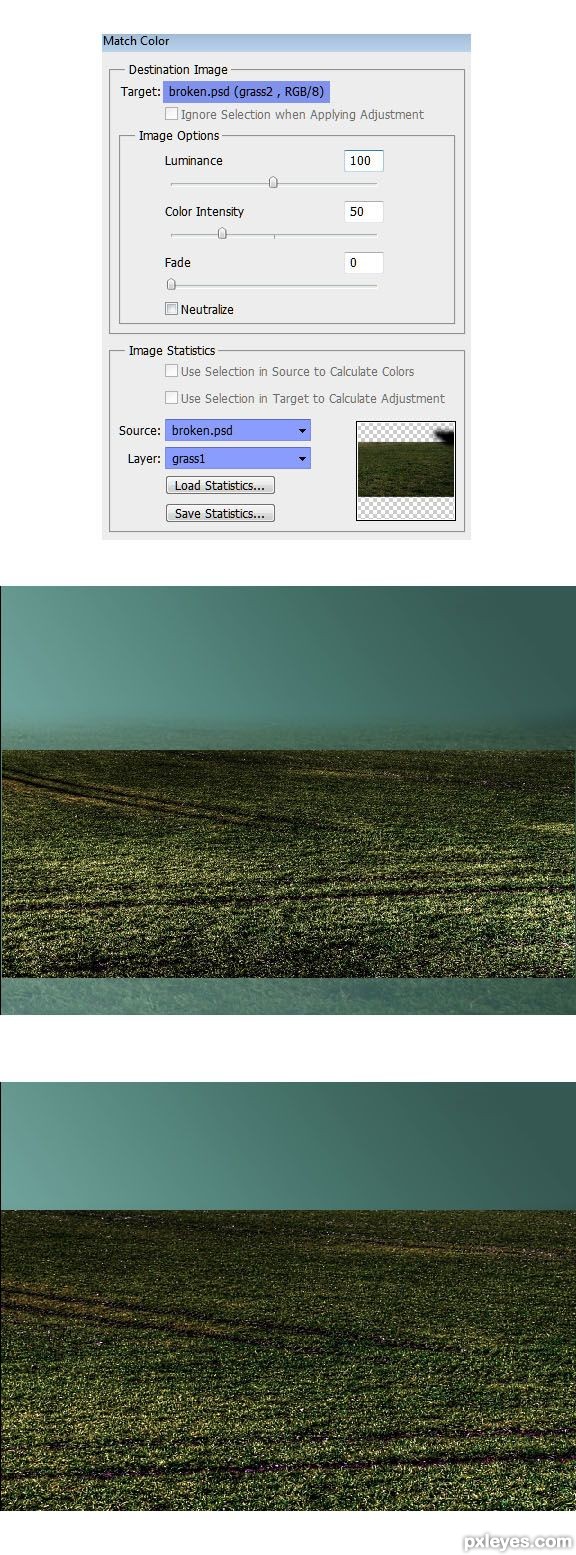
Once we have cut out the grass, (I named this layer for this grass grass2 on the layer panel) go to Image > Adjustment > Match Color. Then do the setting like the one I did on the match color option window. Target : broken.psd(grass2..), meaning that the target of the image we are going to match is in psd formatted document called broken (I named the psd broken), and the layer’s name of the targeted image is grass2. Source : broken.psd, meaning that the source of the image to which the targeted image going to match with is broken.psd. Layer : grass1, this indicate that we choose grass1 layer as the sourced layer with which the grass2 is going to match.
Step 8
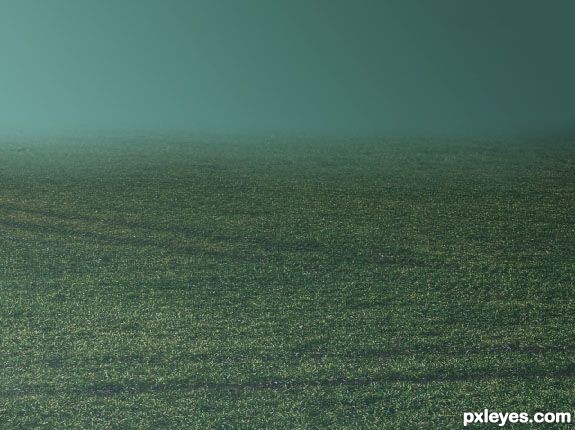
After matching the color, mask the grass2 on the upper part. Reduced its opacity to 42%.
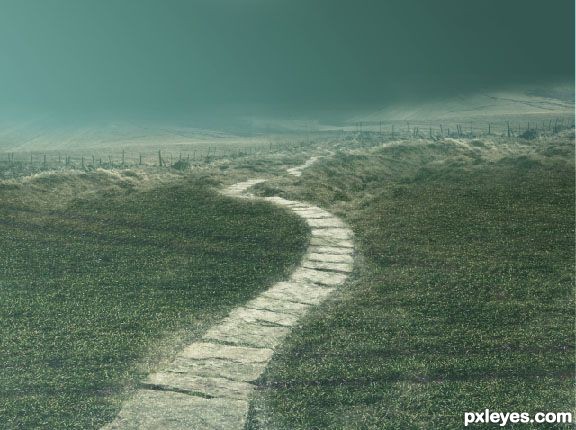
Step 9
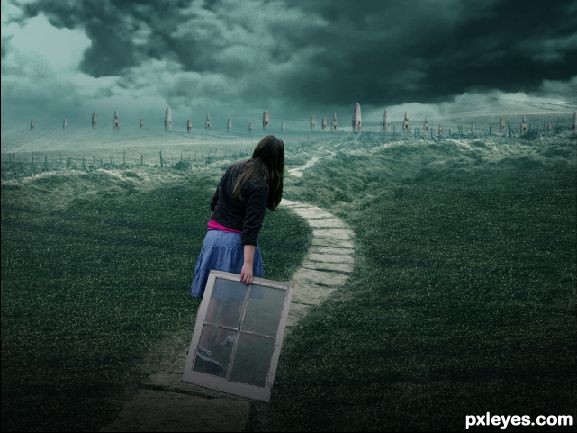
Open the other stock image. Place the image on the left side of the canvas. Set its blending to screen and mask parts of the image as needed. I named this layer for the image path
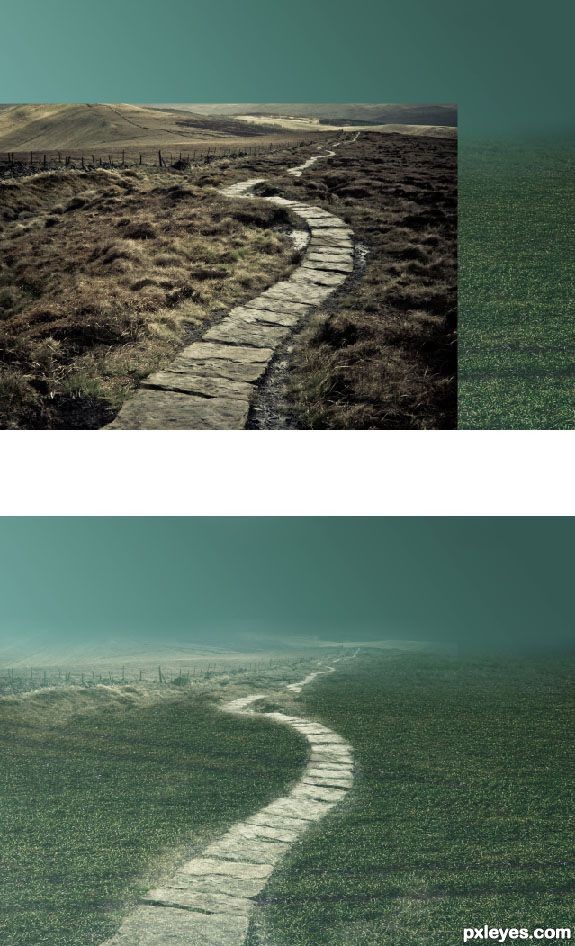
Step 10
Duplicate (Ctrl+J) the path layer and place the duplication in the right side of the canvas. Set its blending to screen at 100% opacity.
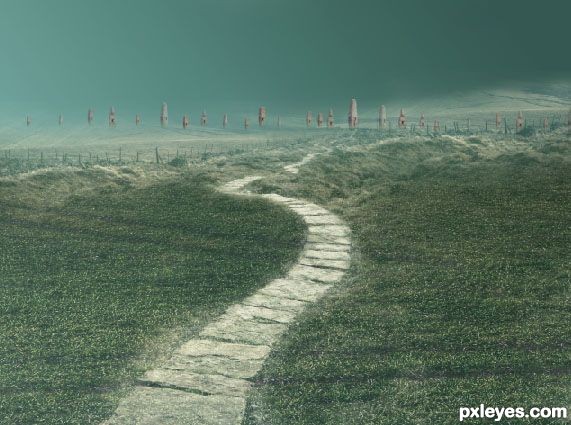
Step 11
In this step, we will add some menhirs to scene. We achieve this from the same stock image used to get the grass in step 3. Cut out some of the menhirs on the picture. I used pen tool to do this. Scale and place the cut out menhirs.
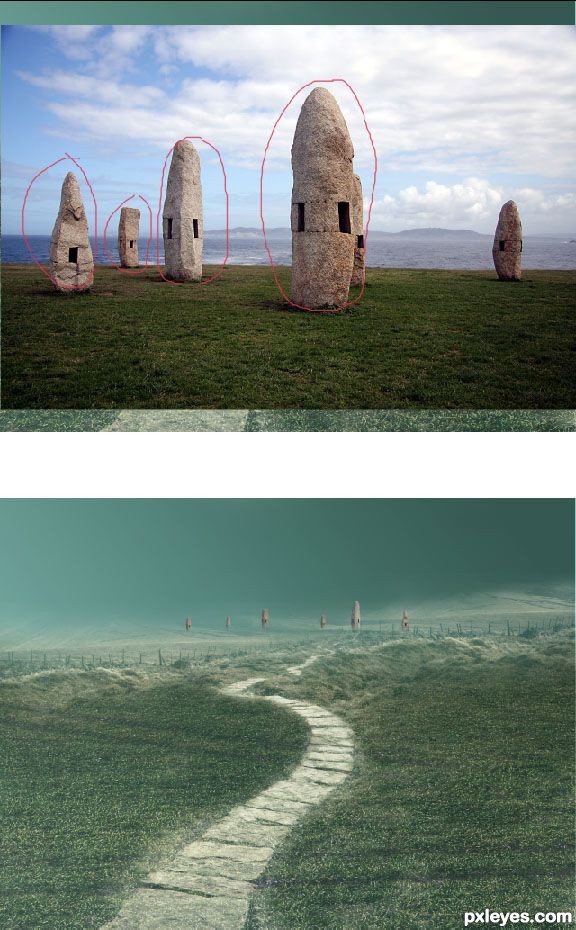
Step 12
Duplicate the menhirs into some other layers as needed. Scale and place the duplication layers in such ways as needed. Try to vary the opacity of these layers to 50-70%.
Step 13
Now to complete the composition, we will add cloud to the image. Open another stock image. Cut out the cloud area of the image (please refer back to previous step 3 for the similar step used in this step).
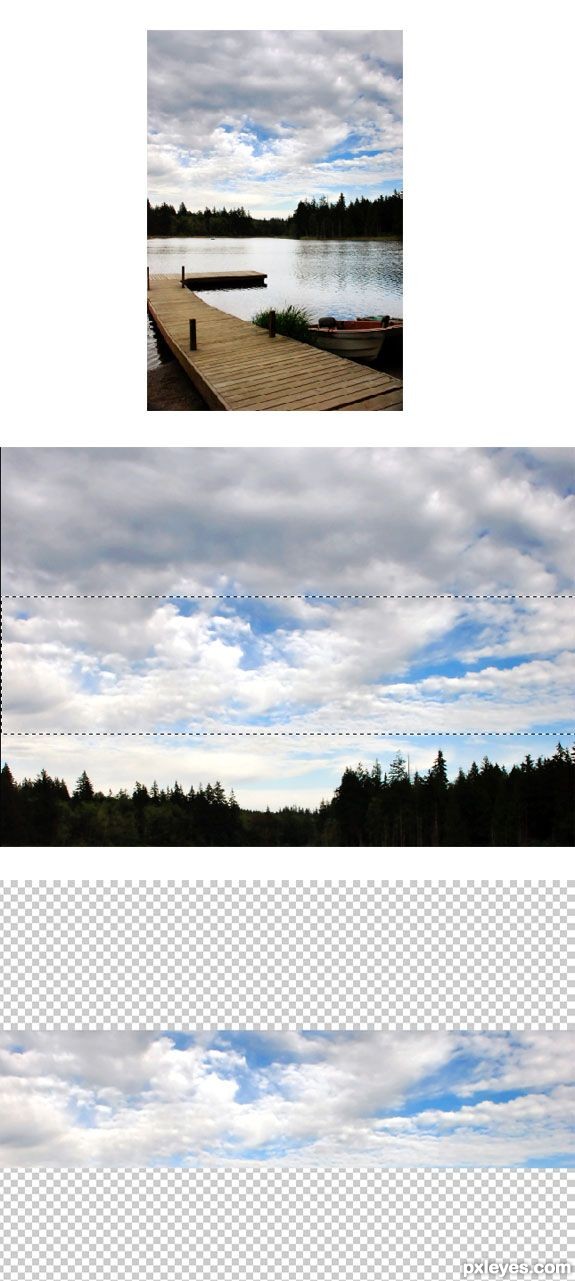
Step 14
Add the cloud to the canvas. Mask the lower part of it. The color of the cloud does not fit well with the entire image. We need to match its color. To do this, I just simply did the same way like I did in previous step 7. Please take a look at the screenshot for the setting.
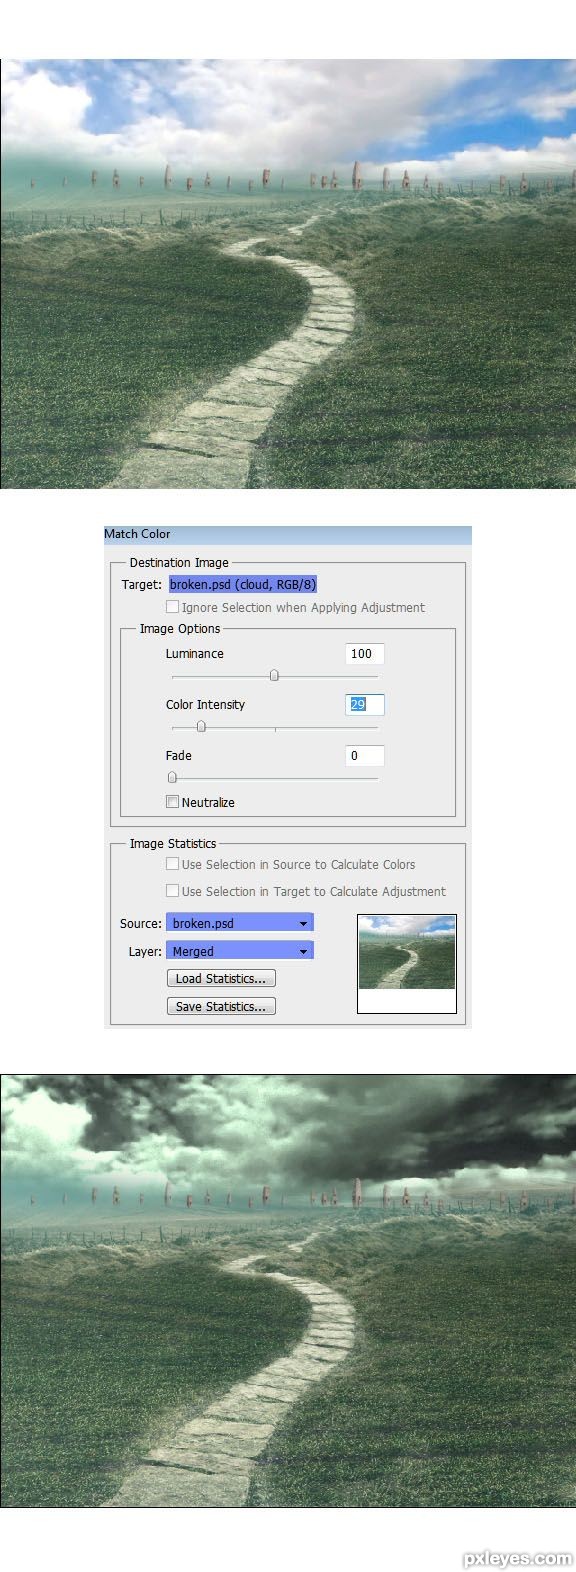
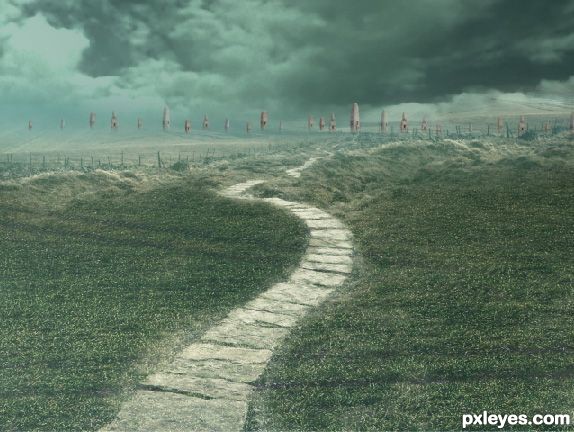
Step 15
After matching the color of the cloud, reduce the opacity of it to 40% with normal blending.
Step 16
Create a new layer (Shift+Ctrl+N) on the top of the other layers. Set the foreground color to #8da2b3. Now activate the Gradient Tool once again. Choose foreground to transparent linier gradient. Click and drag to create the gradient.
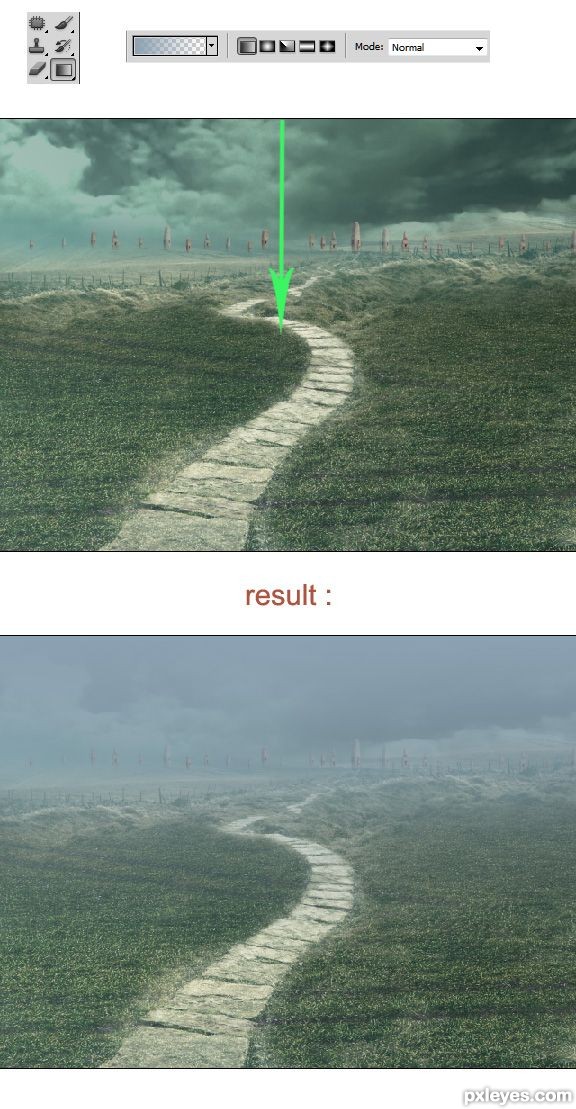
Step 17
Here is the result after setting the gradient layer to soft light blending at 100% opacity :

Step 18
Finally, to finish the image, we will add some new adjustment layers. Firstly, we will add Gradient Map by going to layer > new adjustment layer > gradient map. Set this gradient map to soft light blending at 100% opacity. Then We add another adjustment layer : Gradient Fill. Set this gradient fill layer to multiply at 70% opacity. The last, add one more Gradient Map and set it to multiply at 66% opacity. Make sure to mask the center part of this gradient. Please see the setting for each in the screenshot.
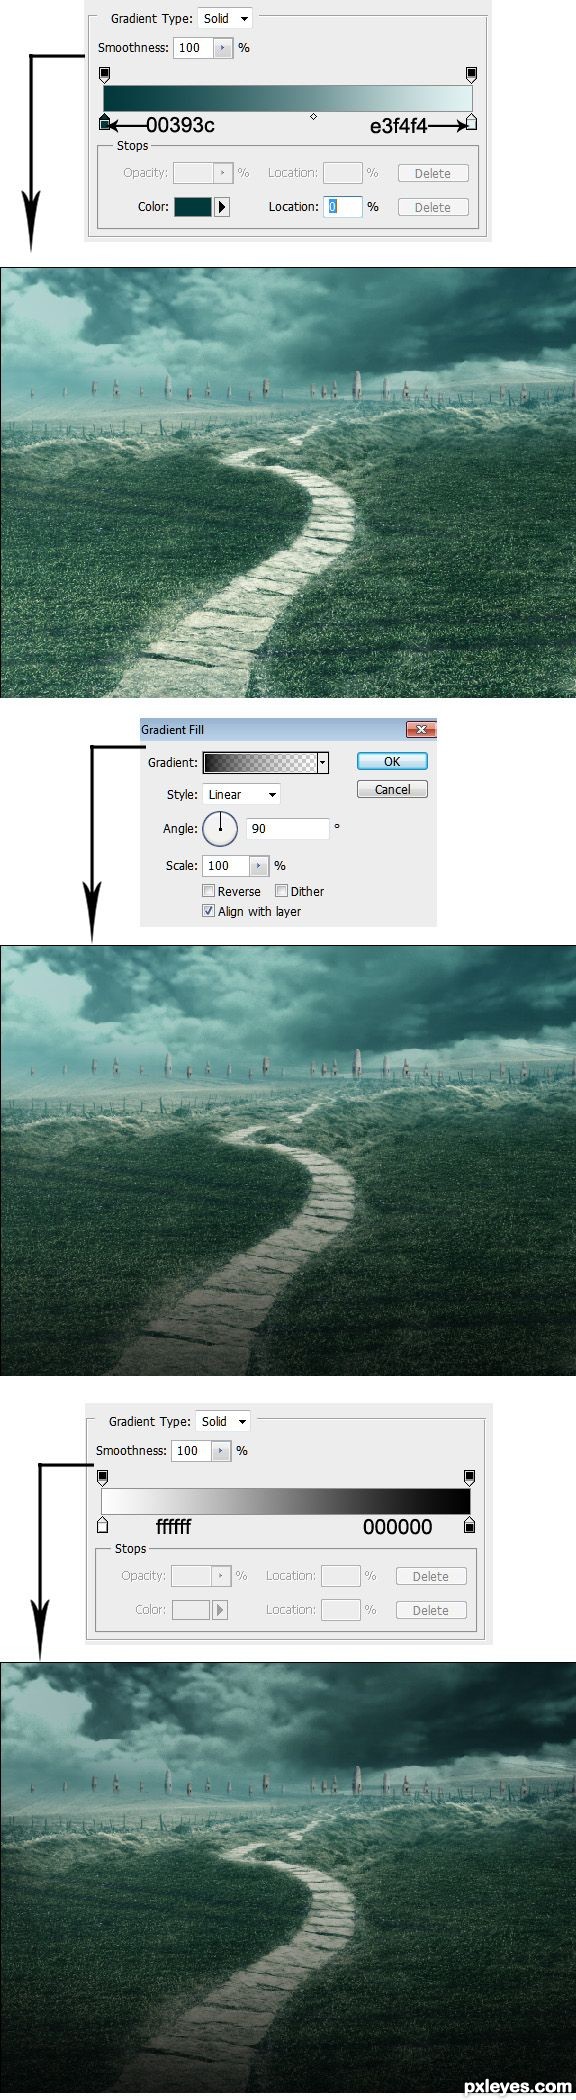
Step 19
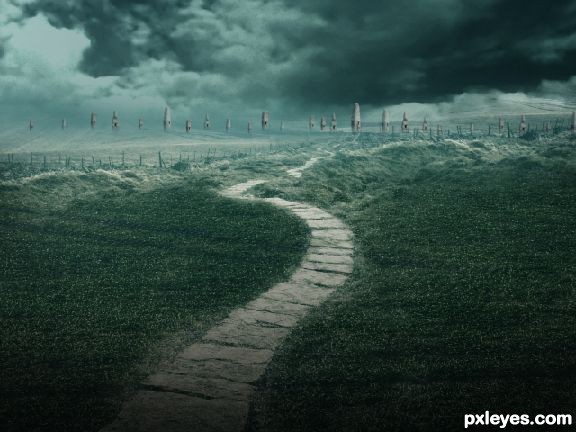
Here is the result I did :
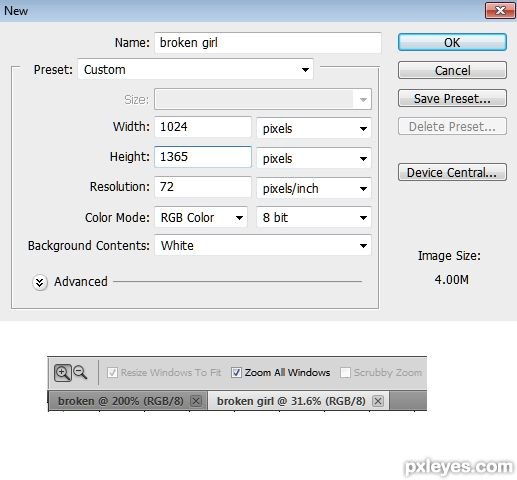
Step 20
Create another new document of 1024 pixel wide and 1365 pixel high. I gave this new document's name: broken girl. So there are two document open in photoshop now: the document with name ofbroken and the new one with name of broken girl.
Step 21
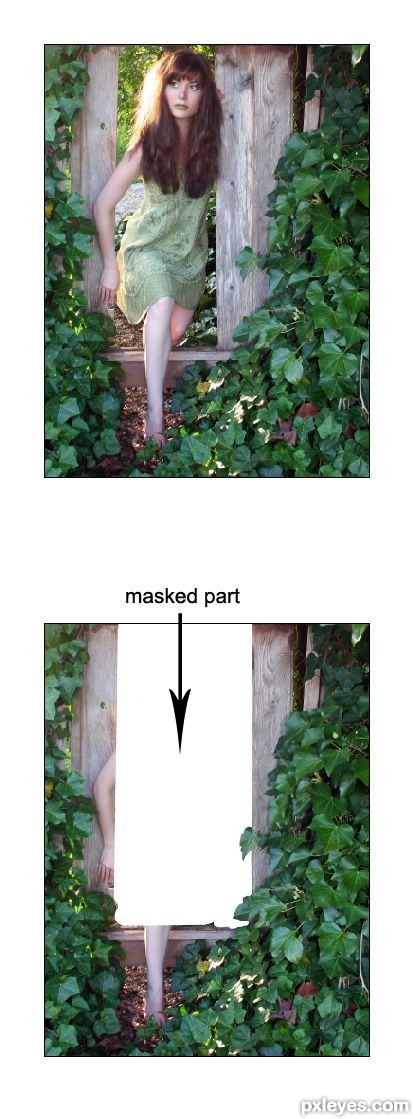
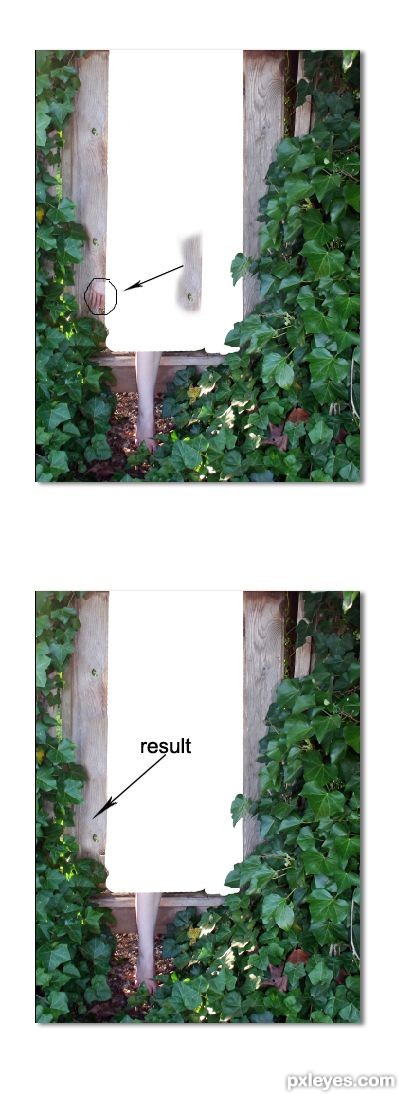
Open the stock image on this new document. Scale this image to fit the entire document. Hide the part containing the model by masking it. I named this layer big window.
Step 22
There is the hand of the model left. We don need it either. We will cover it by doing these steps: firstly, cut out the wood area above the hand. Then, place the cut out on the hand to cover it. Finally, mask the edge of the cut out wood to blend it well with the main wood.
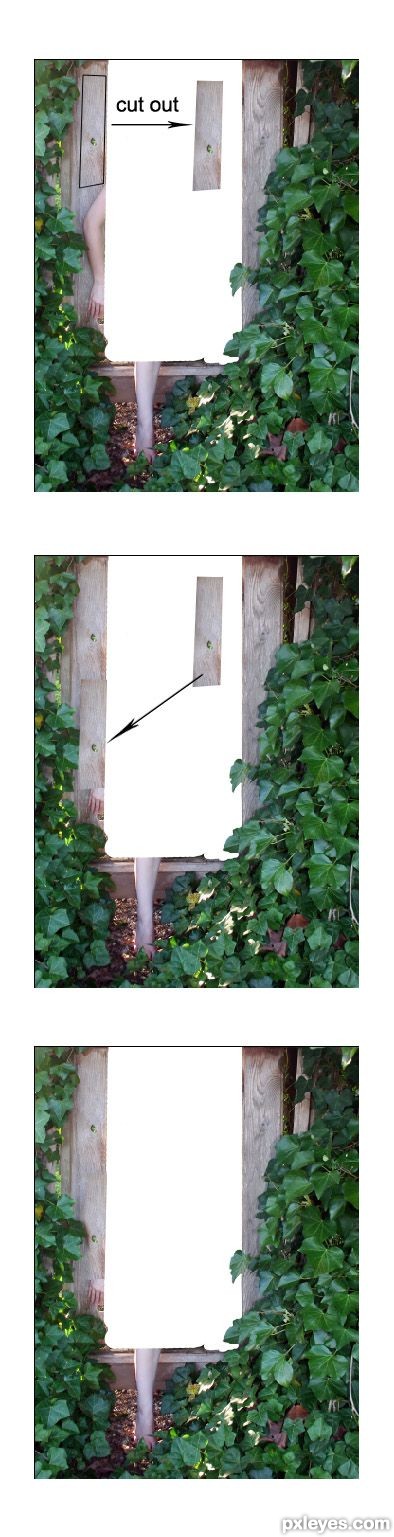
Step 23
Duplicate the cut out one time. And use this duplication layer to cover the rest of the hand.
Step 24
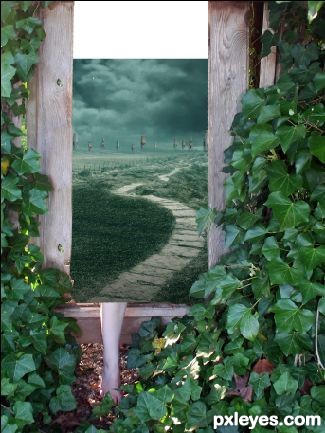
Add the background image we have previously created behind the window. Scale and place it where needed.
Step 25
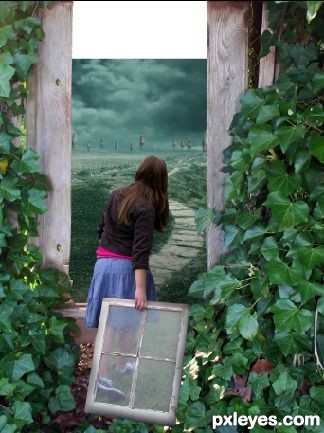
Next, we will add a model to the scene. Open the model image. Take Pen Tool. We will extract the model from its background. Click the edge of the model to start creating anchor point and trace the entire model by keeping on clicking until the path is closed which is indicated by thin line around the model. Right click on the closed path to show path command option. Choose make path selection to change the path into selection. Hit Shift+Ctrl+I to inverse the selection and then hit Del to delete the background.

Step 26
Add the extracted model to the canvas.
Step 27
Open the cloud stock picture on the canvas. Flip it vertically and place behind the background and window.
Step 28
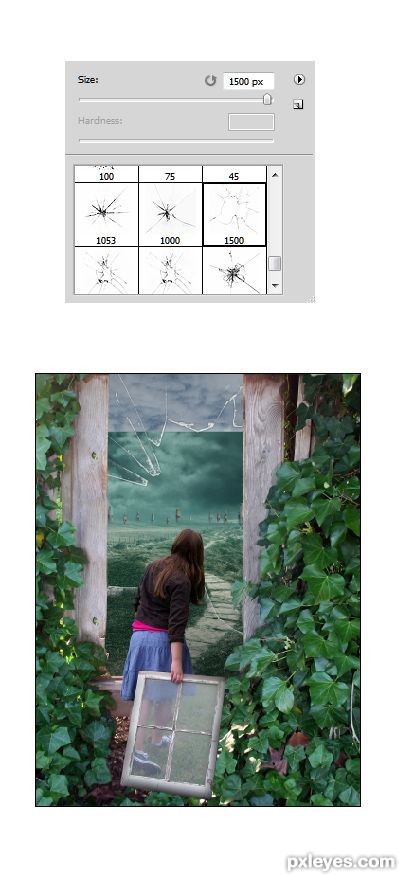
Now create a new layer (Shift+Ctrl+N) between the window and background. Select Brush Tool on the tool panel. Choose one of the Shatter glass brushes. With white color, click the brush on the new layer. I named this shatter glass layer glass on the layer panel. The screenshot below shows what I did in this step:
Step 29
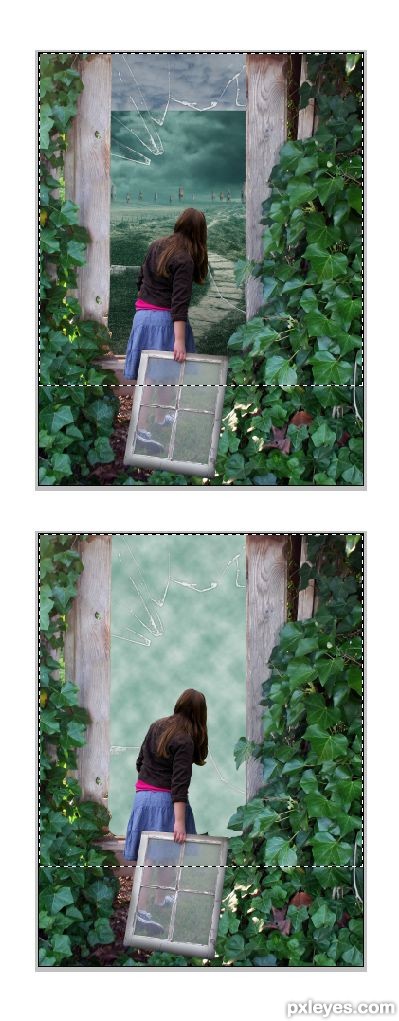
Once again create a new layer behind the glass layer. Take Rectangular Marquee Tool and make selection on the new layer like the one I did. Set the foreground color to #76a496 and thebackground to #cedcd6. Now go to Filter > Render > Cloud to give the selection cloud texture. I named this cloud layer: mist
Step 30
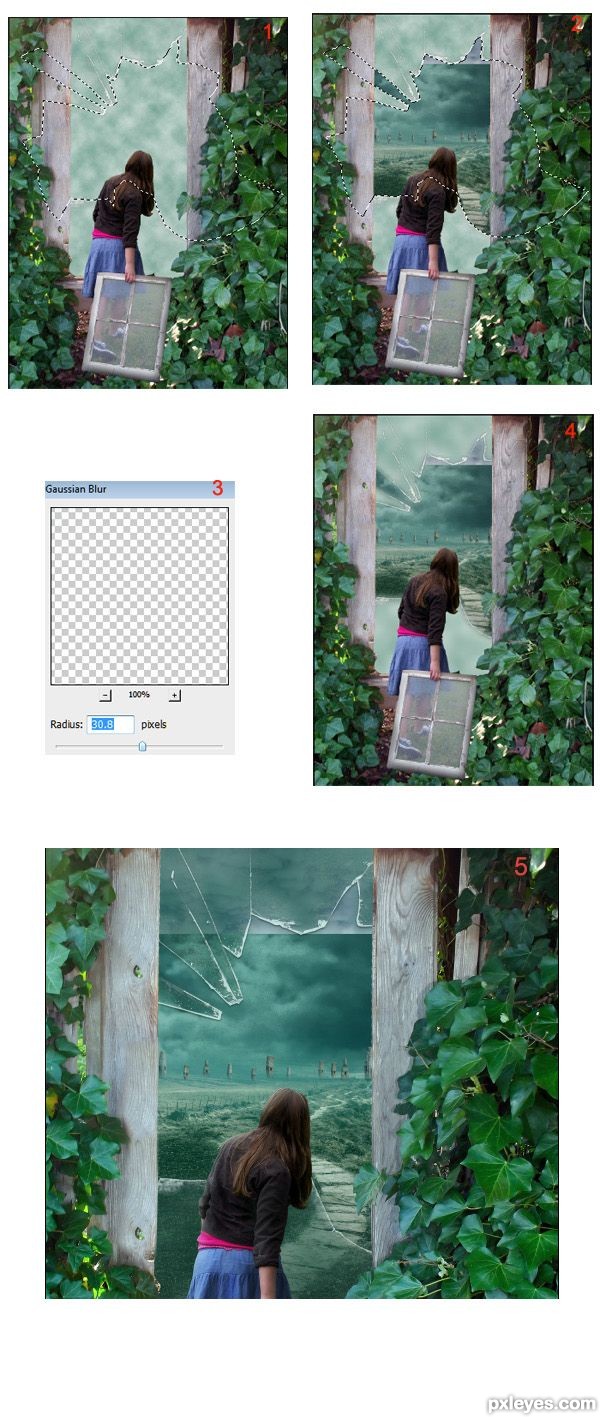
Now this is what you need to do:
1. Firstly, select the glass layer on the layer panel. Take Magic Wand Tool on the tool panel. With the glass layer still selected, click the magic wand to the center of the empty part of the shatter glass. This will make a selection like the one I created in the illustration picture (pic.1) .
2. Next, with the selection is still activated, go to the layer and then hit Del to delete the selected part of the mist (pic. 2) .
3. Go to filter > blur > Gaussian blur to smooth the mist (pic. 3-4).
4. Finally, set the mist layer to normal at 27% opacity. Duplicate the mist layer one time. Set the duplication layer to multiply at 100% opacity. See the result I created (pic. 5):
Step 31
Now go to the background layer. Mask the upper part of it as seen in the illustration below:

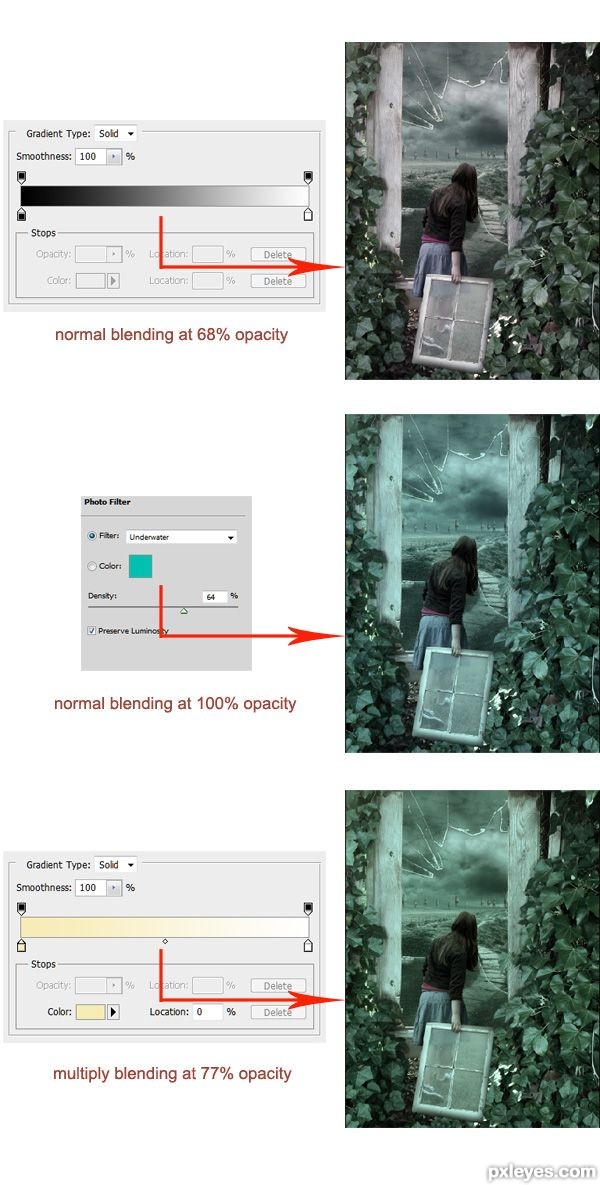
Step 32
What to do next is giving the image some new adjustment layer. Firstly, I gave the gradient map and set the blending of it to normal at 68% opacity. Then, another adjustment layer: photo filter. Set this adjustment to normal at 100% opacity. Finally, I gave another adjustment: gradient map with multiply blending at 77% opacity. Please see illustration to know the setting of each adjustment layer.
Step 33
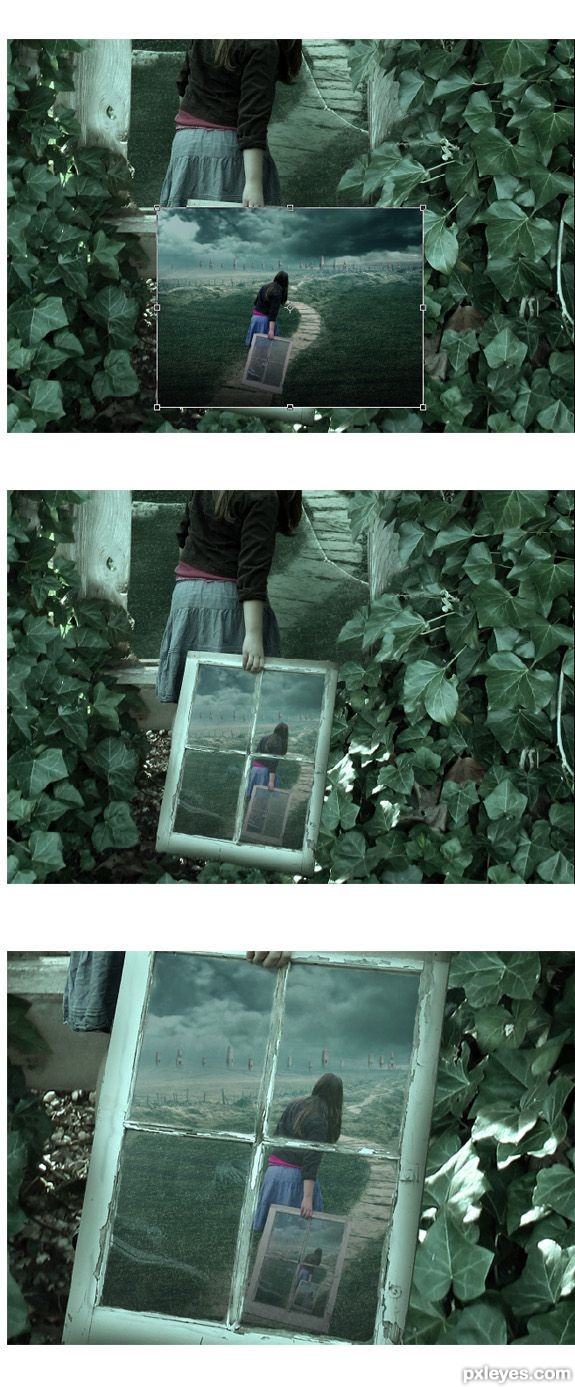
Go back to the broken psd file. Add the model to this image. Merge all layer to get the result like the one I did. I named this layer: picture framed.
Step 34
Now go back again to the main psd document named broken girl and add the picture framed layer to it. Scale and place it to fit the window carried by the model as if it looked framed on it. Mask part of image unneeded. Set its blending to normal at 70% opacity. Duplicate the picture framed layer two times. Scale and place the duplication layers to each windows carried by the model.
Step 35
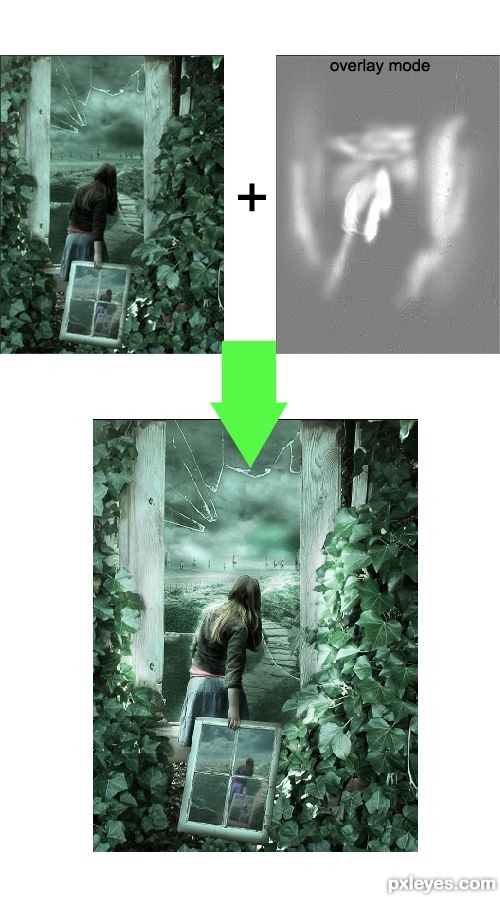
Hit Shift+Ctrl+Alt+E to stamp all visible layers into a single layer. Next, go to filter > others > high pass. Please take a look at the setting of the high pass on the screenshot:

Step 36
Now set the high pass layer to overlay at 100% opacity. Select Dodge Tool on the tool panel. Set itsexposure to 8%. Start stroking on the parts of the image to give more light.
Step 37
Create another new layer. Take soft round brush tool. Set it size to 900-1000 pxl and 100% opacity. With white color, stroke the center of the image. I named this layer: white.
Step 38
Reduce the opacity of this white layer to 50%.
Step 39
Next create a new layer. Select very soft round brush with low opacity (8-10 pxl). On this new layer, stroke edge parts of the image.
Step 40
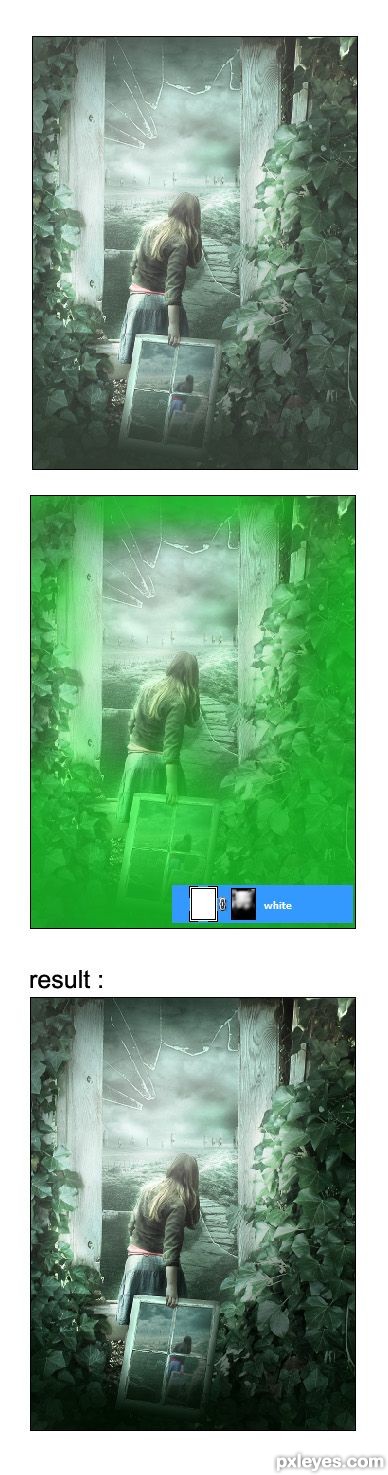
Again, create another new layer and fill this layer with white. Set its blending to normal at 20% opacity. Mask mostly the lower part and some areas on the left, right and upper edges (see the illustration picture to know the areas to be masked marked in green).
Step 41
Finally, give the image another two new adjustment layers: Photo filter with normal blending at 100% opacity and Vibrance with normal blending at 60% opacity.
Step 42
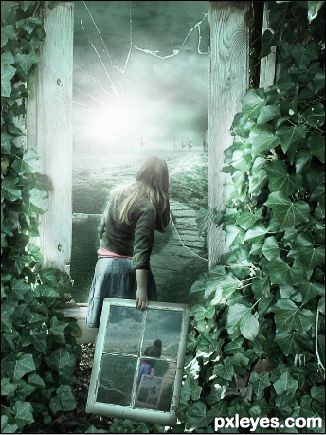
Here is the result I created after I decided to crop the image:

Step 43
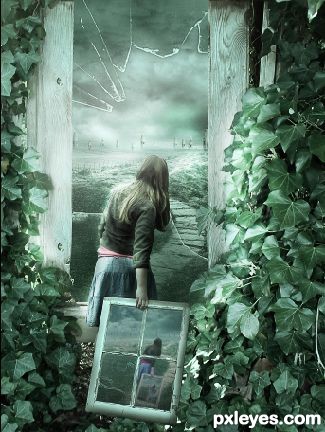
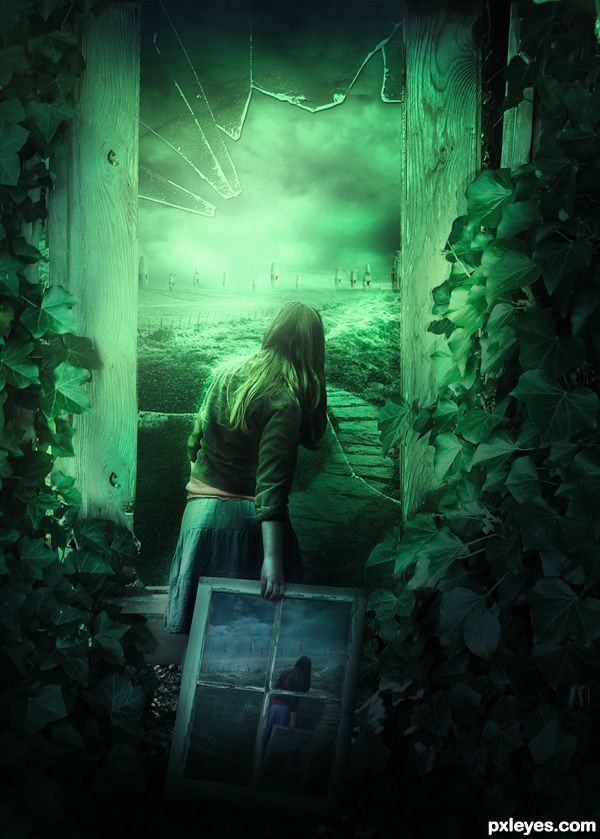
I did more some efforts on this image to create a bit darker feel on it, so I created this one:

Step 44
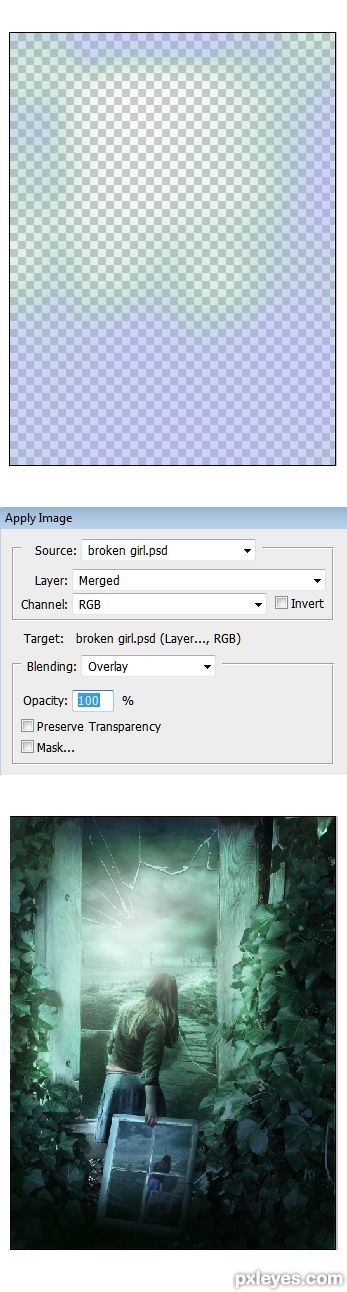
From this step on to step 46 are optional steps I did to get the optional result. Here they are: Before we come to step 41, create another new layer. Paint some color on this new layer. I chose soft blue and a bit gradation of soft greenish and yellowish color. Set this layer to multiply blending at 50% opacity. I named this new layer: option1. Then, with the option1 layer still selected, go to Image and click Apply Image. Please see the screenshot:
Step 45
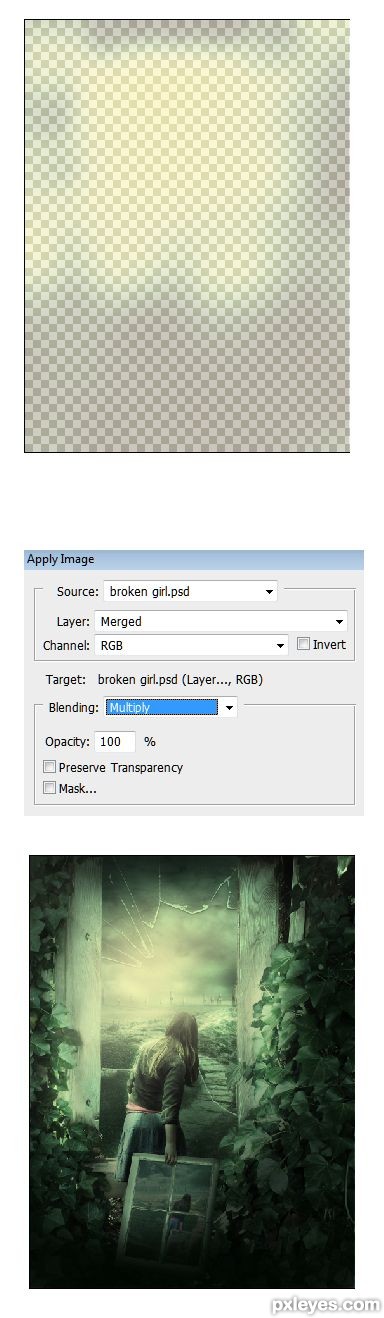
Next, create again a new layer on which we will do similar thing as the one in step 44 is that painting some color. However, for this new layer, I chose soft brown and a bit gradation of soft yellowish and a bit greenish color. Set this layer to multiply blending with opacity of 50%. I named this layer: option2. We will also give this option2 layer Apply Image. However, make sure to hide the previous layer (option1 layer) by clicking the eye icon next to it on the layer panel before giving this option2 layer apply image. Please take a look at the screenshot for the setting of the apply image. Show the option1 layer again after giving this option2 layer apply image by re-clicking the eye icon.
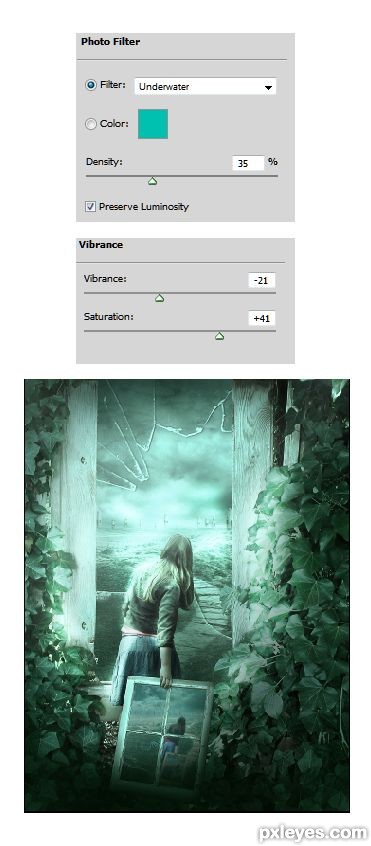
Step 46
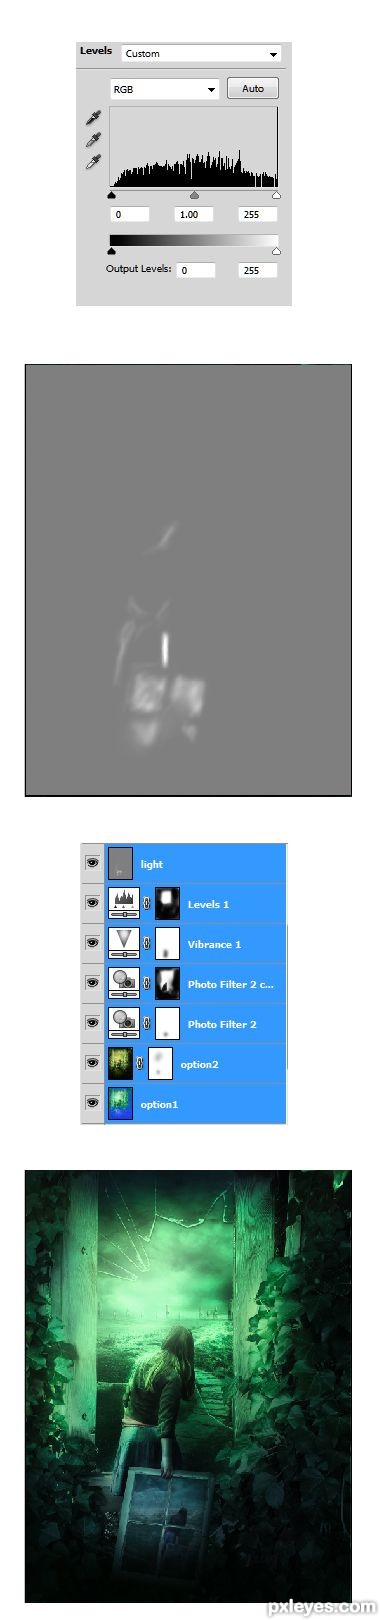
Finally, after creating these two option layer, add new adjustment layers similar to the ones we had in step 41. Duplicate the photo filter layer and set the duplication to soft light at 49% opacity. Mask some parts of this duplication layer where needed. For this optional result, I add one more adjustment layer: Level. And also, I created new layer filled with 50% gray on which I stroke Dodge tool on the picture framed area. I name this layer: light and set it to overlay at 100% opacity. One last thing, make sure to increase the opacity of the white layer (step 37-38) to 88% if you create this optional result.
Step 47
Here is the result:
Step 48
the result :
Hope you can learn something new from this tutorial.
I feel really glad if you give me feedback through comment below. Soon i am going to show more interesting & innovative tutorials so please keep visit our blog. That’s for now.
Have fun!
Feel free to contact with Clipping Design for clipping path service, image editing service, image masking service or any kind of design support.
Thank you…
Credit: pxleyes.com
No comments:
Post a Comment