Starting Out
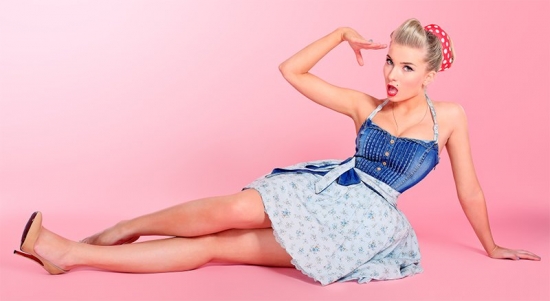
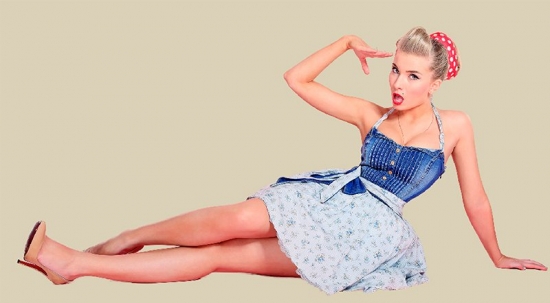
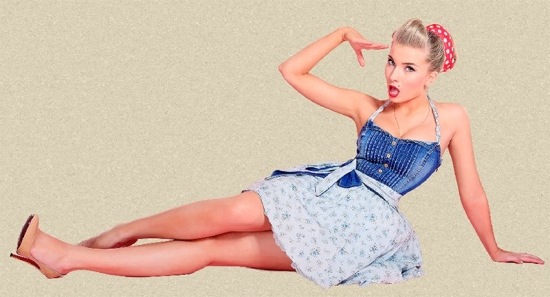
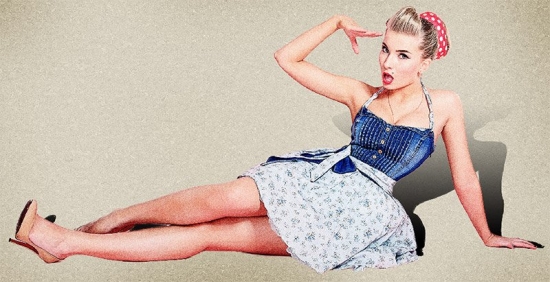
To begin, you need to select the image you want to work with. I found a great image over at Shutterstock.com that will work perfectly!
Selection
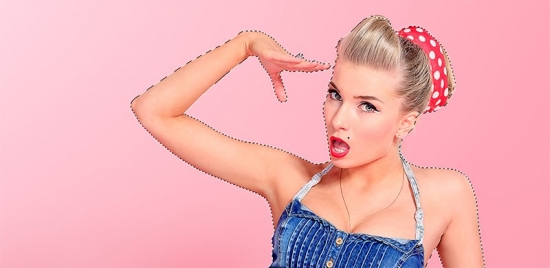
In order to extract your model from the background, you need to create a selection. In this case, the Quick Selection Tool will be a great choice! Simply brush over your model to create a selection. Of course, any selection method that you prefer will work fine.
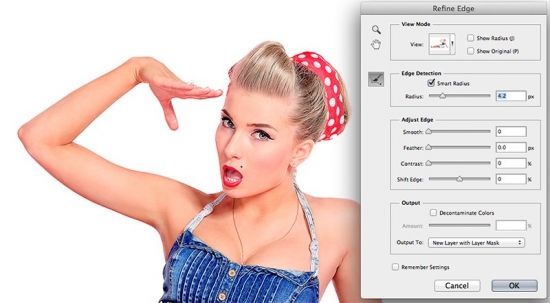
If required, you can also use Refine Edge to catch any stray hairs that may have been missed in the initial selection. Refine Edge will also allow you to save your layer with a Layer Mask.
Background
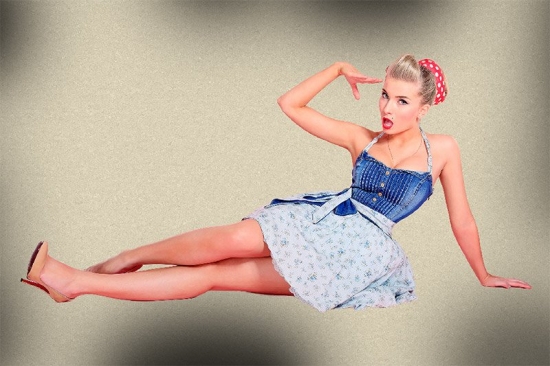
Once your model has been extracted from the background, it's time to create a new backdrop. On a new layer below the model, fill it with a desaturated yellow.
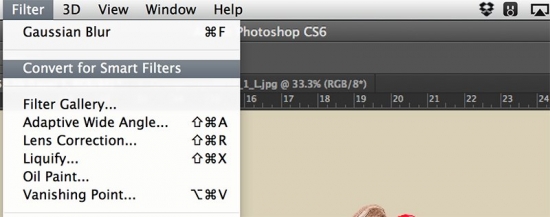
Now before adding any Filters to the background, it's always a good idea to convert to a Smart Object. This will allow you to edit the Filters at a later point, if needed. Under the Filter menu, you can choose Convert for Smart Filters.
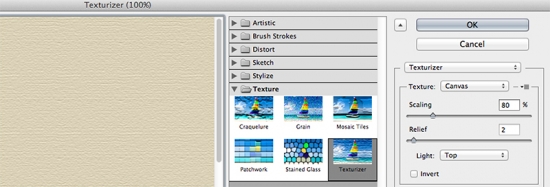
Once that's done, you're free to add Filters, which will be non-destructive. The first Filter I'm going to add will be Texturize. This can be found in the Filter Gallery.
Next, a Spatter filter.
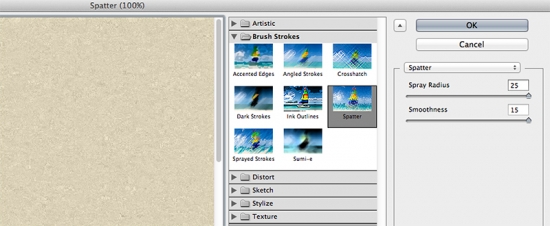
This will leave you with a nice, rough background.
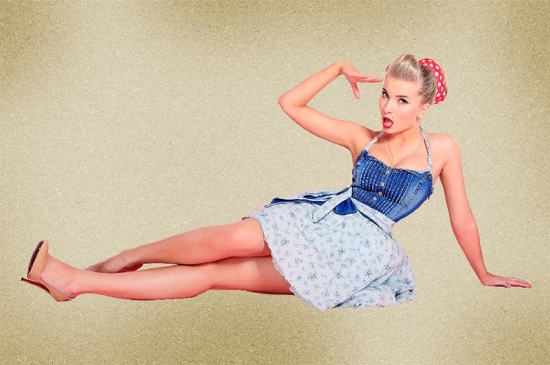
To add to the 'old' background feel, we're going to 'burn it up'. On a new layer, add soft black spots around the outside of the document, as seen below.
Once they're in place, change the Blend Mode of that layer to Overlay to blend it with the background.
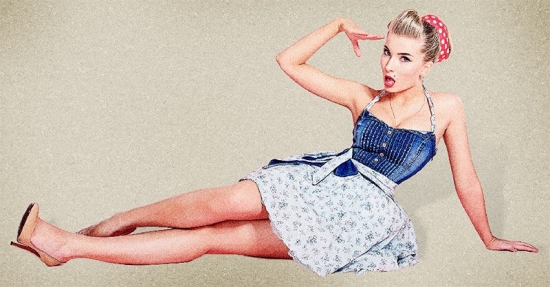
The Model
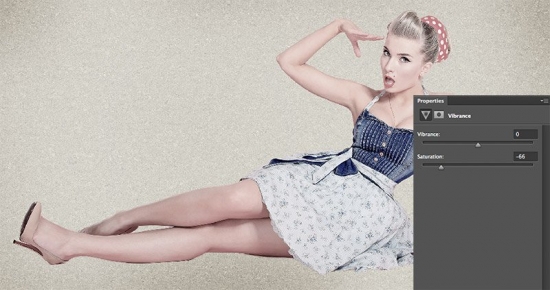
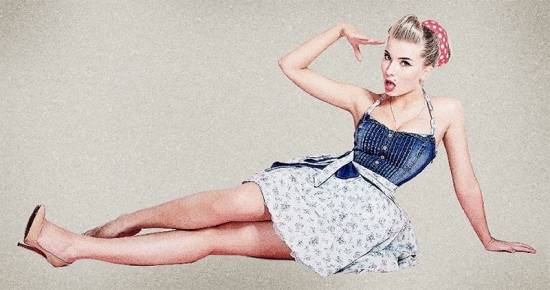
For the model, we're going to be working with three copies. Above the current layer, add a Vibrance Adjustment Layer in order to slightly desaturate the model's skin tones.
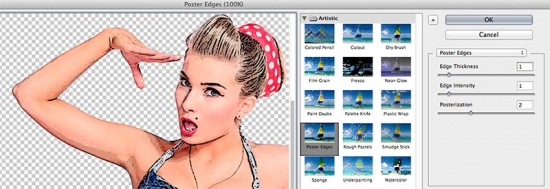
Now, creating a duplicate of the model's layer, we're going to add a few Filters. Make sure to convert to a Smart Object first! The first Filter will be Poster Edges.
Next, Noise.
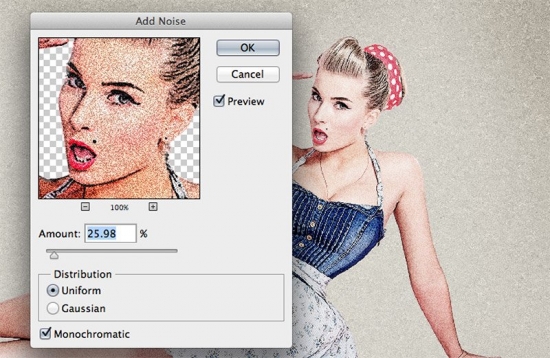
Once the Filters have been added, change the Blend Mode of that layer to Soft Light.
Finally, create a duplicate below the current model layers. This will act as the shadow. When that's done, fill the layer with black. As long as you still have a Layer Mask applied, only the model should appear filled in. When it is, convert to a Smart Object and transform to squeeze/shift the shadow.
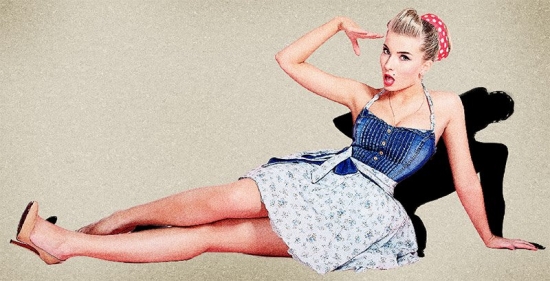
Now, adding a new Layer Mask, fade the shadow out using a black gradient towards the top.
Adding a slight Gaussian Blur can help increase realism. A 6px blur should work well.
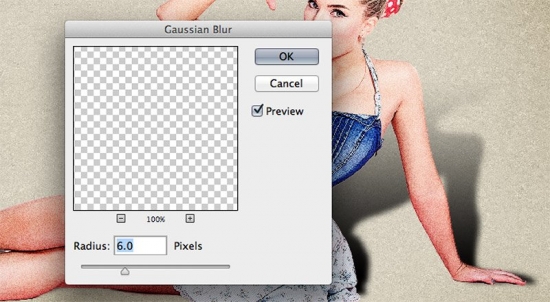
Finally, decrease the Opacity until it looks natural.
Text
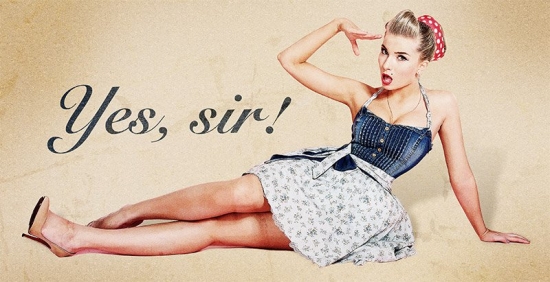
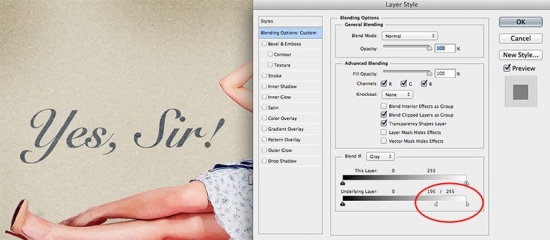
Now we can move onto the text. This will be simple. Using your font of choice, type out a few words in a slightly desaturated color.
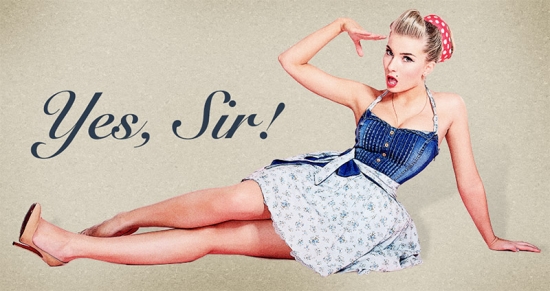
In your Layer Styles window, use the Blend If slider for the Underlying layer to fade out the highlights. (Hold down Alt/Option to split the slider).
Texturize!
As an optional step, you can place additional textures on top of your image, and adjust the blending to give your design an even older feel. Below, I added a grunge map from CGTextures.com, set the Blend Mode to Soft Light, and decreased the Opacity.
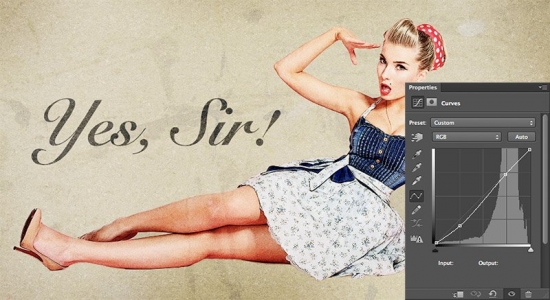
Curves!
To finish things off, a very slight Curves Adjustment Layer can help sharpen up the tones of your image.
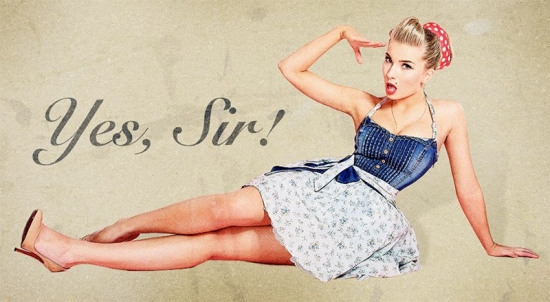
With the right tweaking, you can achieve a really nice looking pin up poster!
\
Hope you can learn something new from this tutorial.
I feel really glad if you give me feedback through comment below. Soon i am going to show more interesting & innovative tutorials so please keep visit our blog. That’s for now.
Have fun!
Feel free to contact with Clipping Design for clipping path service, image editing service, image masking service or any kind of design support.
Thank you…
Credit: webdesign.org
No comments:
Post a Comment