Step 1
Normally, I would ignore this step because it’s quite basic but Photoshop CS5′s new Refine Edge feature is extremely easy to use and can save you a lot of time.
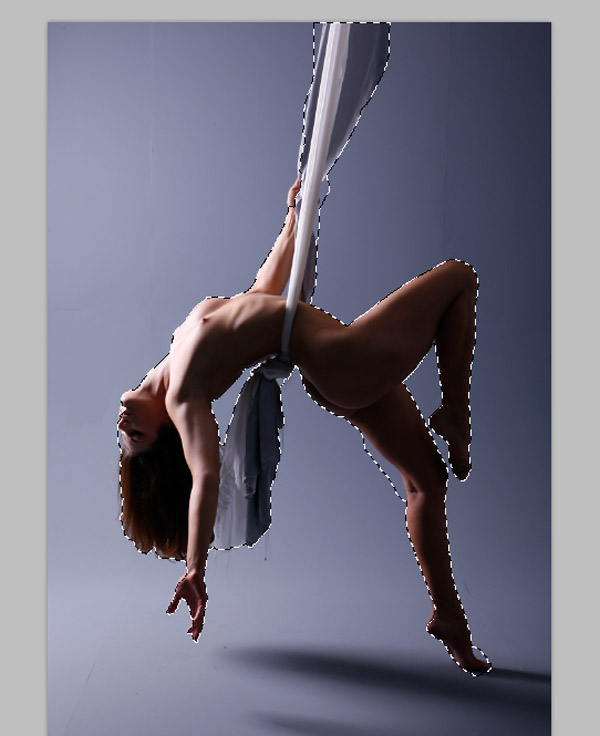
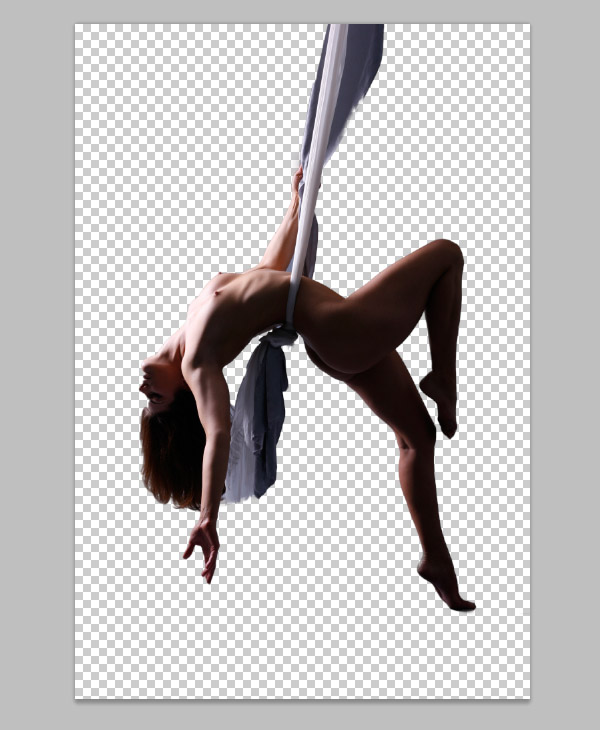
Okay, let’s get started! Open your stock photo. Choose the Quick Selection Tool (W), it may be hidden under the Magic Wand Tool. Depending on your photo’s resolution, choose a suitable brush size, then paint over the parts you don’t need as shown below.
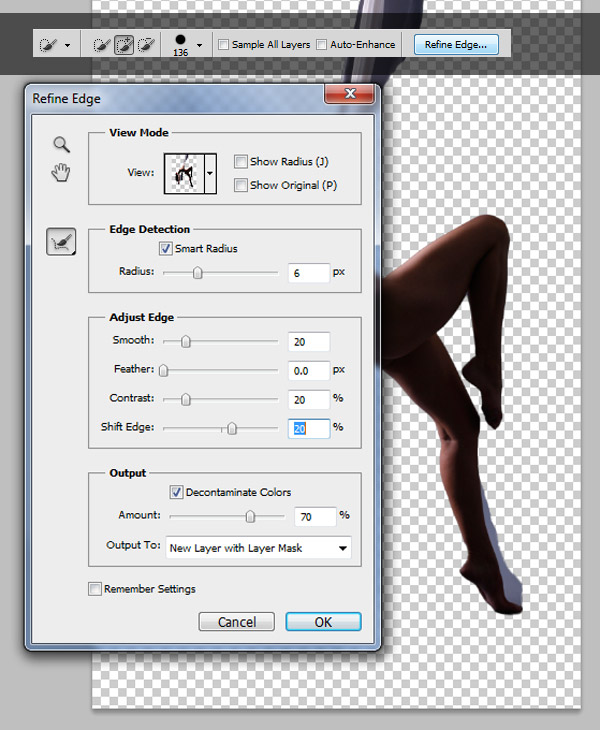
With selection still activated, click Refine Edge on the Option bar. When the Refine Edge dialog box comes appears, choose View: On Layer (Hotkey: L). Use the settings below:
Edge Detection: Check Radius, Radius: 6px
Smooth: 20
Constrast: 20%
Shift Edge: +20%
Check Decontaminate Colors: 70% for Amount.
Don’t click OK! With the Refine Edge dialog box still open, click "Refine Radius Tool (E) expand detection area" on the left side. Then draw over the cutting edges, do this a few times to get a desired result.
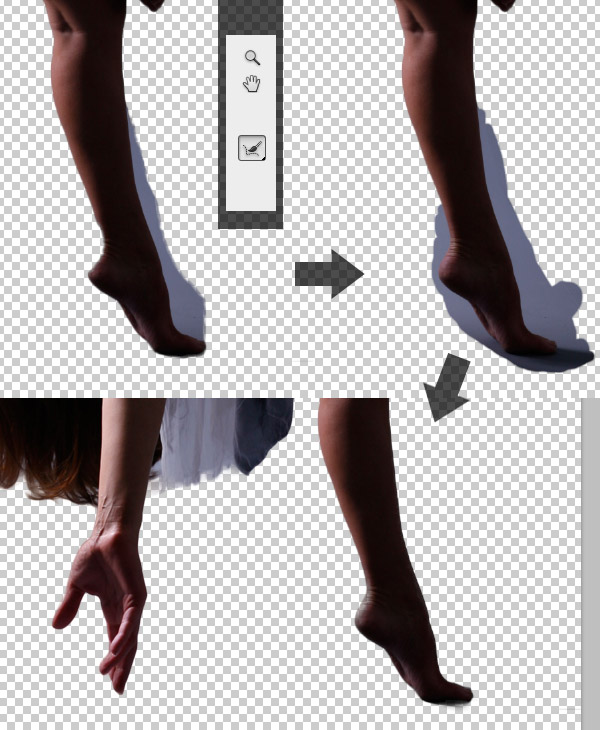
Save this as a PSD file or a PNG with a transparent background. We will need this later on.
Step 2
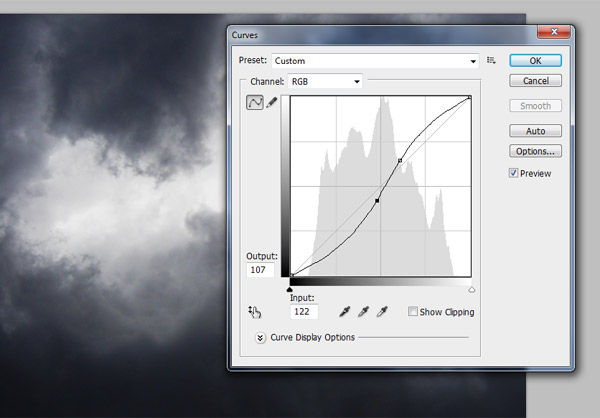
Open Sky 1. Go to Image > Adjustments > Curves:
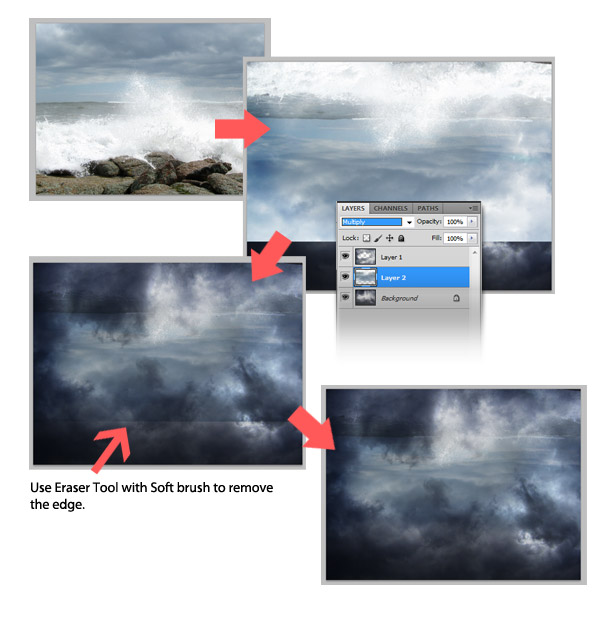
Place Sky 2 into the document and scale it to fit. Position on top of the background layer and set blending mode to Overlay.

Now place the Wave photo. Go to Edit > Transform > Flip Vertical. Position "wave" layer between the two cloud layers. Change blending mode to Multiply.
Step 3
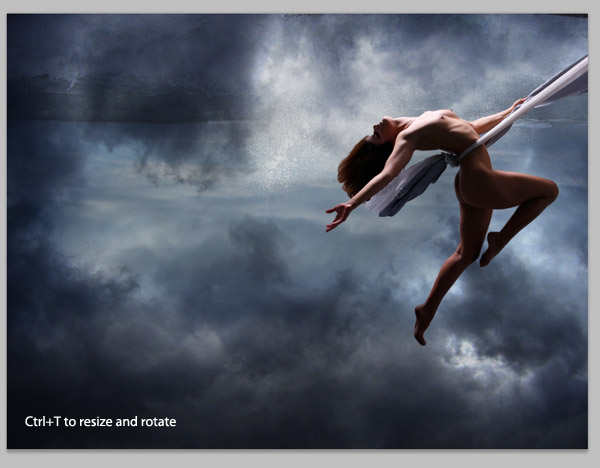
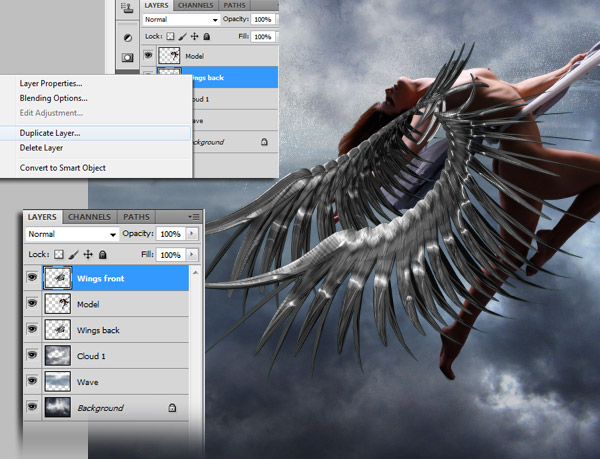
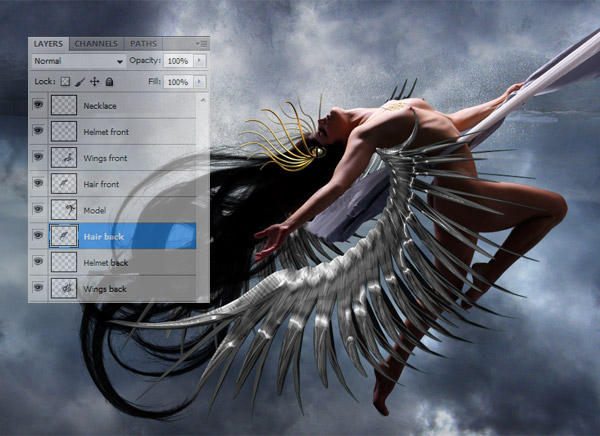
Now place the PSD/PNG model photo from Step 1 into your working document. Put her on the top layer (name it Model). Cmd + T to resize her and rotate as shown below.
Place the Wings photo into your working document. Resize, rotate, then Duplicate the "wings" layer. Put one below the Model layer and one above.
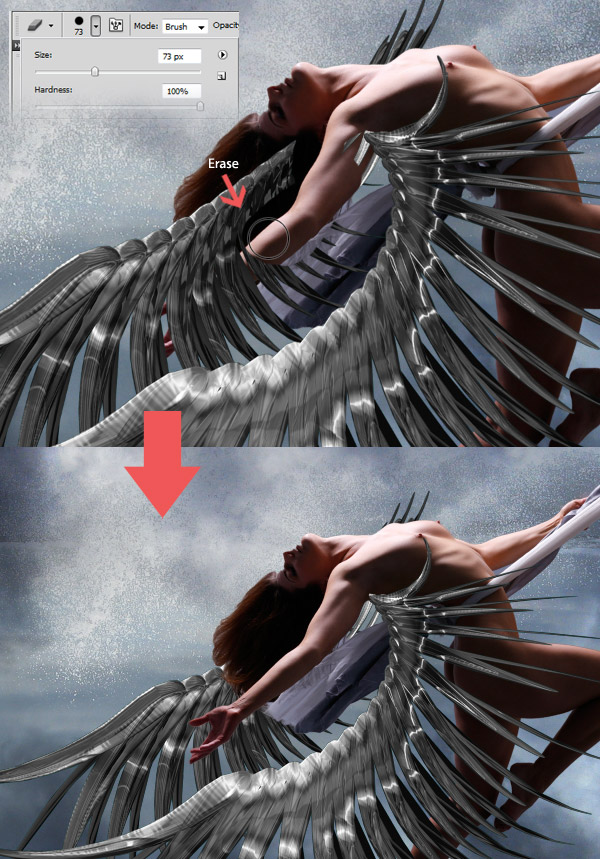
With the "Wings front" layer still activated, pick the Eraser Tool (E), with the brush’s hardness set to 100%. Remove the left wing to reveal model’s body. Don’t worry, we already have a backup wing underneath.
Step 4
Place the Helmet image into the working document, name it "Helmet" and put it on the top layer. Use the Lasso Tool (L) to cut it into 2 parts (back and front) and split it into 2 different layers.
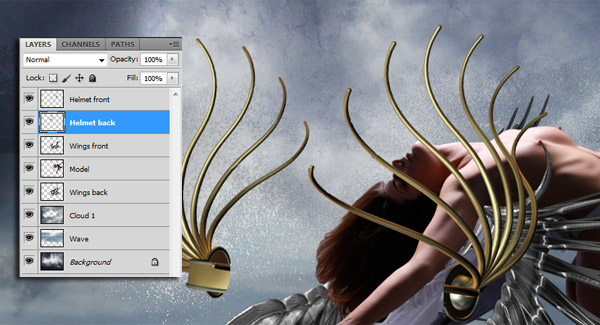
Put the "Helmet back" layer underneath the Model layer and set "Helmet back’s opacity to 60%. Resize and Rotate them as shown below.
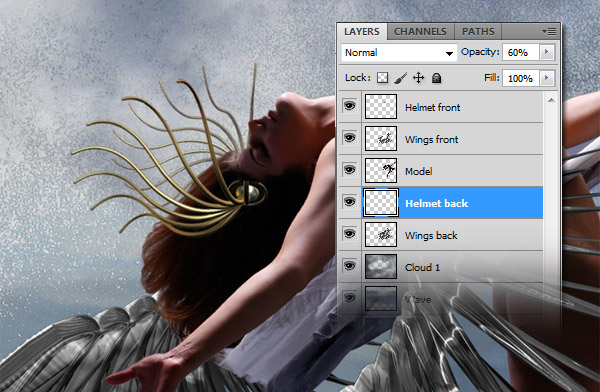
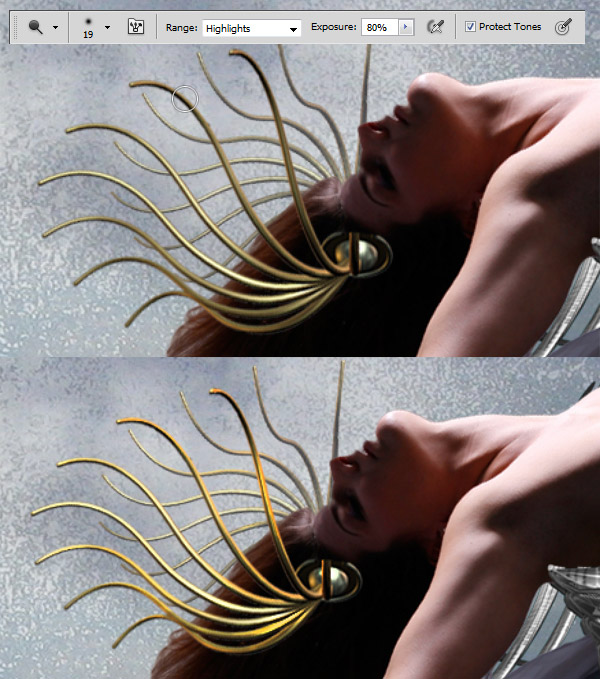
Pick the Dodge Tool (O) and use a small soft brush set to Range: Highlights, Exposure: 80%. Shade both helmet front & back until it looks shiny.
Step 5
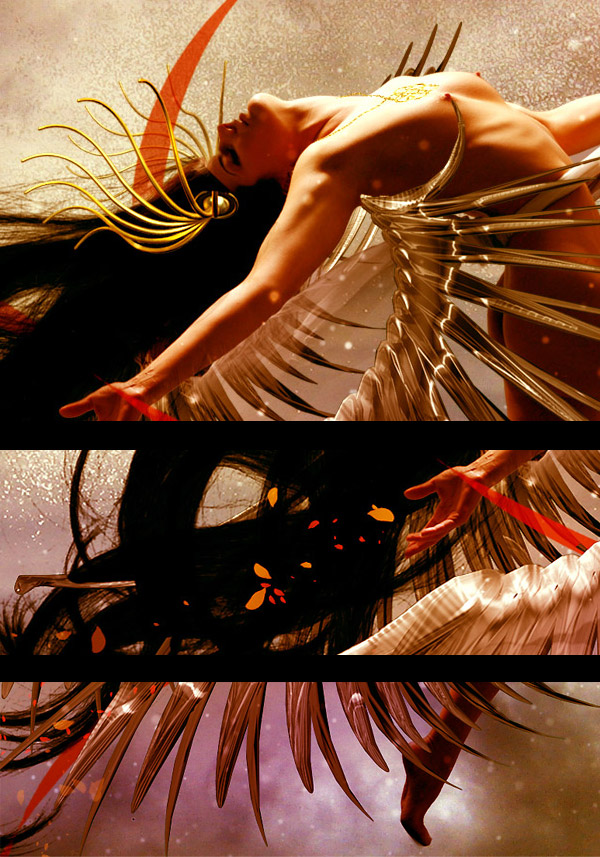
Place the Necklace photo into your working document on the topmost layer. Resize, rotate, and Distort it until it fits on the model’s neck.

Step 6
Let’s add a bit more hair to the model using our Hair Brush set.
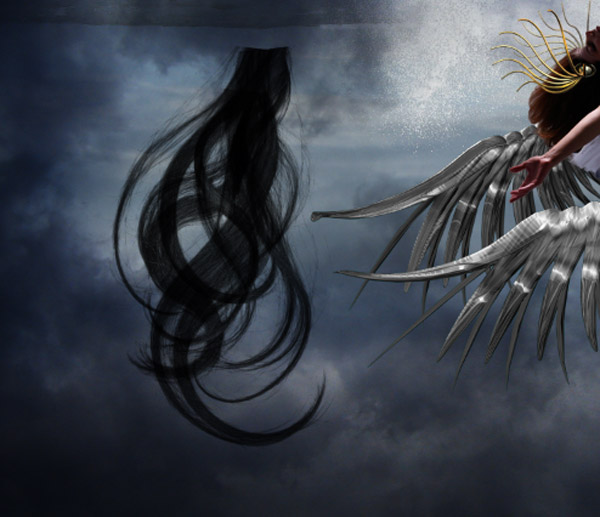
Use the technique we outlined in Step 3 to reveal the model’s arm.
Step 7
Now let’s make some ribbons with the Pen Tool (P). Create a new layer on top of everything, name it Ribbon 1, select the Pen Tool (P), then draw a path like the one shown below (remember to use the Direct Selection Tool to customize your path where needed).
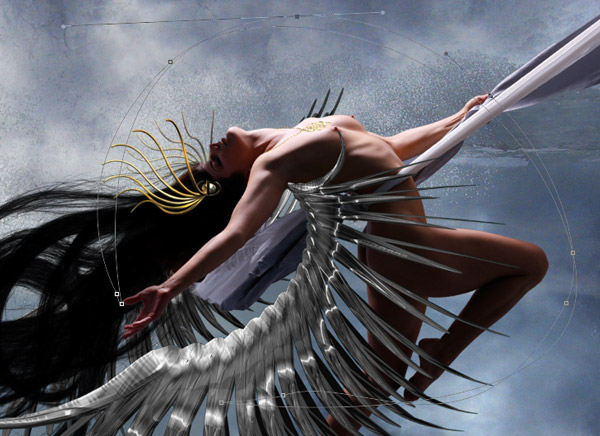
Using the Direct Selection Tool, right click on the path, then choose "Fill path", fill it with any color, then click OK. We will fix it later. Apply a layer style as shown below with a Gradient Overlay.
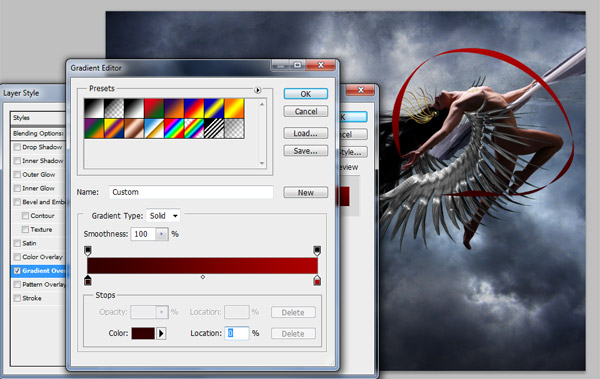
Note : if your ribbon is not curvy enough, just go to Edit > Transform > Warp, with this tool you can freely create many styles of ribbons. As you can see I created two more ribbons with their Opacity set to 60%.

Step 8
Now let’s create some stars. Choose the Brush Tool (B), select a soft brush 15px, then open the Brush Palette.
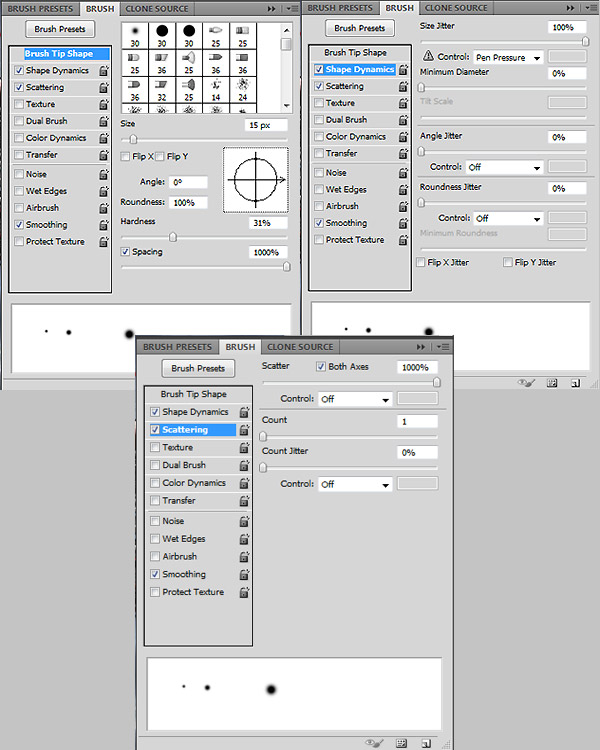
Paint stars on the canvas as shown below. Use the scatter and size jitter feature to vary the size and placement of each star.
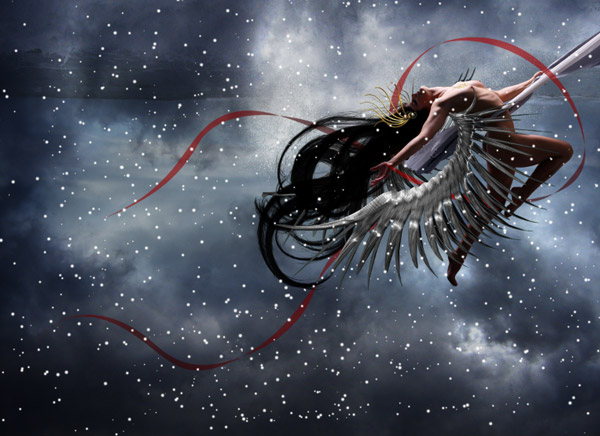
Set Star layer’s blending mode to Overlay, then select the Eraser Tool using a soft, large brush to erase stars you don’t want.
Step 9
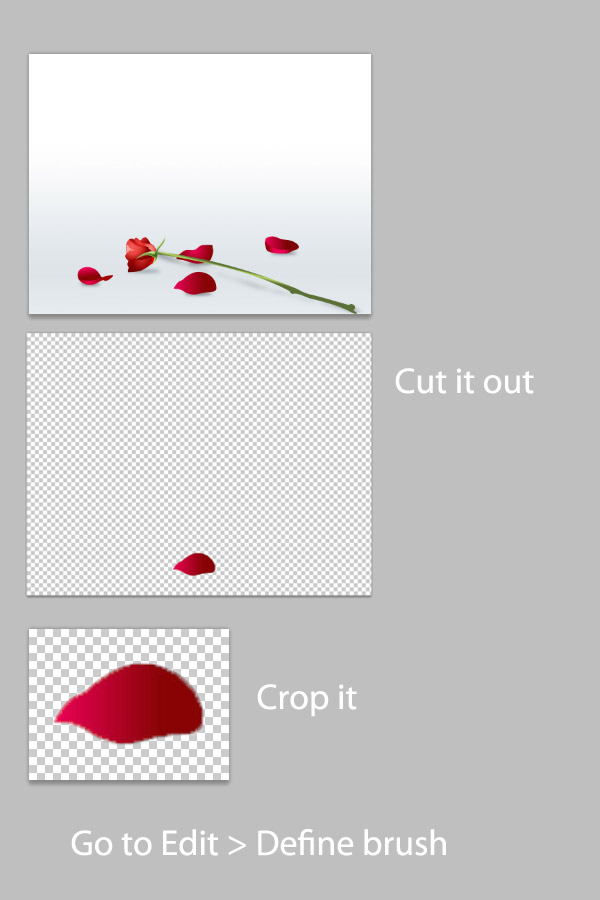
Open the Rose photo, cut out one piece, crop it, then go to Edit > Define Brush > Name it Rose.
Now go back to your working document, select your Brush Tool (B), choose the rose brush that you just created, open the Brush Palette and use the settings below.

Create a new layer and bring it to the front. Choose red, orange as colors, draw pieces of rose that follow her body, after her hand.
Step 10
Go to Layer > New Adjustment Layer > Color Balance. Do this three times to make three Color Balance layers. Use the settings below.
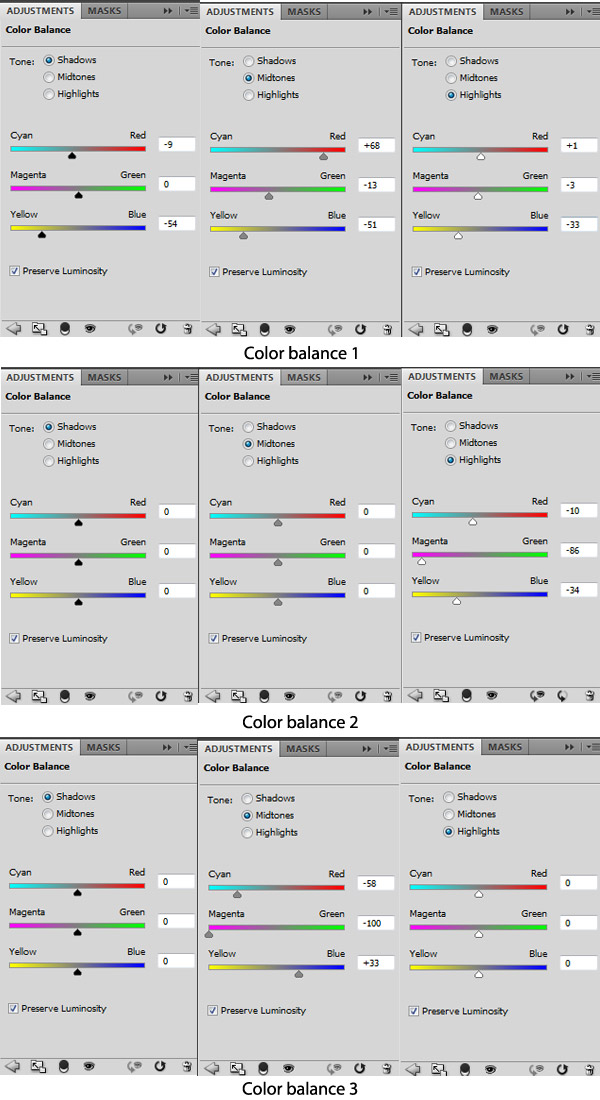
Now click on the layer mask thumbnail of the Color Balance 2 layer, select the Eraser Tool using a soft, large brush with the Opacity set to 50% erase the center area of the picture, do the same thing with the Color Balance layer 3 and you are finished!
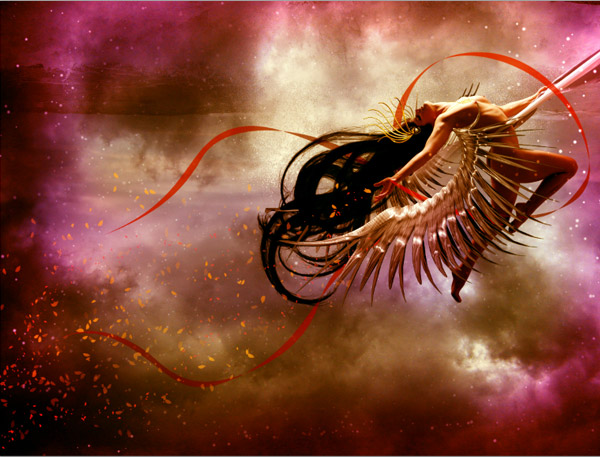
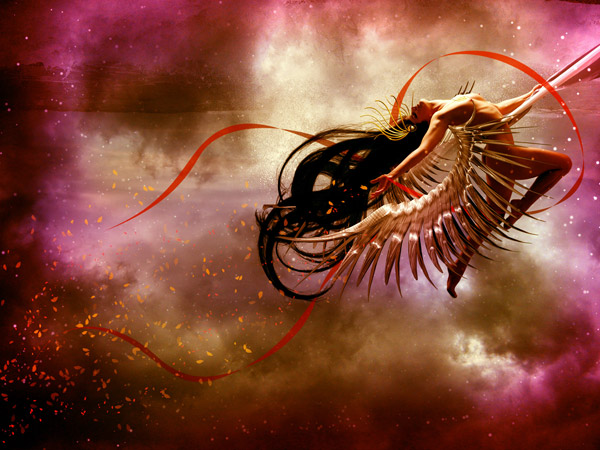
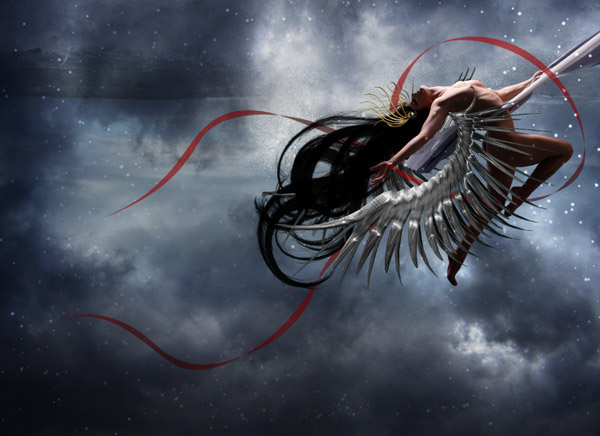
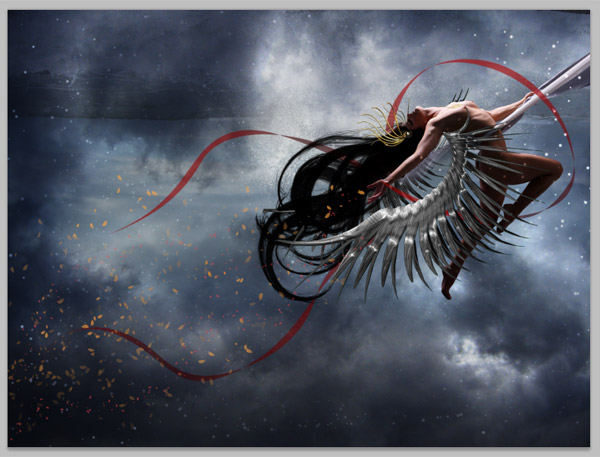
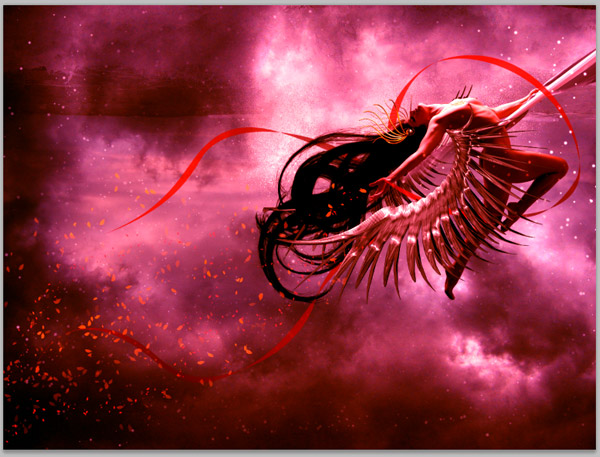
Final Image
Take a look at the final image below.

Hope you can learn something new from this tutorial.
I feel really glad if you give me feedback through comment below. Soon i am going to show more interesting & innovative tutorials so please keep visit our blog. That’s for now.
Have fun!
Feel free to contact with Clipping Design for clipping path service, image editing service, image masking service or any kind of design support.
Thank you…
Credit:stylishwebdesigner
No comments:
Post a Comment