Today we will present how to create a Conceptual Surreal in Photoshop.We are going to learn the process of creating depth of field using a few advance tools and brushes. So let's have a look...
Step 1
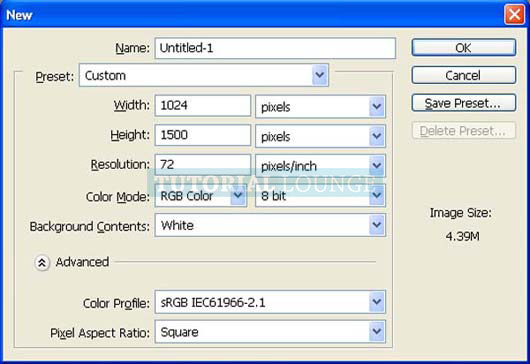
Create a new file with a width of 1024 px and a height of 1500 px at 72 dpi (Dots per Inch). Background Contents should be White.
Step 2
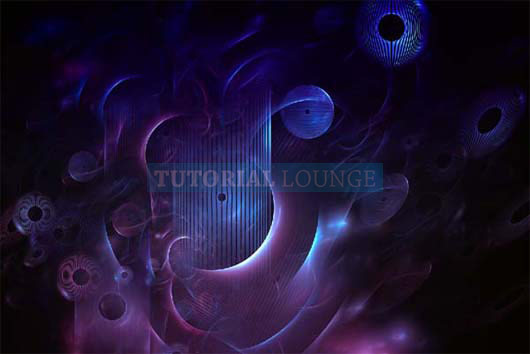
First off, let's select the Gradient tool(G). When Gradient Editor box opens input the following:
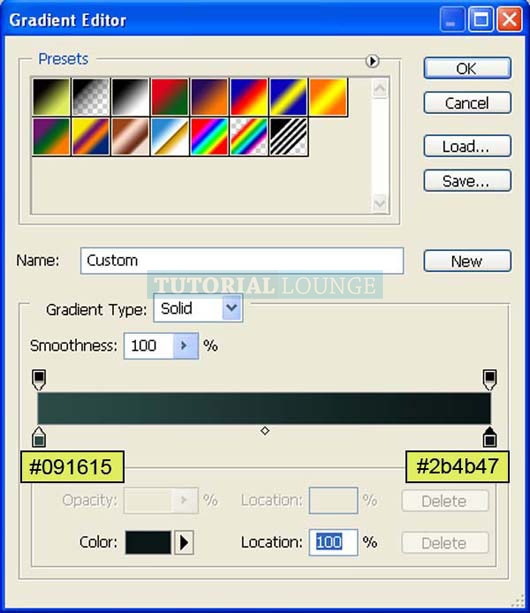
Select Redial Gradient .
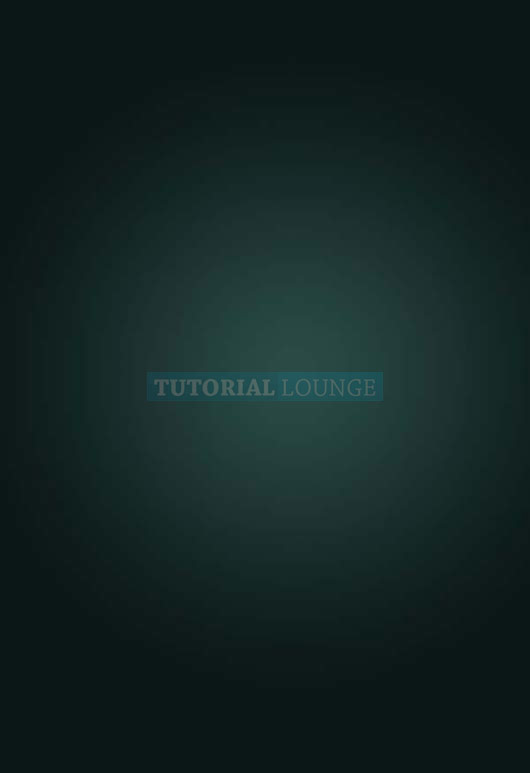
The result should be similar to this:
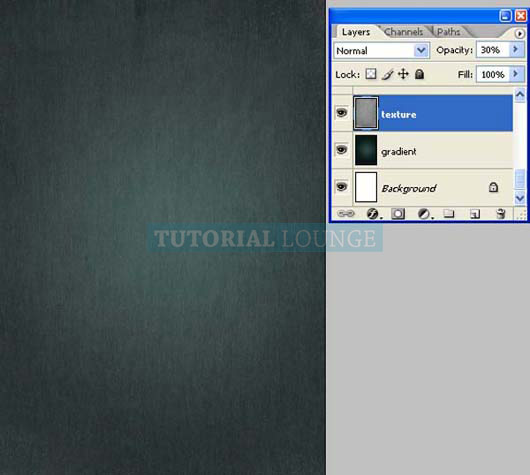
Now,let's open the metal texture 15 Texture in Photoshop. We will be using the Texture from this stock image so we will need to transfer it to our main canvas.
Click the metal texture 15 Texture and press V to activate the Move Tool. Left-click the image and drag the image to the main canvas and change layer name to "Texture 1".
Now, reduce it's opacity to 30% .
Step 3
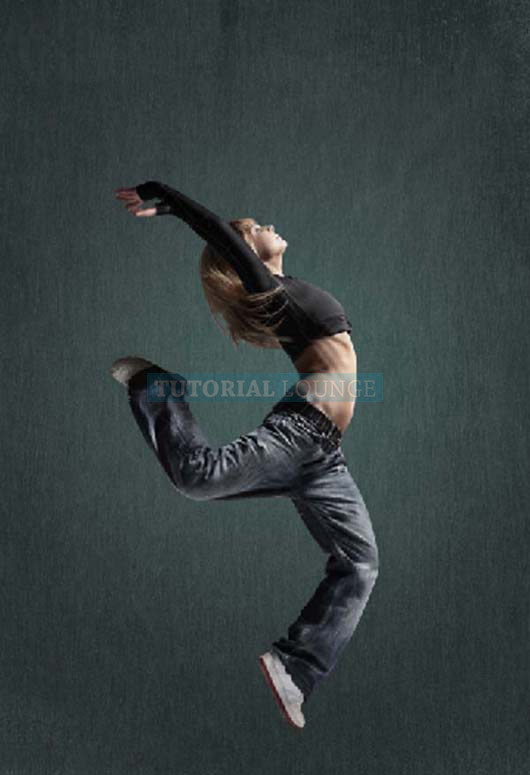
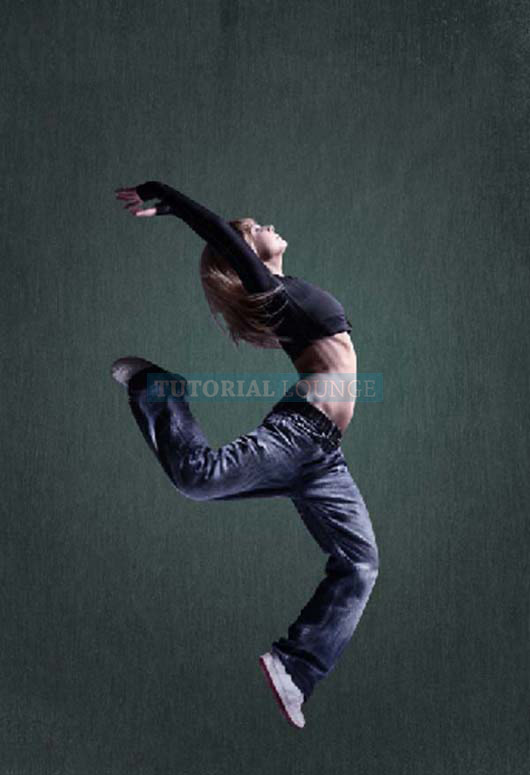
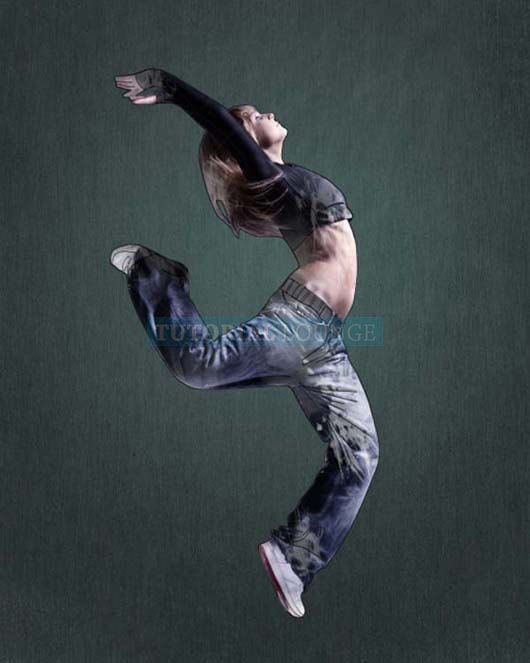
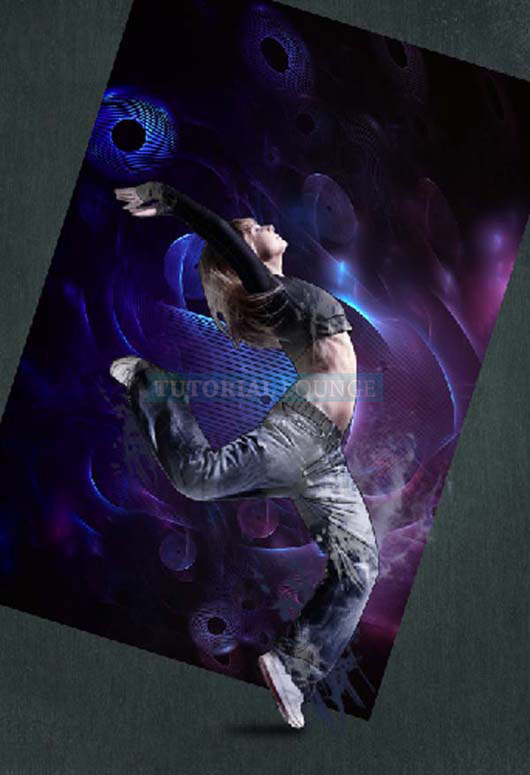
Now,let's select a dancer from the Dancer Pack in Photoshop. We will need to transfer it to our main canvas.
Click the dancer and press V to activate the Move Tool. Left-click the image and drag the image to the main canvas and change layer name to "Girl".
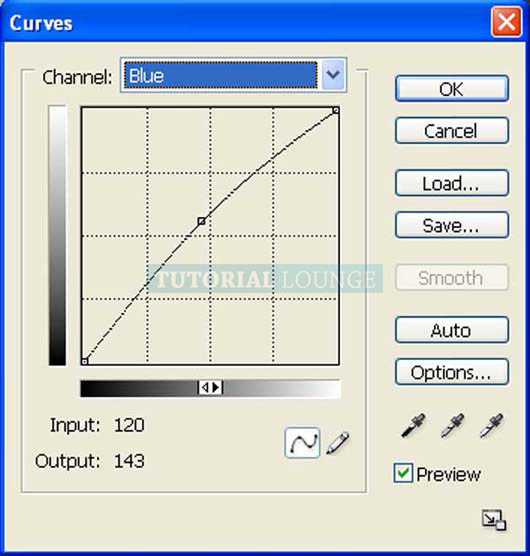
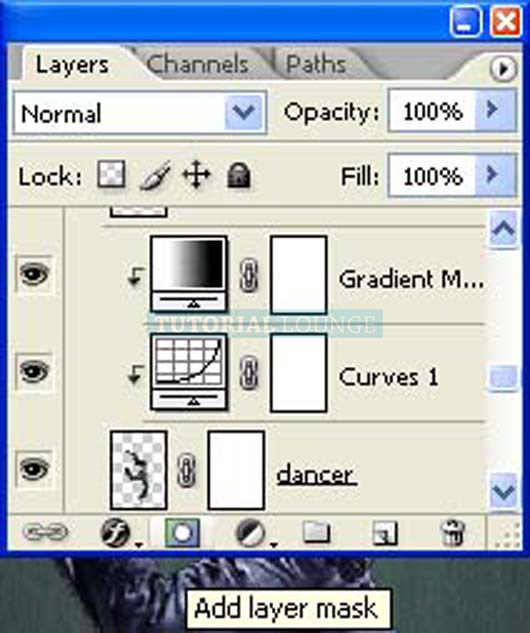
Now create a Curves adjustment layer which can be found by pressing on the Create New Fill / Adjustment layer button shown on the layer window:
When the Curves adjustment layer box opens, input the following:
Press Alt+left click in between 2 layer's (Girl layer and Curves) to make a mask.
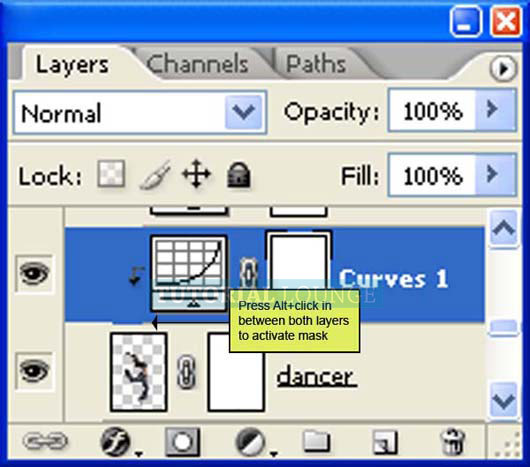
Now create new Gradient map adjustment layer from the bottom of layers palette. Press Alt+left click in between 2 layer's (Girl layer and Gradient map) to make a mask.
When the Gradient map box opens, input the following.
Change it's layer mode to "Luminosity".

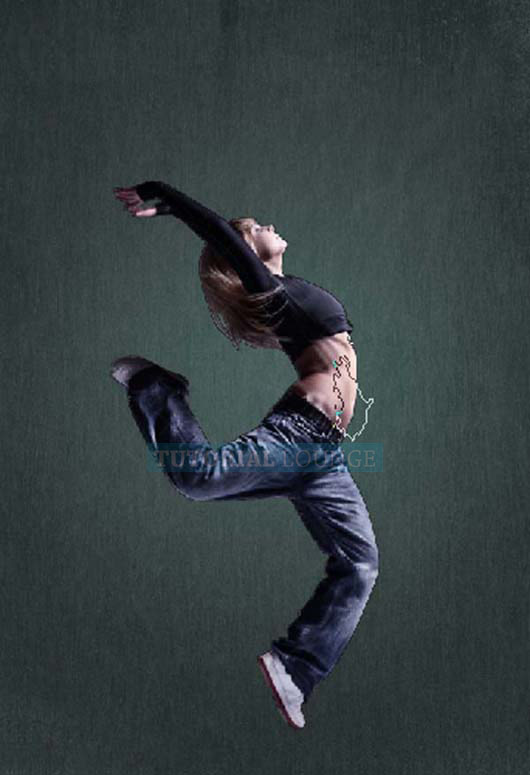
The result should be similar to this:
Step 4
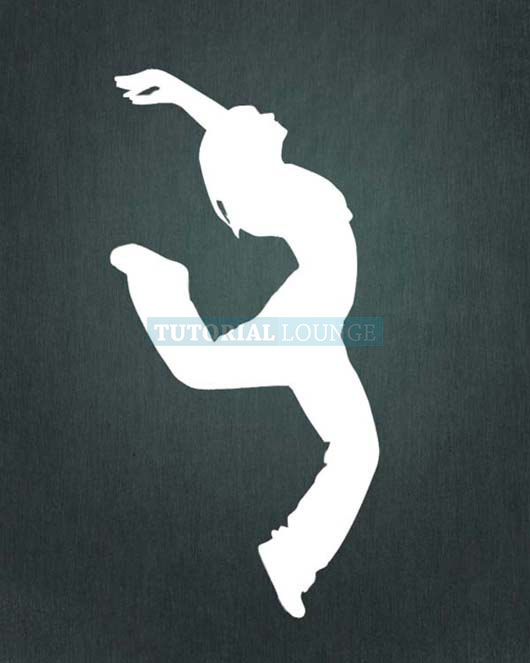
Now press Ctrl and click on the girl layer to make it selected.
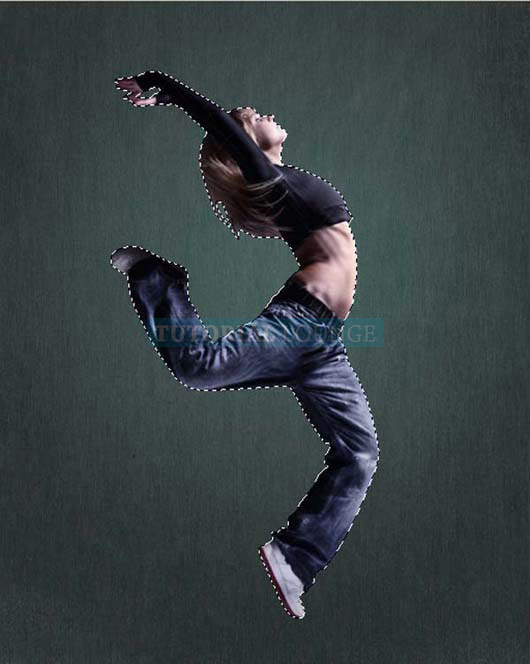
Now fill it with white color (#FFFFFF).

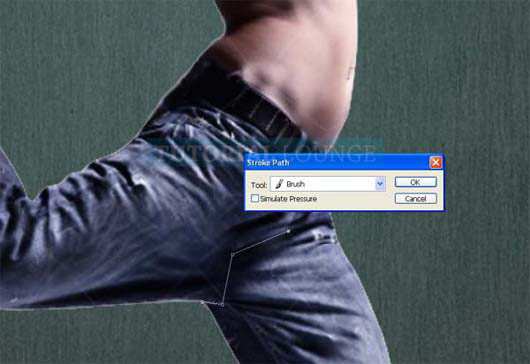
Activate pen tool and start drawing over the image. Then make a right click and choose Stock Path.
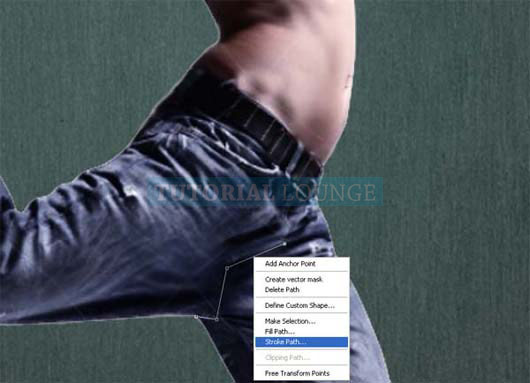
When the Stock path box opens, input the following:
Now again make a right click and choose Delete path.
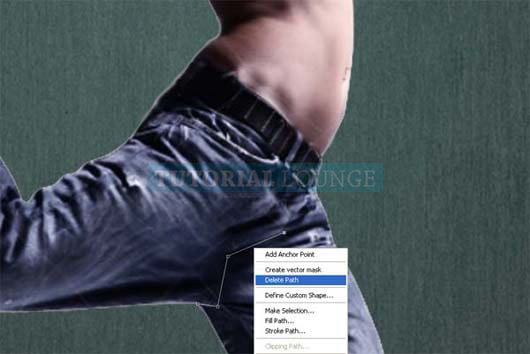
Repeat these steps on whole body.
Step 5
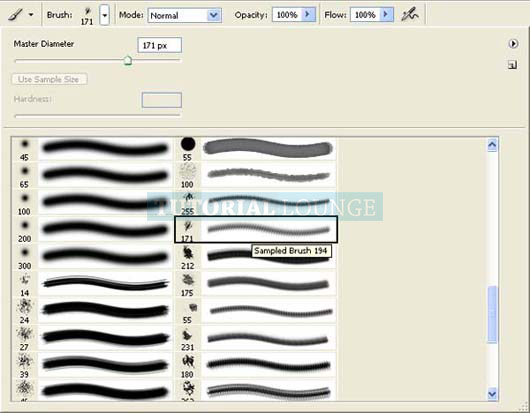
Now, activate the Brush tool (B) and open the brush set "15 grunge ps brushes" by Sarytah. To load them, simply, right click on our canvas through any layer and then click on the drop-down button as shown below:
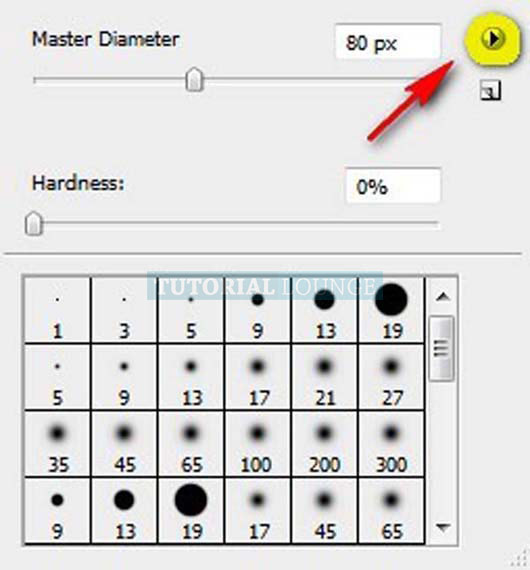
This will prompt the contextual menu to pop up and once you see that, just click on Load Brushes.
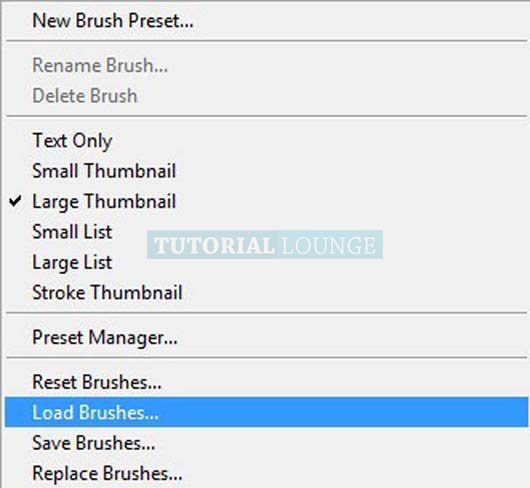
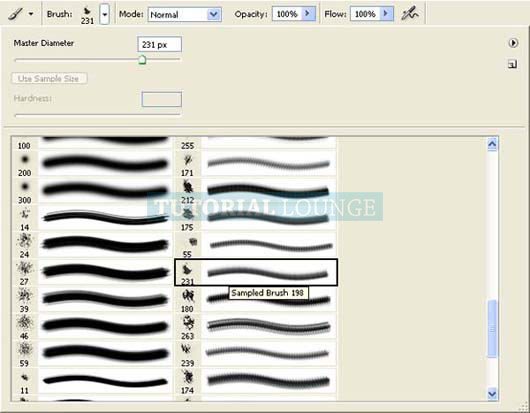
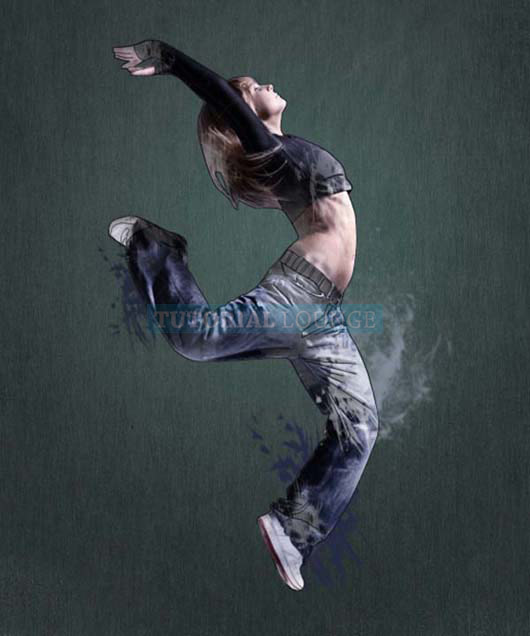
You will now be prompted to this directory: Adobe Photoshop > Presets > Brushes so make sure that you have put the brushes within this folder. Now locate the brush set and click OK. Right click on the canvas again using your Brush tool (B) and now you'll notice that you have lightning brushes. Now, let's choose a brush and start painting over the girl's bottom part. See as below:.
Now add Vector mask from the bottom of layers palette.
Just paint over the highlighted area:
The result should be similar to this:
Activate a new layer and name it "brush" take color samples from her cloths and paint under girl layer see as below:
Step 6
Now again make a new layer and name it shadow.
Activate elliptical marquee tool (m) and draw a circleand fill it with black color (#000000).

Now Go to Filters > Blur > Gaussian blur :
When the Gaussian blur box opens, input the following:
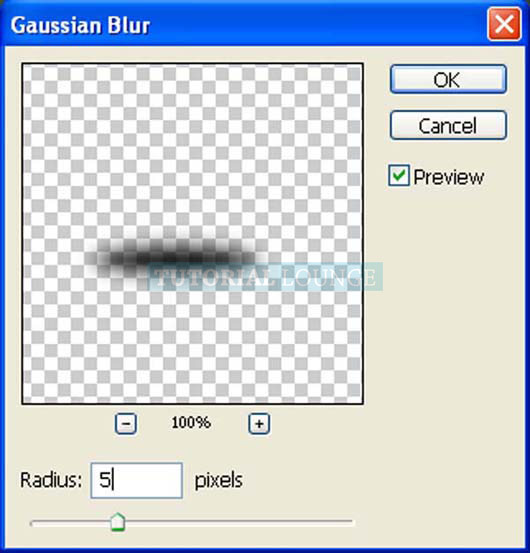
The result should be similar to this:
Step 7
Now,let's open the Psychosis Stock in Photoshop. We will be using the Texture from this stock image so we will need to transfer it to our main canvas.
Click the Psychosis Stock and press V to activate the Move Tool. Left-click the image and drag the image to the main canvas and change layer name to "Texture 2".
Now create new Vector mask from the bottom of layers palette.
Now activate Brush tool (B) with these settings :
- Brush size: 400px
- Hardness: 0%
- Opacity: 40%
- Flow: 100%
- Color: #000000
Now paint over the highlighted area.
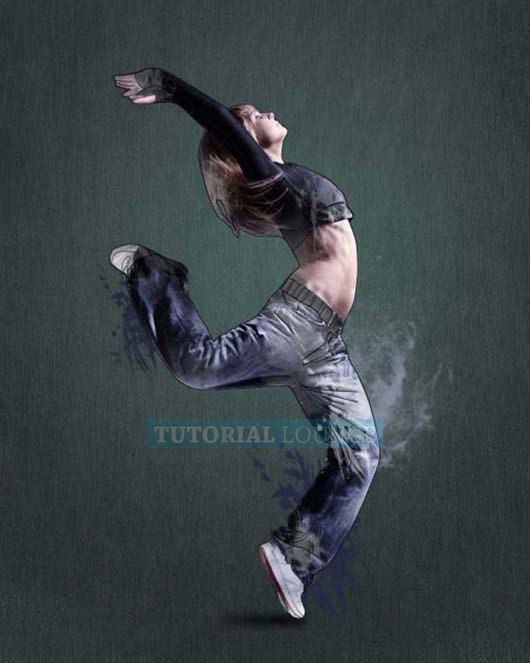
Change it's layer mode to "Color dodge".
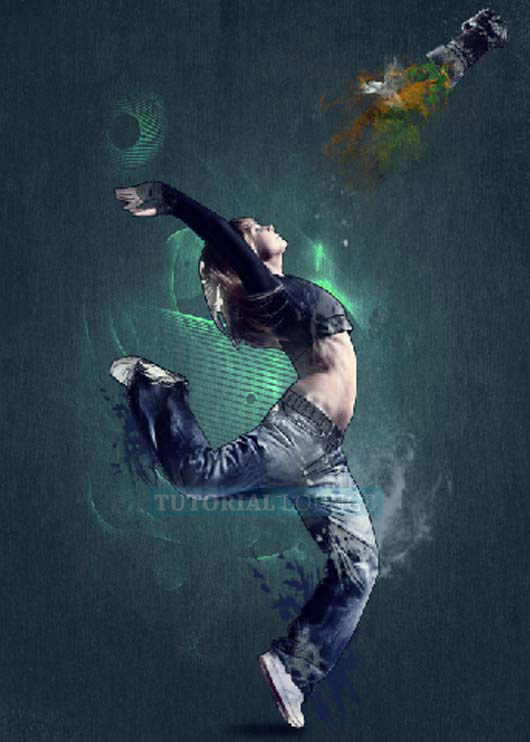
The result should be similar to this:
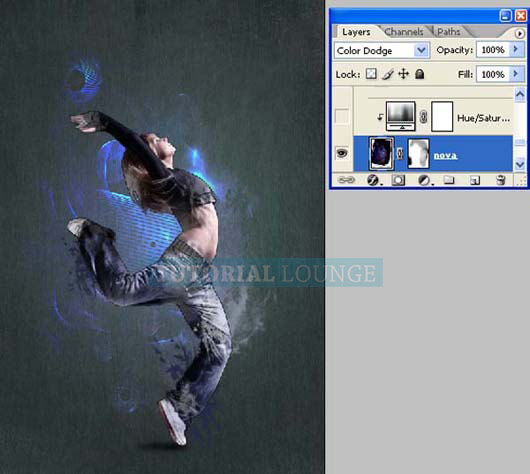
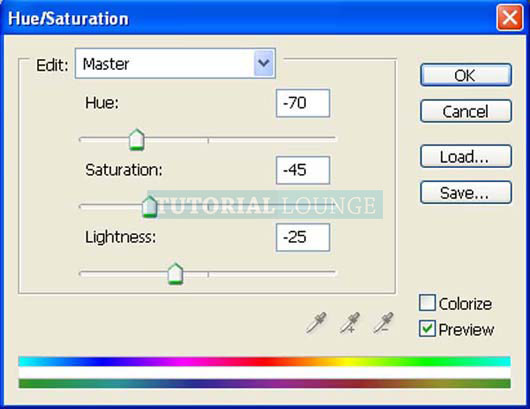
Now create new Hue / Saturation adjustment layer from the bottom of layers palette. Press Alt+left click in between 2 layer's (Texture 2 and Hue / Saturation) to make a mask.
When the Hue / Saturation box opens, input the following:
The result should be similar to this:
Step 8
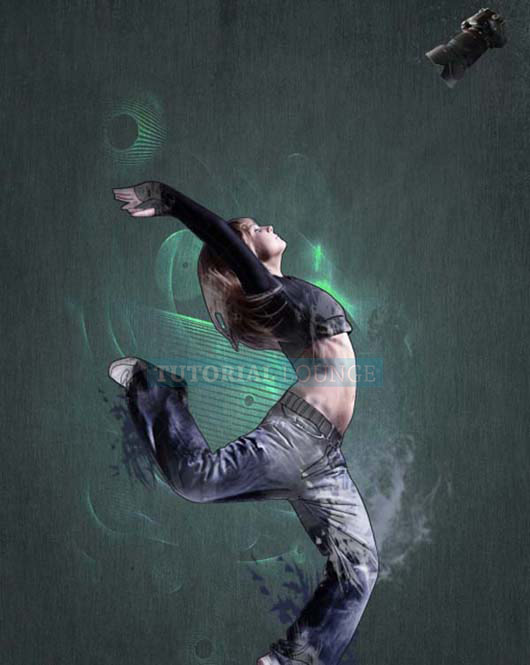
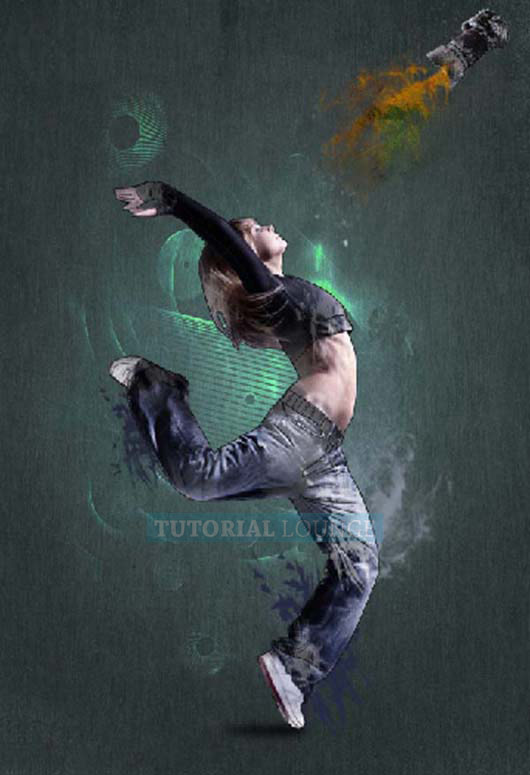
First off, let's open DSLR stock in Photoshop. We will be using the camera from this stock image so we will need to transfer it to our main canvas.
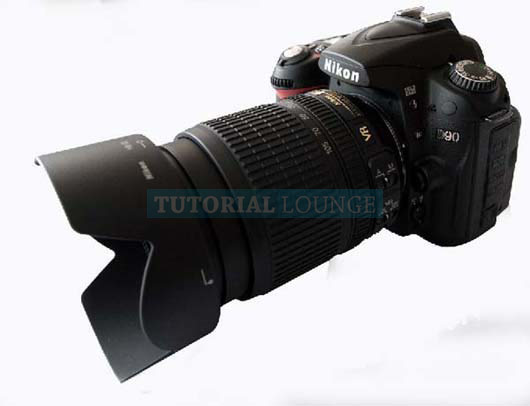
Click the DSLR and press p to activate pen tool and then make a selection around the camera and then click V to activate the Move Tool. Left-click the image and drag the image to the main canvas and change layer name to "camera".
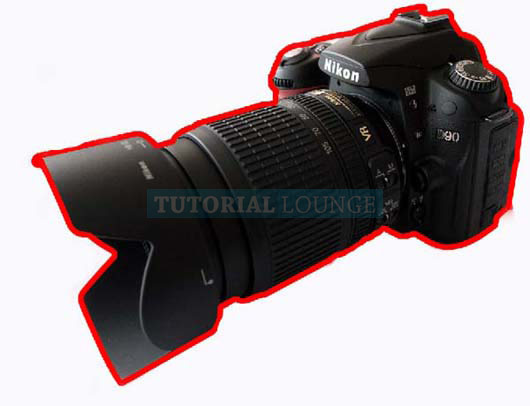
The result should be similar to this:
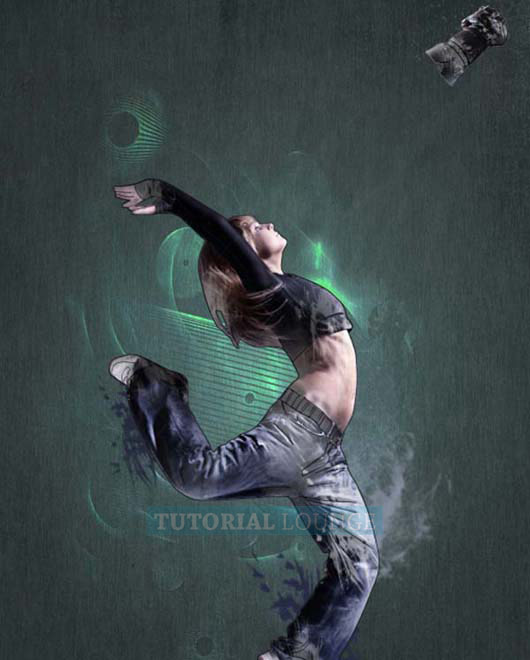
Repeat same process with our camera as we have done with girl:
Step 9
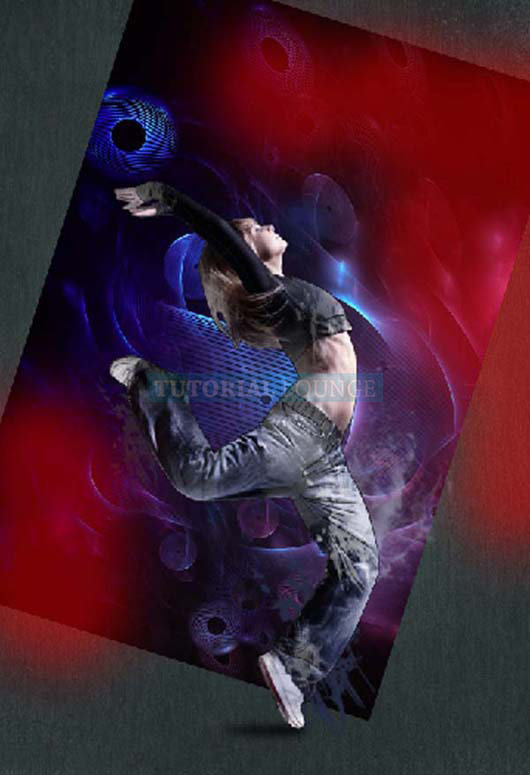
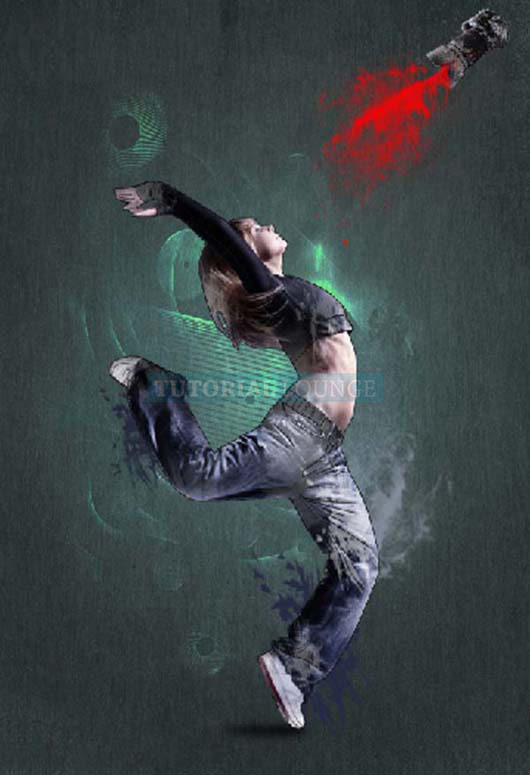
Now make a new layer and name it "Brush stock".
Now activate Brush tool (B) with these settings :
- Brush size: 400px
- Hardness: 0%
- Opacity: 40%
- Flow: 100%
- Color: #ff0000
Now paint over the highlighted area.
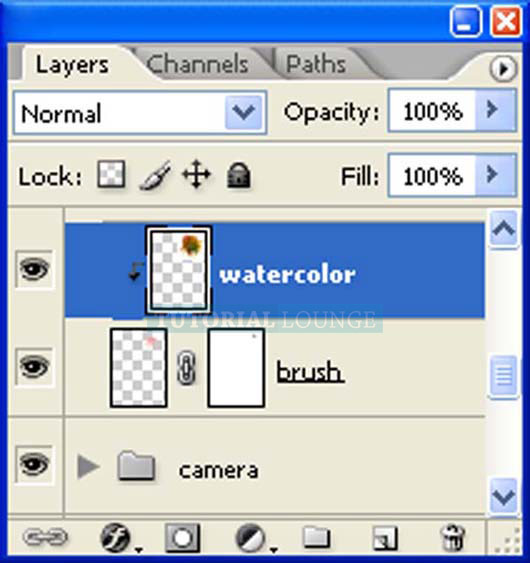
Now,let's open the watercolor.2e in Photoshop. We will be using the watercolor texture from this stock image so we will need to transfer it to our main canvas.
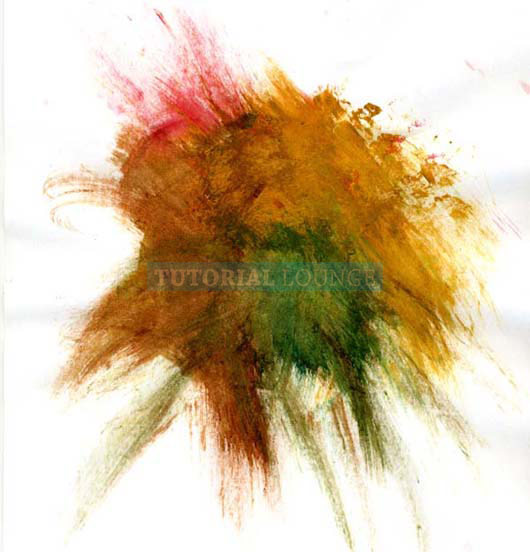
Click the watercolor.2 and press V to activate the Move Tool. Left-click the image and drag the image to the main canvas and change layer name to "watercolor Texture".
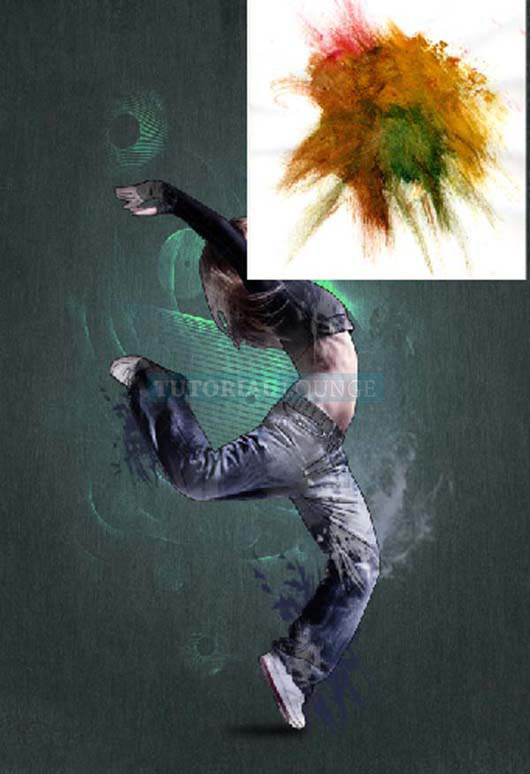
Press Alt+left click in between 2 layer's (Water color texture layer and Brush stock) to make a mask.
The result should be similar to this:
Step 10
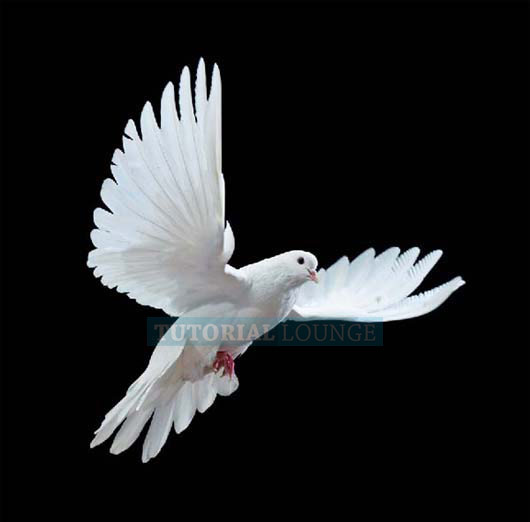
First off, let's open Dove stock in Photoshop. We will be using the Dove from this stock image so we will need to transfer it to our main canvas.
Click the Dove and press p to activate pen tool and then make a selection around the Dove and then click V to activate the Move Tool. Left-click the image and drag the image to the main canvas and change layer name to "Dove".
The result should be similar to this:
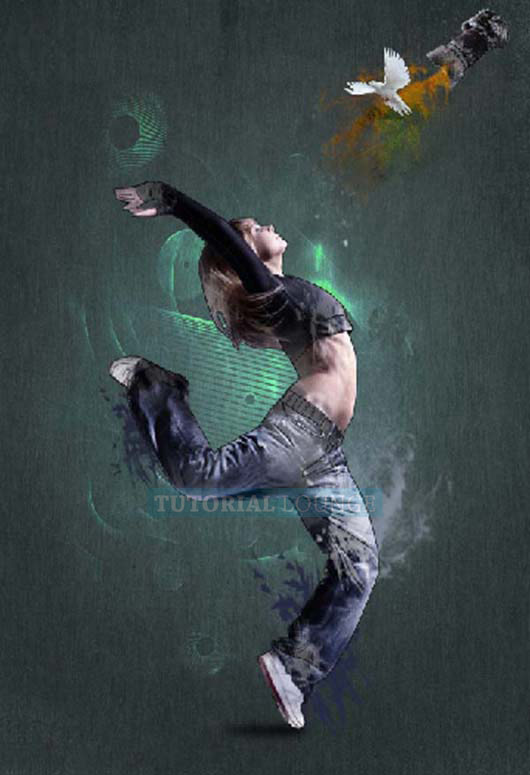
Now create new Vector mask from the bottom of layers palette .
Paint over the highlighted area.
The result should be similar to this:
Step 11
Now create a Solid color adjustment layer which can be found by pressing on the Create New Fill / Adjustment layer button shown on the layer window:
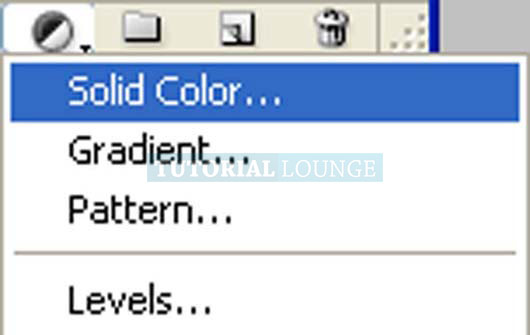
When the Solid color adjustment layer box opens, use #00065c as color .
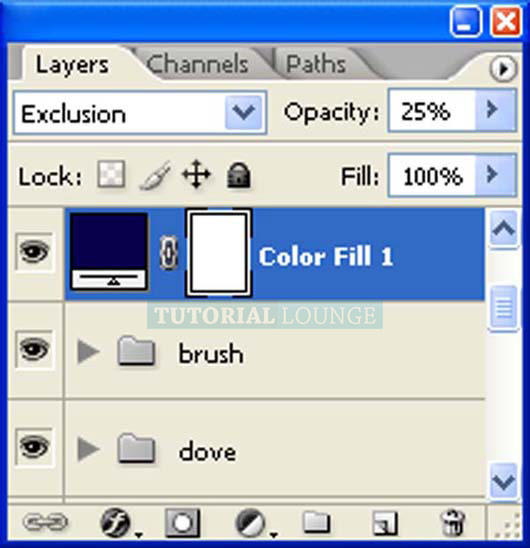
Change it's layer mode to "Exclusion" and opacity to "25%".
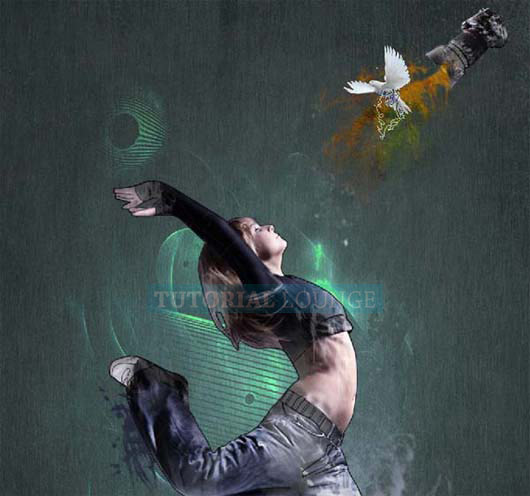
The result should be similar to this:
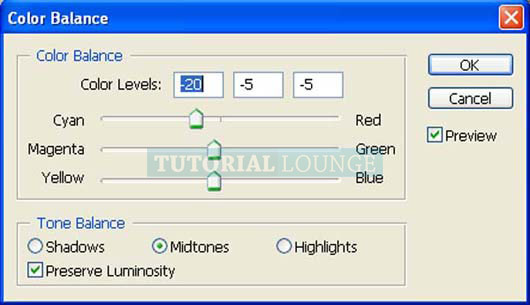
Now create a Color Balance adjustment layer which can be found by pressing on the Create New Fill / Adjustment layer button shown on the layer window:
When the Color Balance box opens, input the following:
The result should be similar to this:
Now create a Gradient map adjustment layer which can be found by pressing on the Create New Fill / Adjustment layer button shown on the layer window:
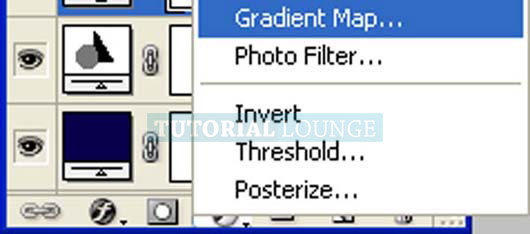
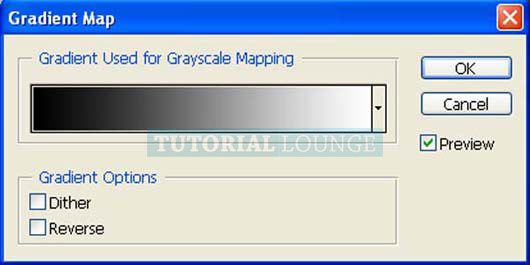
When the Gradient map adjustment layer box opens, input the following:
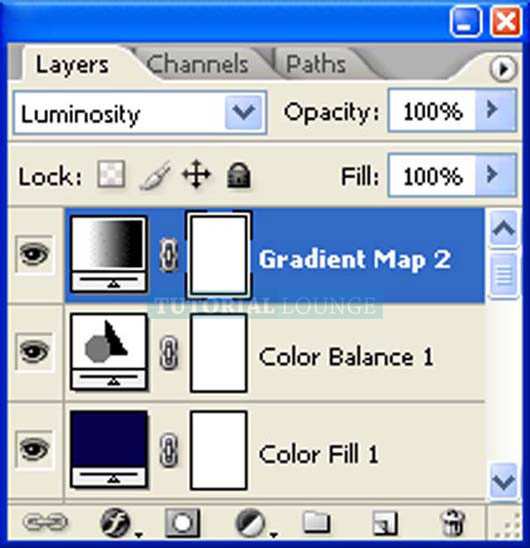
Change it's layer mode to "Luminosity".
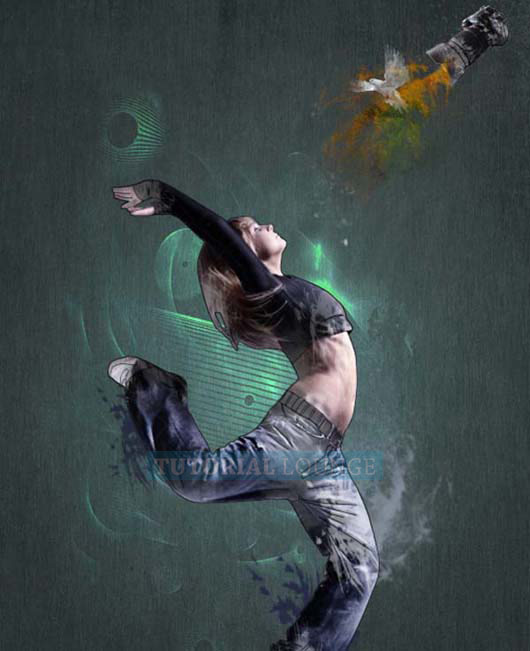
The result should be similar to this:
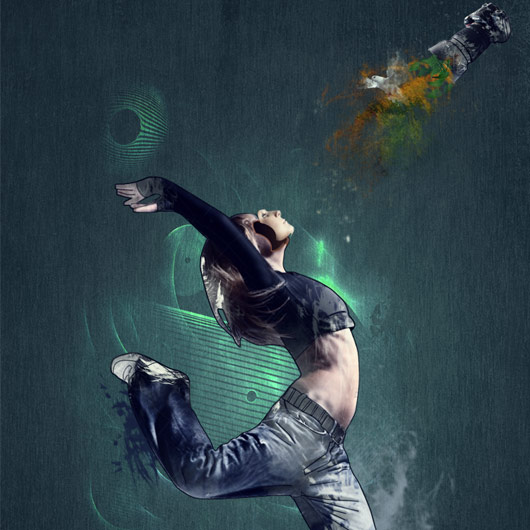
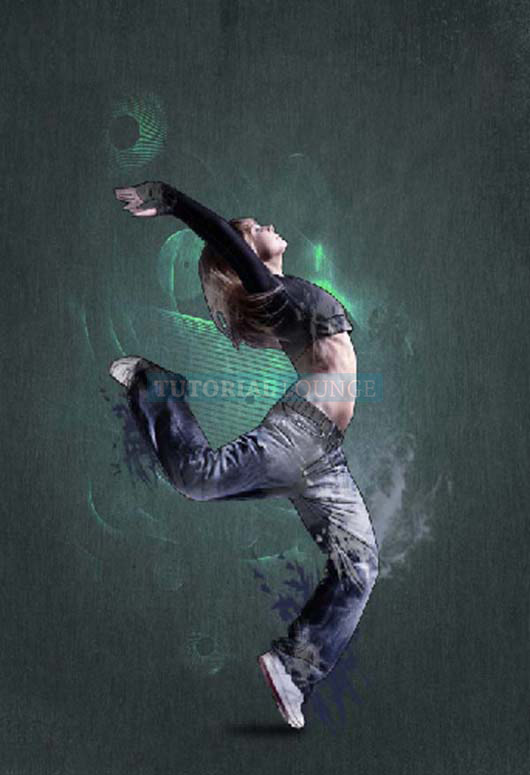
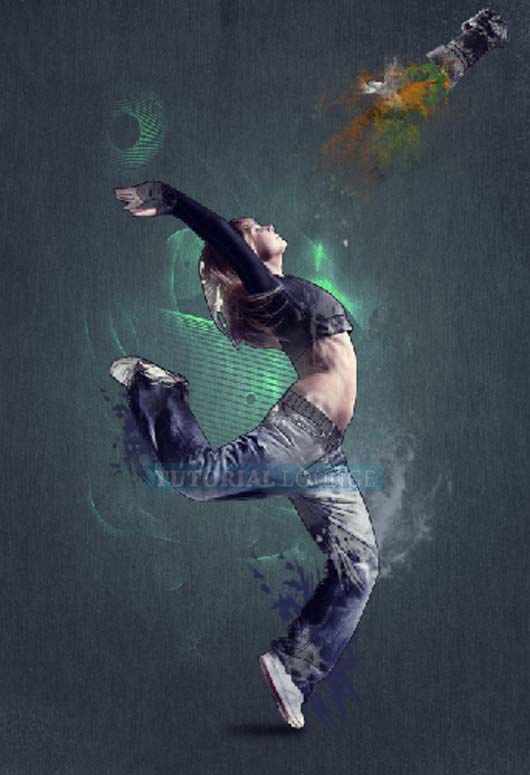
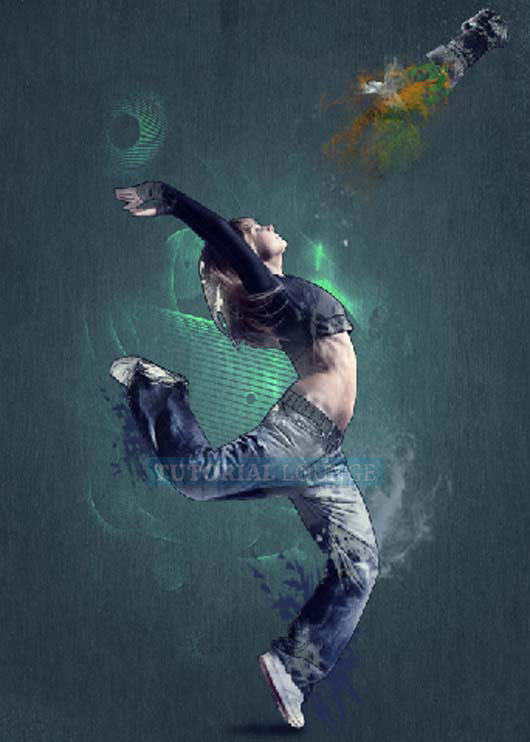
Final Image Result
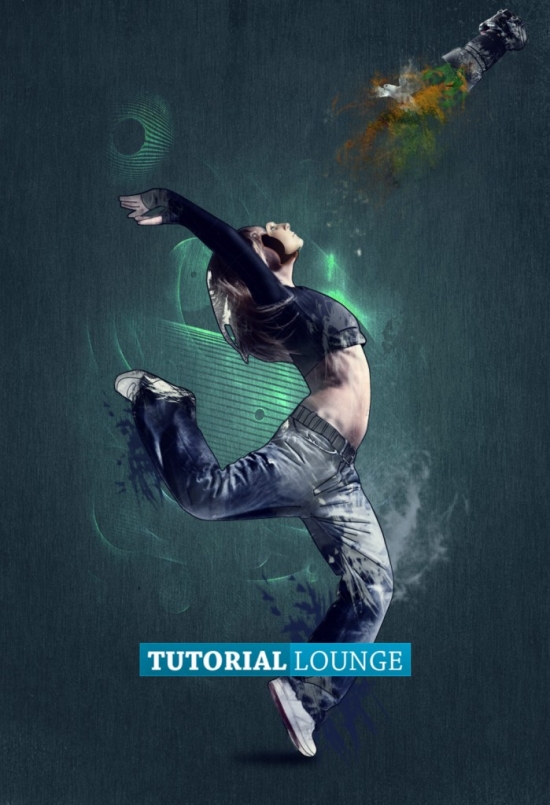
Hope you can learn something new from this tutorial.
I feel really glad if you give me feedback through comment below. Soon i am going to show more interesting & innovative tutorials so please keep visit our blog. That’s for now.
Have fun!
Feel free to contact with Clipping Design for clipping path service, image editing service, image masking service or any kind of design support.
Thank you…
Credit:webdesign.org
No comments:
Post a Comment