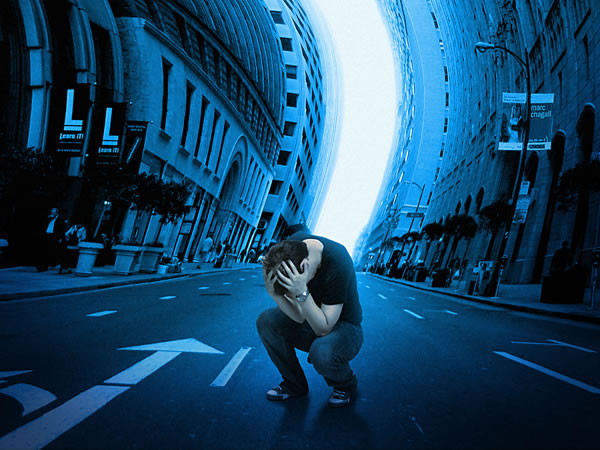
In this tutorial we will present how to make a Cool Movie Poster In Photoshop. To make this tutorial we use amazing Photoshop method and color effects. So let's get start...
Step 1
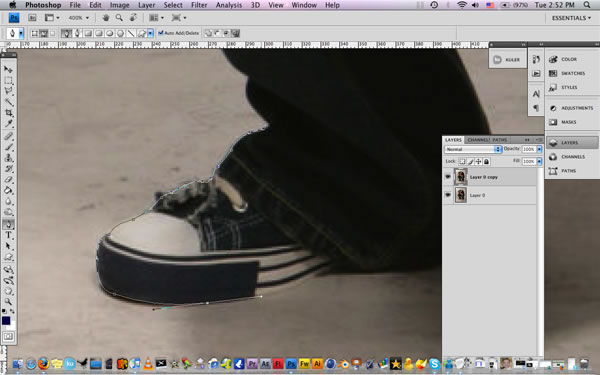
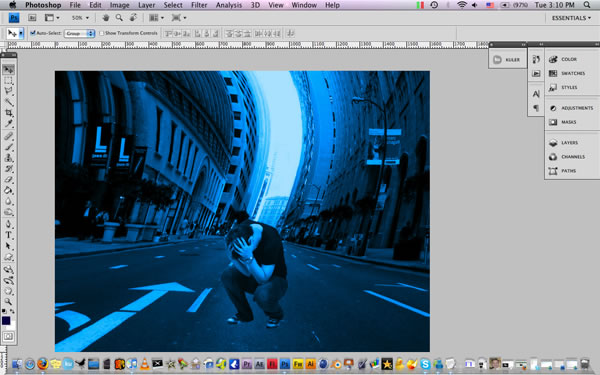
Create a new document at 1600 x 1200 pixels with a resolution of 72dpi. Start off by opening all of your images separately and lets extract our guy from the background, use the pen tool. You can find these images here: http://fl8us.deviantart.com/art/Deserted-City-4100373 and http://b-e-c-k-y-stock.deviantart.com/art/Scared-People-2-46126819. Thanks to fl8us and beckystock for these great photos.
Step 2
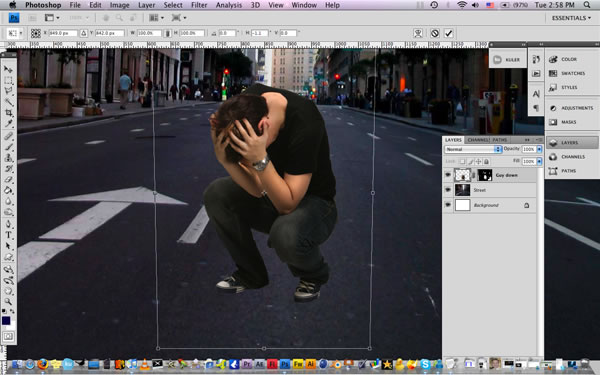
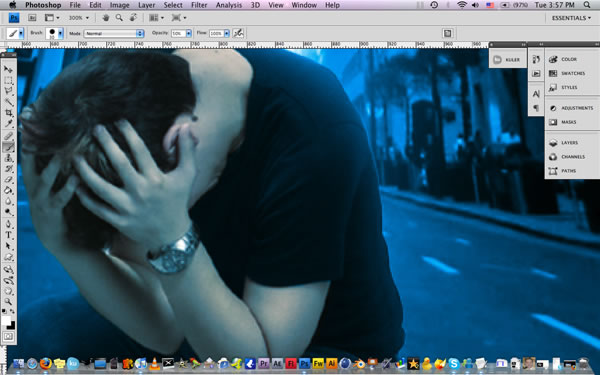
Place the street image on our blank canvas and set the guy image on top of it. Lets give the right perspective to our guy go to Edit/Transform/Perspective. See the image below.
Step 3
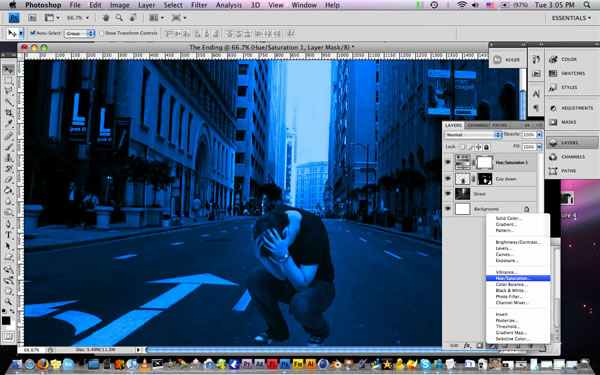
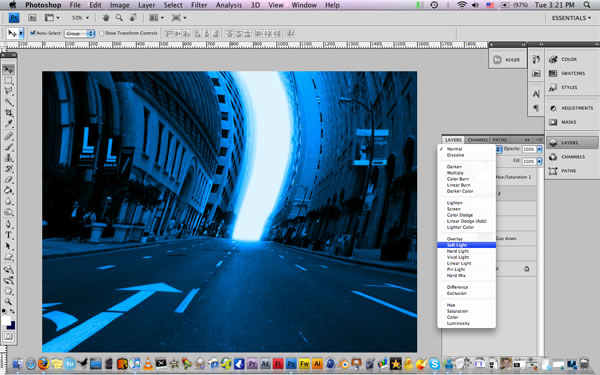
Lets create an adjustment layer of Hue/Saturation and check the colorize option, above all the layers. Keep playing with the colors until you get something you like.
Step 4
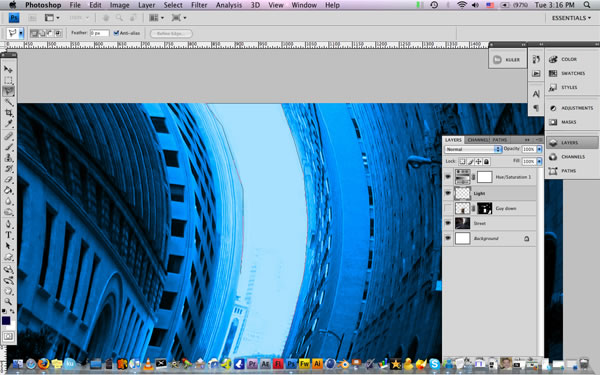
Ok go to our buildings layer and add some warp to it go to Edit/Transform/Warp. Play around until you get something like this. Its really important that you leave the street the most straight as possible.
Step 5
Turn off the guy layer and create a new layer on top of it. Use the Lasso Tool (L) to select all the part back there and fill it with white. See the image below
Step 6
Now lets add some blur to our light. Go to Filter/Blur/Gaussian Blur and set it to 28%. Change the Blend Mode to Soft Light and duplicate the layer and give the same blur.
Step 7
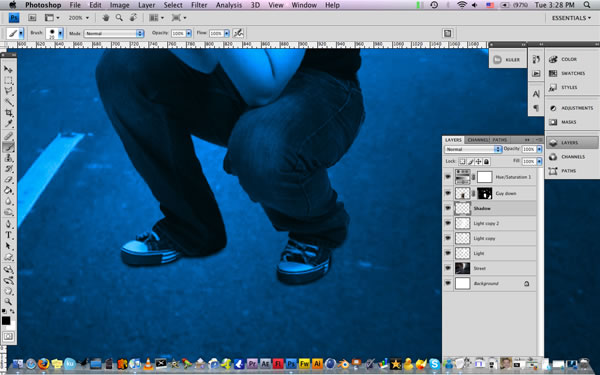
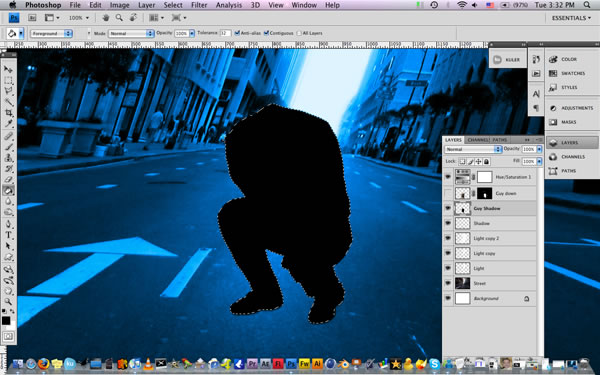
Now turn on the guy layer and create a new layer below call it "Shadow". Grab a small soft brush and low its opacity to 60% and start covering under his feets. See the image below.
Step 8
Then create a new layer below of the "Shadow" layer and hit Cmd+left click over the guy layer to load the selection and fill it with black, using the Paint Bucket Tool. and go to Edit/Free Transform and rotate the image.
Step 9
And go to Edit/Free Transform and rotate the image. Like the image below.
Step 10
Then add a blur to our shadow Filter/Blur/Gaussian Blur and set it to 5%. Low the opacity to 70% and duplicate the layer, then by using a large soft brush with 50% opacity erase some areas until you get something like this. This step its really important if you wanna get a more realistic look.
Step 11
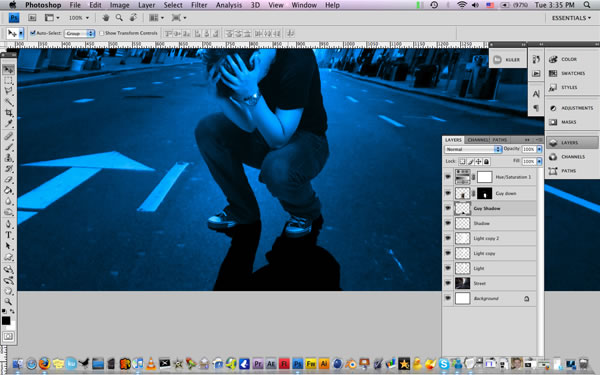
Now lets add some light to our guy that matches with our background. Grab the Dodge tool, selectHighlights and set the exposure to 5% and highlight some areas.

Step 12
Now create a new layer on top of the guy layer and call it "Light guy" and hit Cmd+Left Click on the Guy layer to load the selection. Then just go back to the Light guy layer and using a large soft white brush start covering all the back area, until you get something like this.
Step 13
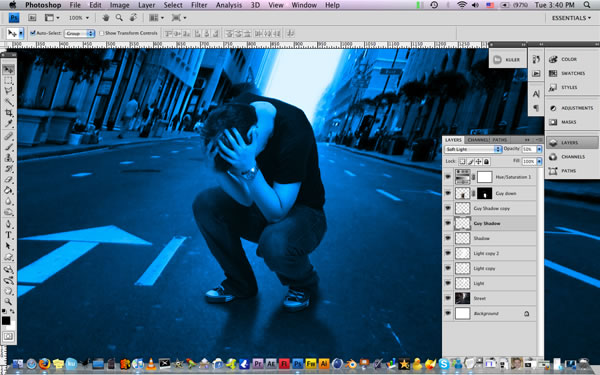
Ok, now lets duplicate the guy layer and put it above all the layers and change the blending mode to Color with 60% opacity. And with a large soft eraser erase all of it and leave the skin tone. Just like this.
Step 14
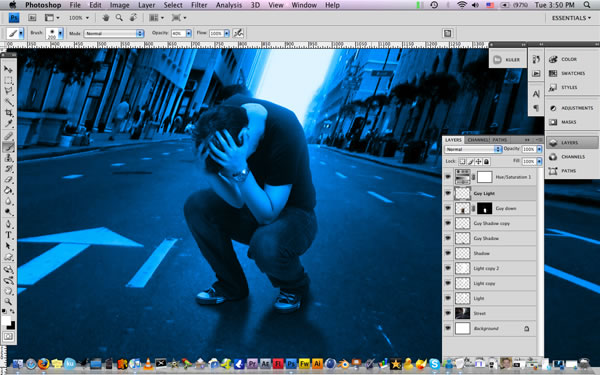
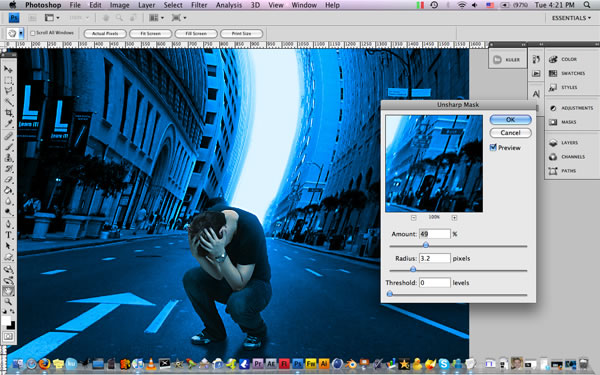
Now lets add the final touches and merge all the layers. Then lets add some sharpen go toFilter/Sharpen/Unsharp Mask with this values.
Conclusion
Hope you can learn something new from this tutorial.
I feel really glad if you give me feedback through comment below. Soon i am going to show more interesting & innovative tutorials so please keep visit our blog. That’s for now.
Have fun!
Feel free to contact with Clipping Design for clipping path service, image editing service, image masking service or any kind of design support.
Thank you…
Credit: http://abduzeedo.com
No comments:
Post a Comment